According to the Environmental Protection Agency, nearly 30% of what we throw away every day could actually be composted. Every time you toss an apple core or a banana peel into the trash, you are sending a valuable resource to a landfill where it gets buried and cannot breathe. Without a steady supply of oxygen, those trapped food scraps slowly rot and release methane, a powerful greenhouse gas that significantly impacts our climate.
Rather than contributing to that problem, you can harness “Nature’s Recycling” right in your own space. Many people hesitate to learn how to start composting because they picture a smelly, pest-infested mess taking over their yard. In reality, a foul odor is just a sign that a pile is suffocating, exactly like it does at the city dump. When you give your leftover food a simple breath of air—a natural process called aerobic decomposition—it breaks down cleanly. Instead of smelling like garbage, a healthy pile smells wonderfully earthy, much like a forest floor after a spring rain.
Unlocking the incredible environmental benefits of home composting does not require a biology degree or a massive backyard. The process is remarkably similar to following a basic kitchen recipe for a slow-cooker stew. As long as you balance a few common household ingredients, nature’s microscopic bugs do all the hard work for you. You can easily transform your daily kitchen scraps and junk mail into dark, crumbly plant food today.
Finding the Perfect Home for Your Scraps: Bins, Tumblers, and Apartment-Friendly Kits
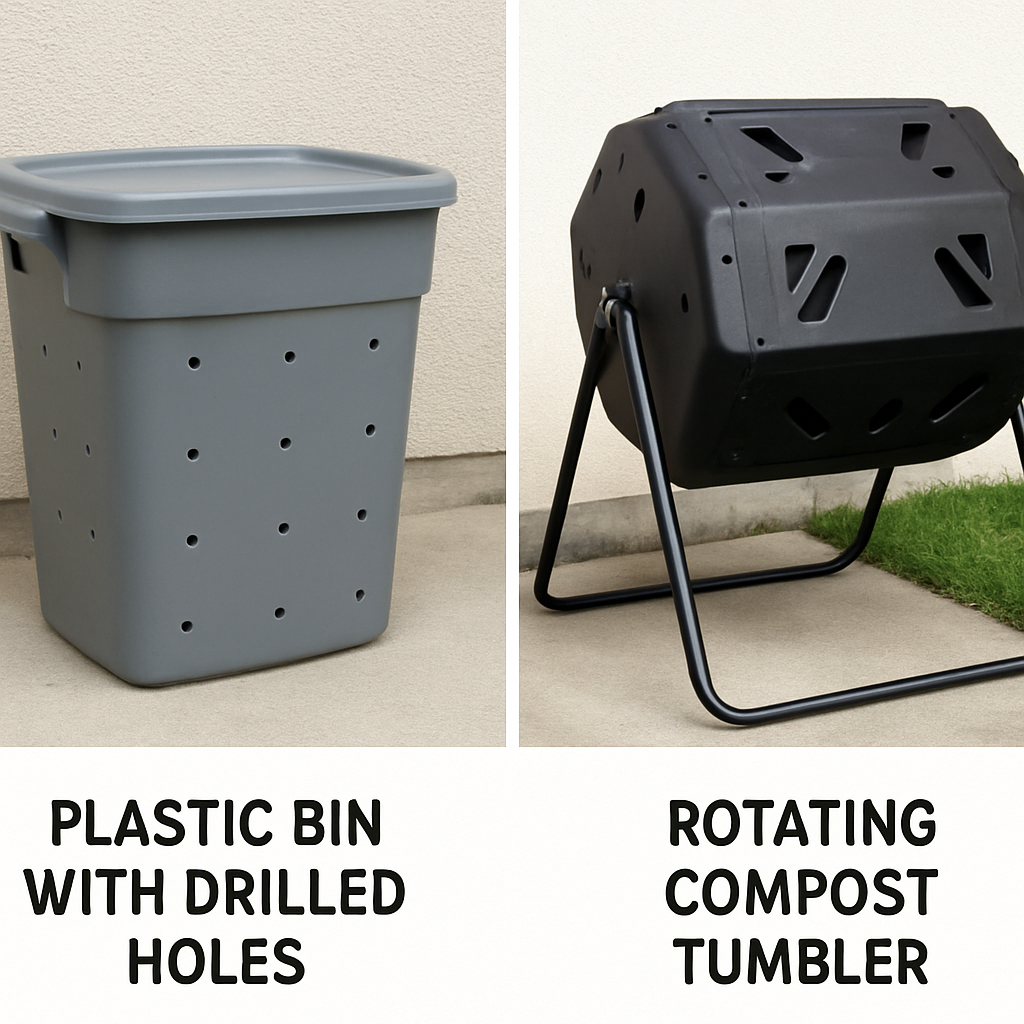
You don’t need a huge backyard to recycle your kitchen leftovers. Figuring out how to start a compost bin is as simple as matching a container to your space. Making a compost bin on a budget takes just a $20 hardware store trip. Grab a dark plastic storage tote, drill holes all around the sides and bottom for a breath of air, and you have instantly created a highly effective, simple compost bin.
Depending on your living situation, specific styles fit different routines:
- The $20 DIY Tote: Best for small yards or patios. It is cheap, effective, and easy to tuck into a corner.
- Compost Tumblers: When weighing a compost tumbler vs stationary bin, tumblers win on speed. These elevated, spinning barrels mix your ingredients with a quick turn, making them perfect for faster results without manual digging.
- Indoor Kits: Apartment dwellers have great options, too. The bokashi fermentation method uses special bran to pickle waste in an airtight bucket. Alternatively, setting up an indoor worm farm (vermicomposting) lets friendly worms digest veggie scraps right under your sink.
Finding the right container removes the biggest hurdle to getting started. Once you have chosen your perfect vessel, the next step is giving it a permanent home outside. Choosing the best spot for your new compost pile makes all the difference in keeping your microscopic livestock happy.
Sun or Shade? Choosing the Best Spot for Your New Compost Pile
Figuring out where to place a compost pile comes down to keeping your microscopic helpers comfortable. The trick is finding a happy medium between sun and shade. Baking in direct sunlight dries out your kitchen scraps, while permanent shade leaves the pile cold and sluggish. A spot with gentle morning sun and afternoon shade keeps the internal temperature perfect for breaking down organic matter quickly.
Rainwater is another major factor when choosing the best location for compost pile placement. Steer clear of low, muddy areas in your yard. Try a quick drainage test: pour a bucket of water on the bare soil to ensure it soaks in smoothly without pooling.
Always keep convenience and neighborhood peace in mind. Tucking your setup behind a bush keeps it discreet but easily reachable from your kitchen door. Whether you leave your compost bin in sun or shade, an out-of-the-way spot prevents eyesore complaints. With your bin settled securely in its permanent home, you are ready to learn the secret to a smell-free pile by balancing your fresh greens and dry browns.
The Perfect Recipe: Balancing ‘Greens’ and ‘Browns’ for a Smell-Free Pile
Think of your pile as a microscopic farm that thrives on a balanced diet. To keep these tiny workers happy, you need to feed them two main types of food: “Greens” (providing Nitrogen for energy) and “Browns” (providing Carbon for fiber). Knowing what to put in compost comes down to mixing these wet and dry ingredients.
Nailing the perfect carbon to nitrogen ratio for compost doesn’t require a calculator or chemistry degree. A foolproof rule of thumb for balancing greens and browns is using roughly two handfuls of dry Browns for every handful of wet Greens. If you add a bowl of leftover fruit scraps, simply cover it with two bowls of shredded cardboard or dry leaves. This easy layering method acts like a sponge, controlling moisture and preventing the slimy, smelly mess that frustrates so many beginners.
Keeping a reliable green brown compost materials list handy makes feeding your pile effortless. Remember, categories are based on moisture and nutrients, not visual colors—for example, your morning coffee grounds are actually “greens” because they are packed with nitrogen. Use this basic guide for your additions:
- Greens (Nitrogen/Wet): Vegetable clippings, fruit cores, coffee grounds, and fresh grass trimmings.
- Browns (Carbon/Dry): Cardboard boxes (tape removed), crumpled junk mail, dead autumn leaves, and paper egg cartons.
Monitoring this ecosystem is straightforward once you understand the balance: if the pile smells sour, add more browns; if it looks bone-dry, toss in some greens. While nature can recycle almost anything, not every leftover belongs in your backyard bin. Certain common household items will ruin your compost.
The ‘No-Fly’ List: Common Household Items That Will Ruin Your Compost
Even with a perfect balance of greens and browns, tossing the wrong leftovers into your pile invites unwanted guests. Understanding what goes in a compost pile is just as important as knowing what to keep out. While you can safely compost citrus peels and eggshells, meats, dairy, and cooking oils are massive red flags. These fatty items won’t easily break down; instead, they act as a dinner bell for rodents and maggots.
Beyond kitchen leftovers, well-meaning beginners often stumble over modern marketing and backyard hazards. Pet waste from dogs and cats contains dangerous pathogens that a home pile simply cannot kill. Similarly, “biodegradable” plastics usually require industrial, high-heat facilities to break down, meaning they will sit intact in your yard for years. Stick to this cheat sheet to stay completely safe:
| Safe to Compost (Green Light) | Toss in Trash (Red Light) | | :— | :— | | Citrus peels & eggshells | Meat, bones, & dairy | | Cardboard & paper bags | ‘Compostable’ plastic cups | | Vegetable & fruit cores | Dog & cat waste |
Treated sawdust and glossy magazines round out the list of items to avoid, as they leach harsh chemicals into your soil. Now that your ingredients are sorted and troublemakers are banned, it is time to build your ecosystem. The secret to fast, smell-free decomposition lies in how you stack these materials.
The Lasagna Method: How to Layer Your Pile for Maximum Speed
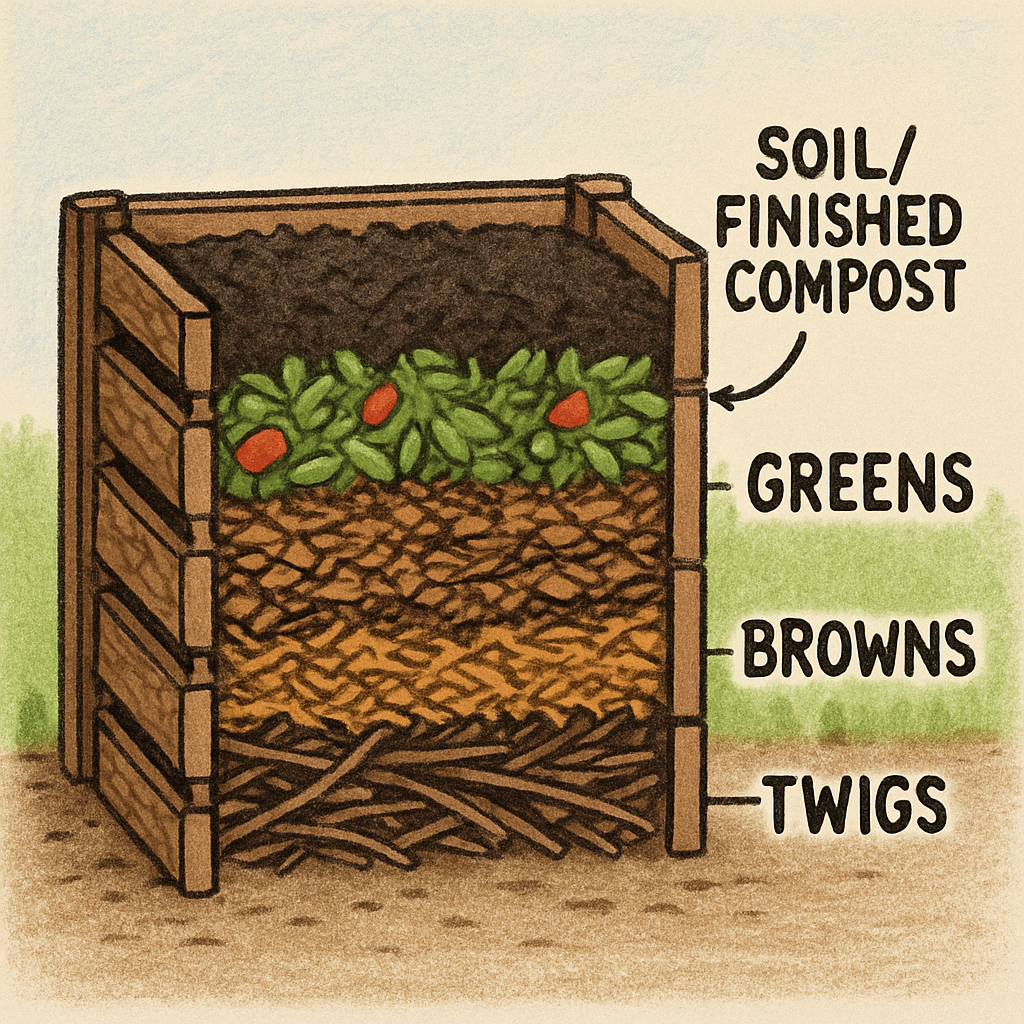
Building a successful pile is exactly like making lasagna, where alternating your ingredients prevents a soggy, smelly mess. When planning an in-ground compost pile or starting a bin, your first layer must act as a drainage system. Toss a few inches of chunky twigs or broken branches right at the bottom so your pile can take a deep breath of air from underneath. This simple step keeps oxygen flowing upward, ensuring the microscopic bugs that do the heavy lifting won’t suffocate.
Once your crunchy base is set, the trick to mastering the layers is simply alternating your dry browns (like shredded cardboard) with your wet greens (like fruit cores). After tossing in a layer of food scraps, add the secret weapon: the “dirt sprinkle.” Tossing a handful of regular garden dirt or existing soil into the bin acts as an instant probiotic, introducing millions of hungry, helpful bacteria directly onto your fresh scraps to kickstart the breakdown immediately.
Size ultimately dictates your final step; a massive backyard heap needs thicker brown layers to trap heat, while a small patio tub requires a slightly heavier dirt topping to deter fruit flies. Always finish your “lasagna” with a dry brown layer acting as a protective blanket over the wet food. With your ingredients perfectly stacked and the beneficial bugs moving in, keeping the system running requires minimal effort.
Maintenance Made Simple: The Two-Minute Trick to Stop Smells and Speed Up Results
Preventing bad odors is usually the biggest worry for beginners. Bad odors only happen when a pile suffocates, letting nasty “anaerobic” bacteria take over and produce a rotten stench. To fix this, you simply need to encourage the aerobic decomposition process—a fancy way of saying your pile needs regular fresh air so the helpful, odor-free bugs can breathe and thrive.
Giving your pile that essential oxygen doesn’t require backbreaking labor with a pitchfork. Use the “lazy turn” method by plunging a sturdy stick or old broom handle into the center of the heap and wiggling it around to create deep air shafts. Doing this weekly fuels the good bacteria and disrupts insect habitats, keeping pests out of open compost piles. Consistent airflow is the ultimate shield against fruit flies.
Beyond breathing, your pile needs a drink, and you can diagnose moisture levels in five seconds without buying any gadgets. Grab a handful of materials from the center of your bin and squeeze; it should feel exactly like a wrung-out sponge, yielding maybe one single drop of water. If it is soaking wet, toss in some dry cardboard to absorb the excess. With moisture and air perfectly dialed in, your pile will rapidly shrink and transform into finished compost.
From Waste to Harvest: How to Know When Your ‘Black Gold’ is Ready
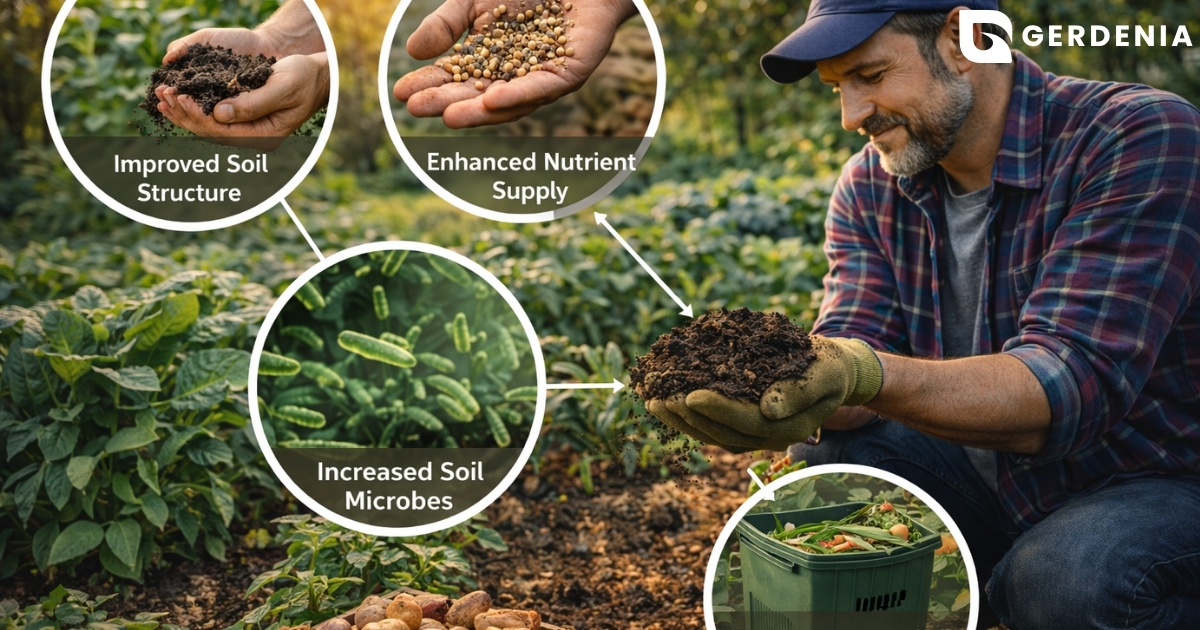
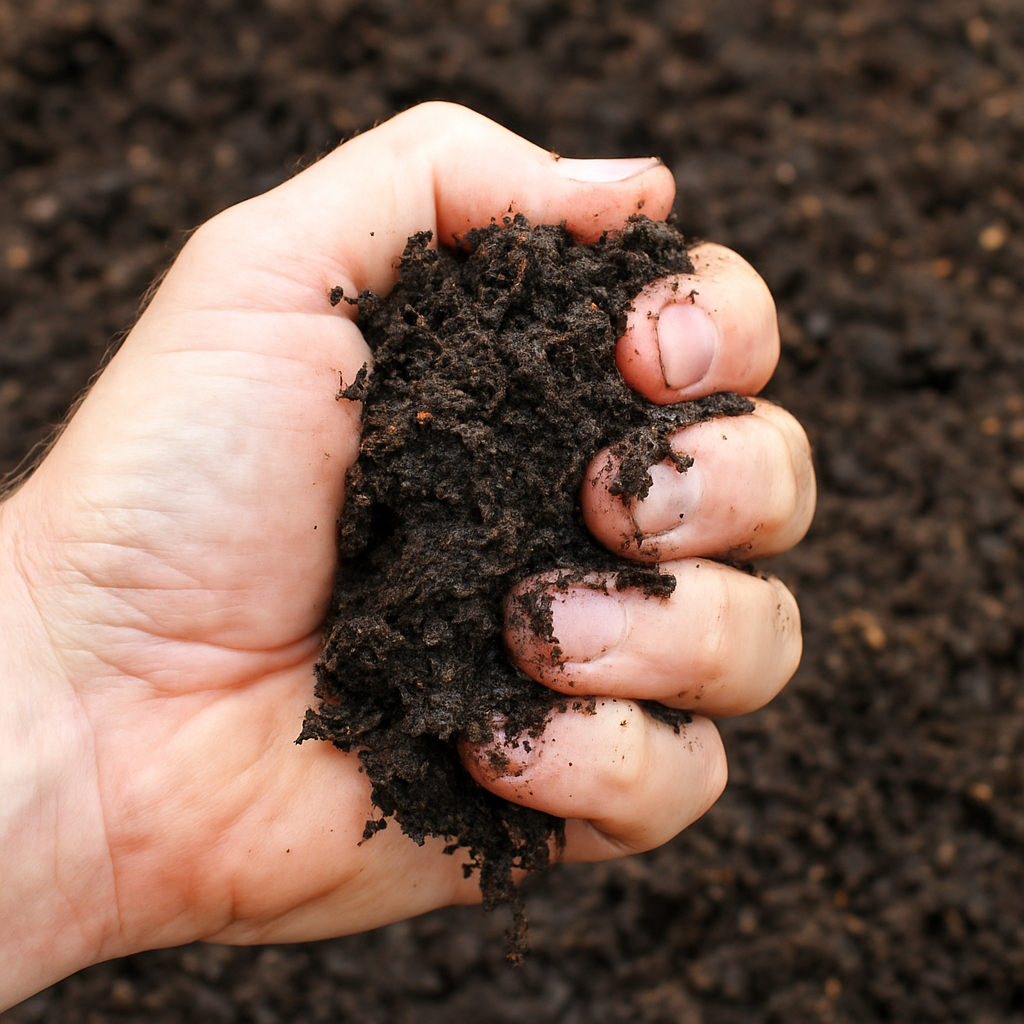
You no longer have to look at an empty banana peel and see only waste; you now have the tools to create nature’s finest fertilizer. Composting typically yields results in just a few months. You will know you have succeeded when you see “Black Gold”—dark, crumbly soil that smells exactly like a fresh forest floor. Compost does not expire; it simply waits patiently in your bin until you need it.
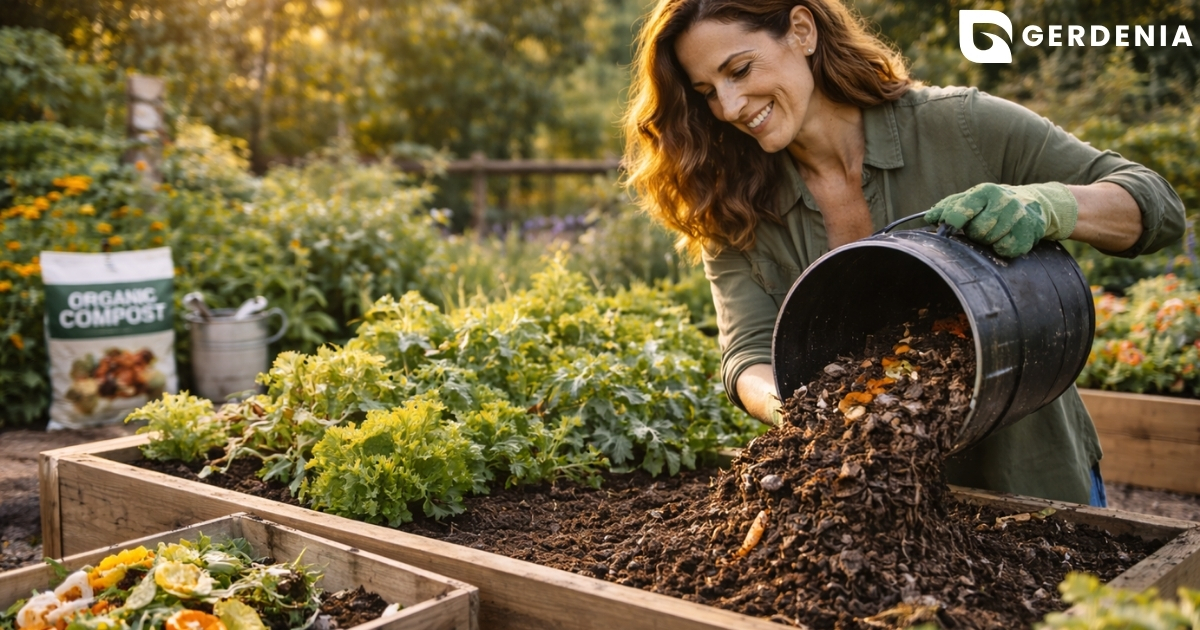
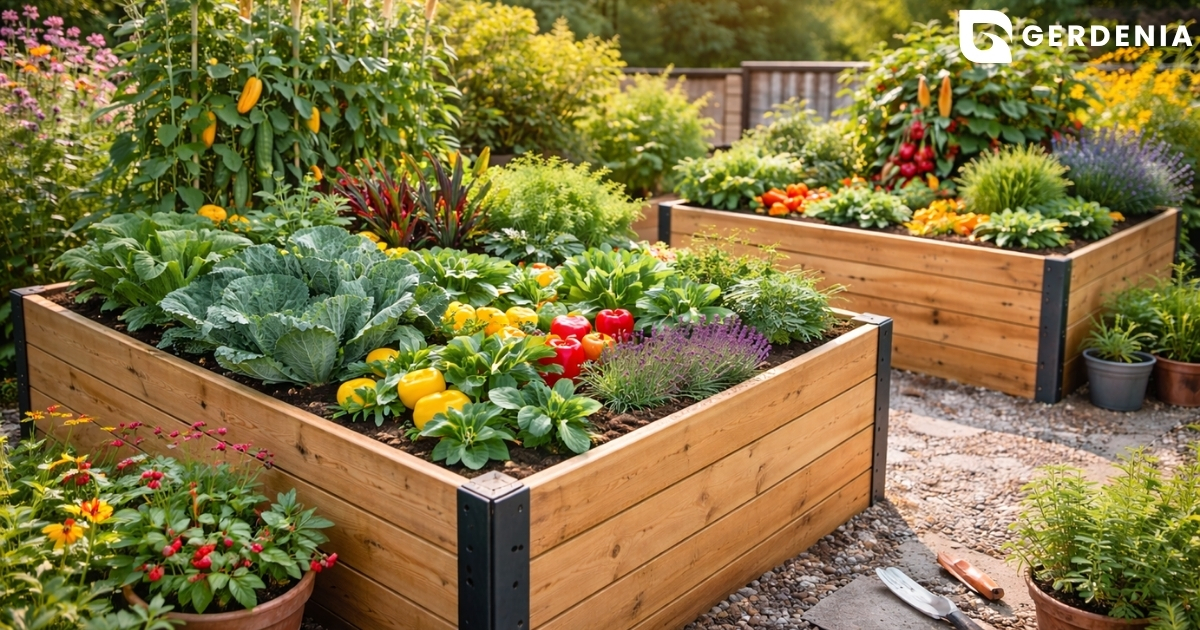
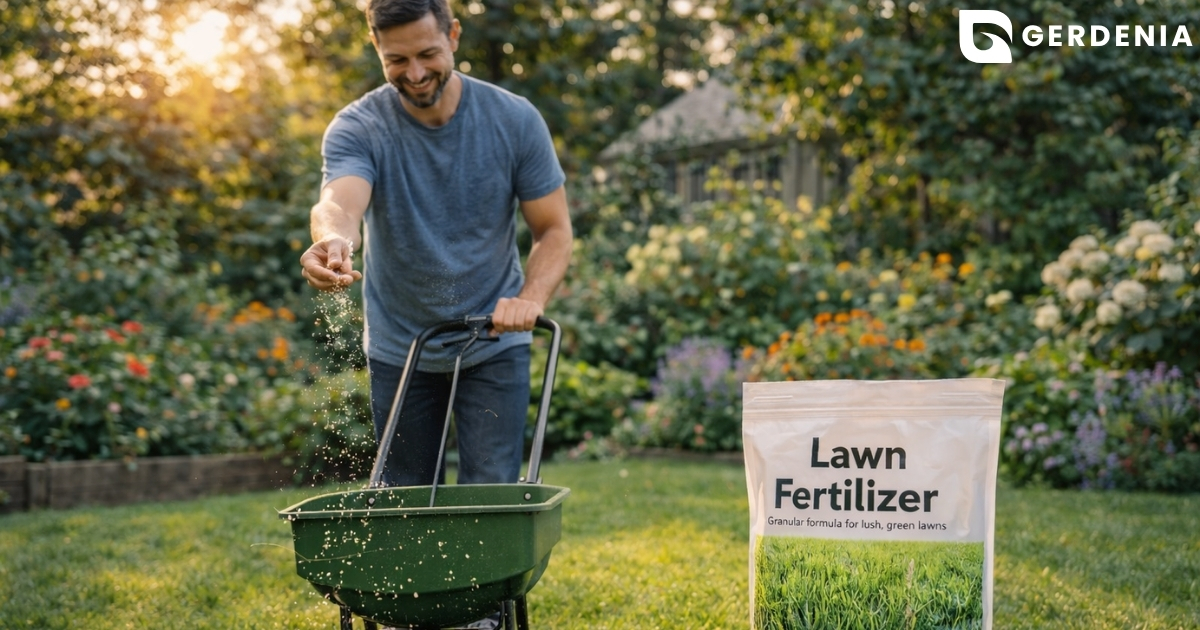
Once you harvest that rich earth, you can begin improving soil structure with organic matter immediately. Try sprinkling it evenly over your lawn as a natural fertilizer, mixing it into your indoor potted plants for a quick vitamin boost, or digging it directly into your garden beds to help the dirt hold moisture like a sponge.
Composting is not a complicated science experiment; it is a simple habit that permanently changes how you view your trash. Start today with this simple first-week checklist to see immediate results:
- Day 1: Choose a small plastic bin for your apartment or a sunny spot in your yard.
- Day 3: Add your first “recipe” of kitchen vegetable scraps (Greens) and torn cardboard (Browns).
- Day 7: Give the pile a quick stir to give those microscopic workers a breath of fresh air.