Every time you toss an apple core into the trash, you throw away a hidden treasure. According to the EPA, food scraps make up over twenty percent of landfill waste, where they sit trapped beneath mountains of garbage. Instead of letting these leftovers rot away into harmful greenhouse gases, you can easily capture their value right at home. Making compost is not a complex science project; it is simply helping nature do what it already does best.
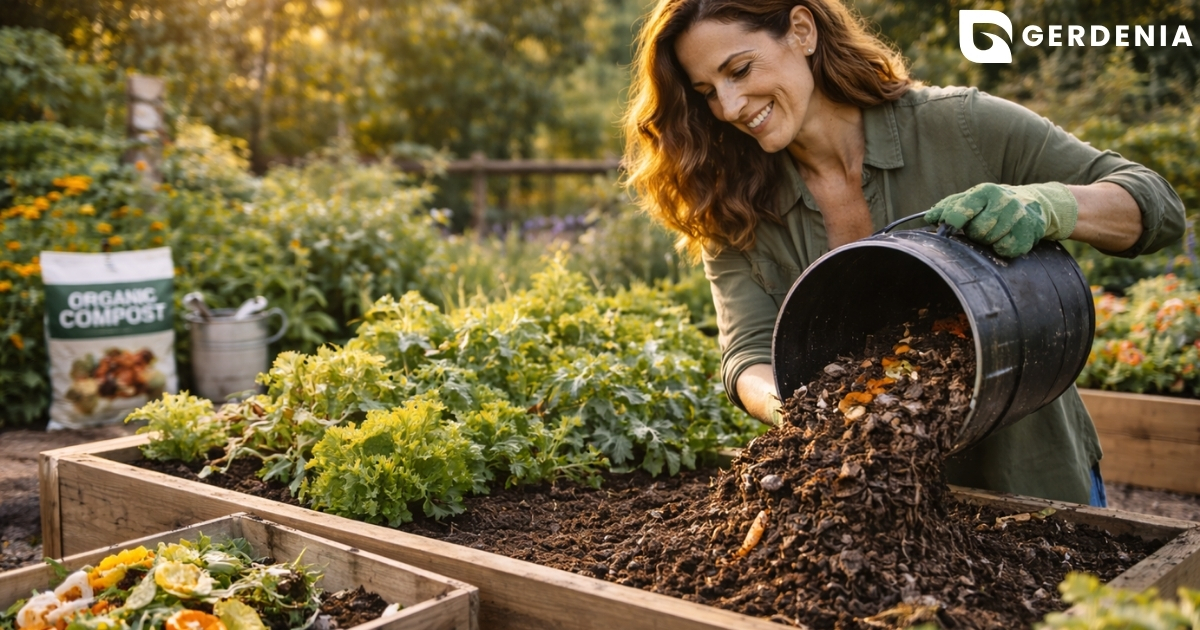
Nature’s recycling system relies on aerobic decomposition, or just making sure your pile of kitchen scraps can breathe. Giving everyday waste like banana peels and coffee grounds a little bit of air allows tiny microbes to break everything down without any gross smells. You are essentially creating “black gold”—a rich, dark, earthy material that acts as the ultimate free fertilizer for your houseplants or garden. Learning how to compost means turning your household trash into a powerful soil-builder.
Starting this journey requires zero expert knowledge, and you definitely do not need a massive yard to produce natural compost. Whether you manage a tiny apartment balcony or a sprawling lawn, keeping valuable resources out of the garbage is surprisingly simple.

Meet Your Newest ‘Pet’: The 3 Essentials Your Compost Needs to Thrive
Treat your new compost pile like a very slow-moving outdoor pet. Instead of magic, millions of tiny invisible workers called microbes do the heavy lifting. They treat your old banana peels like a five-star buffet, naturally breaking them down into rich dirt over time.
Just like any household pet, this living ecosystem needs consistent food, a splash of water, and fresh oxygen to survive. Without crucial airflow, the aerobic decomposition process in home systems stalls entirely, creating a smelly, slimy mess instead of sweet, fresh earth.
Making compost successfully means keeping these helpful microbes alive with a balanced daily diet of greens and browns.
The ‘Layered Cake’ Secret: Balancing Greens and Browns for Perfect Soil
Just like baking a cake, feeding your helpful microbes requires a specific recipe. Tossing in only wet kitchen scraps quickly creates a smelly swamp rather than rich soil. To maintain the perfect environment, you need a balance of wet, nitrogen-heavy ingredients and dry, carbon-heavy bulk. Mastering this green vs brown materials list for compost is your ticket to success.
Your daily maintenance just involves matching items from these two essential columns:
| Greens (Nitrogen/Wet) | Browns (Carbon/Dry) | | :— | :— | | Vegetable peels & apple cores | Dried autumn leaves | | Coffee grounds & tea bags | Shredded brown cardboard | | Fresh grass clippings | Paper egg cartons |
To guarantee success without complicated math, stack these items in alternating layers. Simply aim for a roughly equal mix of both categories. Every time you add wet scraps, cover them immediately with dry leaves or ripped paper. This quick habit controls moisture, traps odors naturally, and creates beautiful, nitrogen-rich organic matter for garden beds.
Pests will completely ignore your pile if you avoid putting the wrong materials in compost bin systems. Always skip meat, dairy, greasy oils, and pet waste. Now that you understand the recipe for sweet-smelling soil, you just need a place to mix it.
Pick Your Platform: From DIY Apartment Bins to Simple Backyard Heaps

Living in tight quarters shouldn’t stop you from making “black gold.” A small compost setup is perfect for beginners, and you can build a functional small composter diy style for under ten dollars. Simply drill air holes into a standard plastic storage tote, place it on a shaded balcony, and let your microscopic helpers get to work.
Those with outdoor space often debate choosing a backyard compost tumbler vs stationary bin. Elevated tumblers feature convenient handles for effortless turning while securely locking out curious pests. Alternatively, a basic wooden enclosure or a simple diy compost heap placed directly on the earth is budget-friendly and invites helpful earthworms right inside. You might even try trench composting, which just involves burying your food scraps directly into your garden rows to decompose out of sight.
Nature does the heavy lifting regardless of your container’s price tag. Whether utilizing a fancy spinning barrel or a cheap plastic tub, the exact same rotting process applies. With the ideal home selected, you can quickly build your foundation.
Your First Five Minutes: A Quick-Start Guide to Your First Pile
Creating a compost pile begins with a strong foundation. Toss chunky items like small twigs or stiff cardboard into the very bottom of your bin. This essential layer creates base aeration—allowing the pile to breathe from beneath—which prevents the bottom from turning into a smelly, soggy mess.
Think of the next step as building a casserole, famously known as the Lasagna Method. The easiest way to compost involves alternating your saved kitchen scraps (wet “greens”) with dry yard waste or paper (dry “browns”). Just sandwich a layer of food waste between thicker layers of dry leaves to give your microscopic helpers a perfectly balanced diet. Tossing these basic household items together takes under ten minutes.
Capping your fresh setup with a final blanket of dry browns keeps fruit flies away while locking in the ideal environment. Your microbial pets are now ready to feast and require simple maintenance to stay active.
The ‘Damp Sponge’ Rule: Simple Maintenance for Faster Results
Just like any living pet, your microscopic helpers need water to survive. Making good compost relies on the simple “Squeeze Test.” Grab a handful of your pile and squeeze it; the material should feel exactly like a wrung-out damp sponge. If it feels bone dry, give it a quick spray with the hose, but if it is dripping and soggy, stir in a few handfuls of dry leaves.
Leaving the bin alone works perfectly fine, but accelerating breakdown with moisture and aeration yields dark soil twice as fast. Stir your pile weekly with a sturdy stick or pitchfork to give those hungry microbes a fresh gulp of oxygen. This simple turning motion moves fresh outer materials into the center for even decomposition.
Steam rising from the center indicates an active, “hot” pile generating natural heat. When exploring hot and cold composting techniques, remember that a dormant “cold” pile still makes fantastic fertilizer—just much slower. Whether choosing the fast or slow route, you can easily manage occasional smells.
No Stink, No Stress: Solving Common Composting Hiccups in 2 Minutes
Panic often sets in when a bin starts smelling like rotten eggs, but troubleshooting smelly compost pile issues is surprisingly simple. That foul odor just means your pile is rotting without air instead of breathing and breaking down naturally. When helpful, oxygen-loving microbes drown in excessive moisture, smelly bacteria take over.
To correct these common composting mistakes for first-timers, use this simple 2-minute diagnostic chart:
- Problem: Rotten Smell | Cause: Too wet/No air | Fix: Stir deeply and add dry browns.
- Problem: Swarming Pests | Cause: Exposed food | Fix: Bury scraps under the “Brown Cap.”
- Problem: Pile Stalled | Cause: Bone dry | Fix: Add water to restart action.
Fruit flies vanish instantly when you apply the “Brown Cap” method—simply covering fresh kitchen scraps with a two-inch layer of dry leaves or shredded cardboard every time you add them. Speeding up decomposition without stress comes down to trusting these easy adjustments. Balancing moisture and air puts you only a few short weeks away from usable “black gold.”
The Finished Product: How to Tell When Your ‘Black Gold’ is Ready to Use
Turning kitchen scraps into usable soil usually takes anywhere from three months to a full year. Before use, your pile requires a “curing” phase—a brief resting period where you stop adding new food so the mixture reaches full maturity.

You will know you have learned how to make the best compost when the original ingredients completely vanish. Fully mature compost smells earthy like a damp forest floor, looking dark and crumbly. If you can still recognize a whole banana peel, the pile simply needs more time.
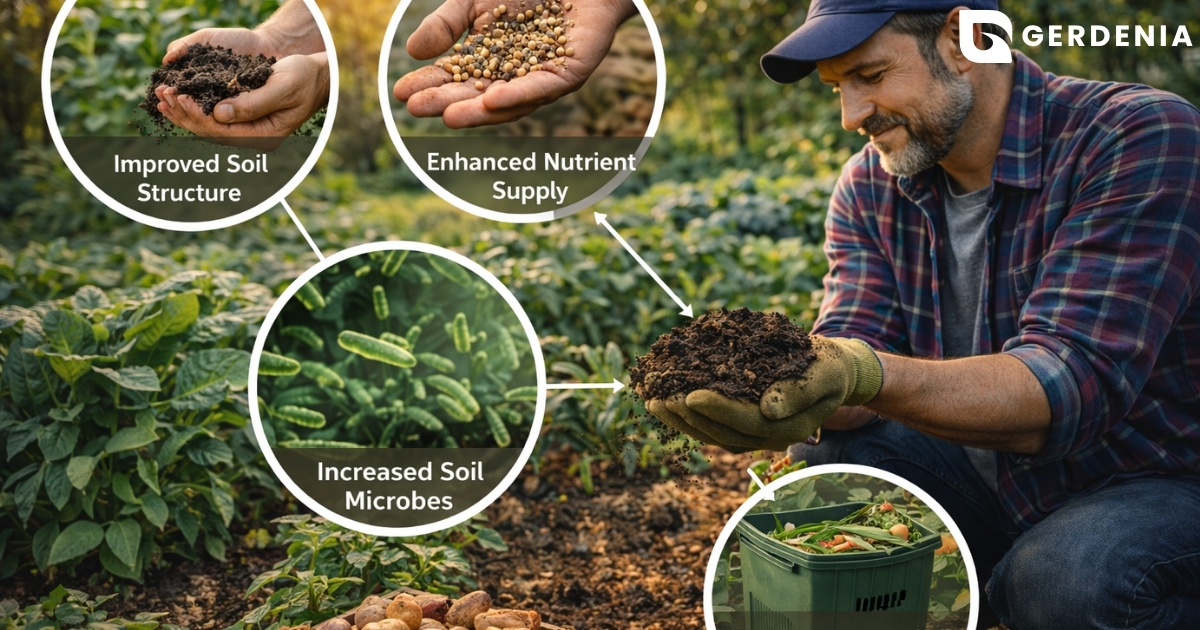
The benefits of using finished compost in garden soil are immediate, acting like a natural slow-release vitamin. Just sprinkle a handful into houseplant pots or mix a shallow layer into outdoor beds. With finished compost ready, you can immediately begin enriching your garden.
From Scrap to Sprout: Your 3-Step Action Plan to Start Today
You have successfully shifted from seeing kitchen scraps as garbage to recognizing them as future soil. The true secret to easy composting at home isn’t perfect science or expensive gear; it is simply letting nature work. Never let the fear of making mistakes stop you from beginning.
Composting at home starts today with three quick actions. First, grab any empty container for your kitchen counter. Next, save tomorrow morning’s coffee grounds instead of tossing them away. Finally, begin your simple compost pile outside by gathering a handful of dry leaves to cover those grounds.
Each time you feed this system, you transform everyday waste into incredible wealth for your garden. Before long, you will scoop up that dark, crumbly earth and realize you have harnessed nature’s greatest recycling trick. Your plants are waiting, and their “black gold” is finally in your hands.