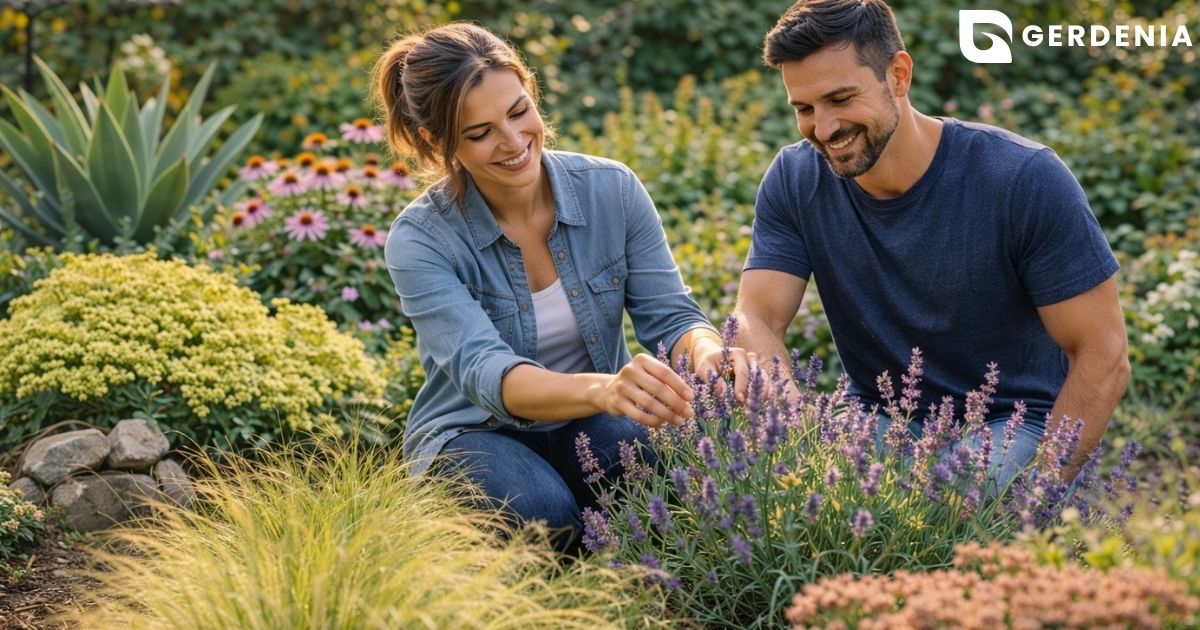
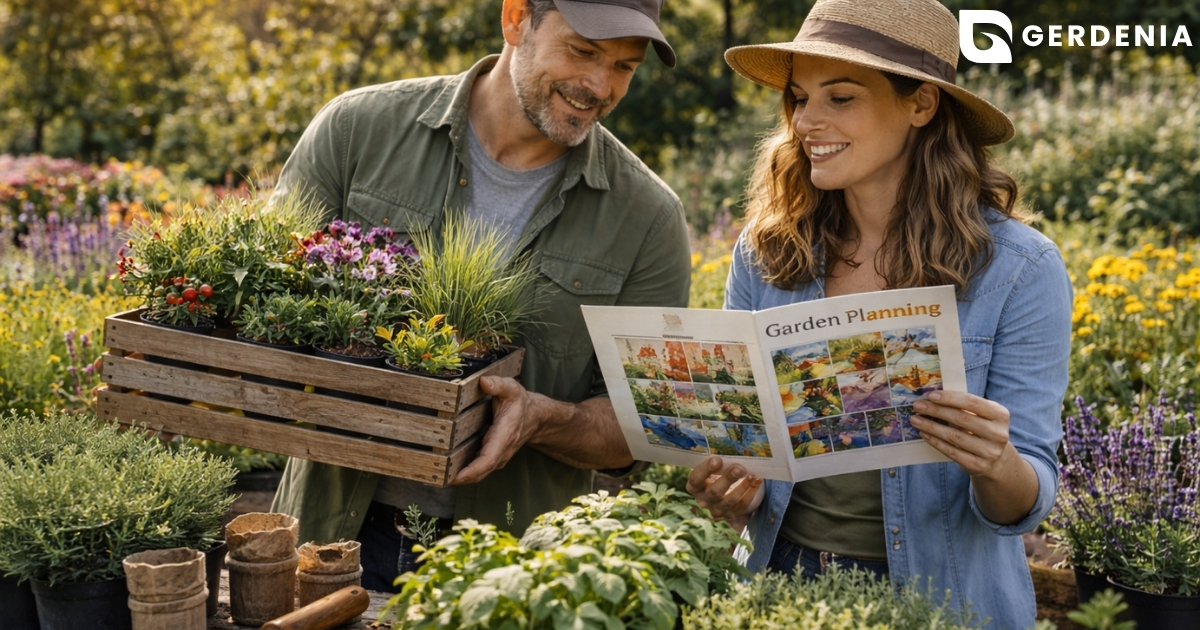
Imagine stepping out your back door with a morning cup of coffee to see a coordinated splash of color instead of a patch of weeds. Staring at a blank yard can feel incredibly intimidating, leading to classic paralysis by analysis. You want a beautiful outdoor space, but the sheer number of choices leaves you afraid of doing it wrong.
According to local garden center experts, beginners usually make three common mistakes: buying whatever looks pretty without a plan, ignoring how big plants will actually grow, and skipping a central focal point. Figuring out how to plan a garden layout from scratch stops this guessing game. You do not need a landscape architecture degree to succeed right away.
Treating your yard exactly like a living room is the smartest approach. Using an interior design framework makes exploring simple garden design ideas much less overwhelming. Your grass or healthy dirt acts as the floor, while your bushes and flowers serve as the furniture. Designing your outdoor space becomes as simple as arranging indoor seating.
Every great room needs a “Visual Anchor,” which is simply one star of the show—like a birdbath or large bush—that tells the eye where to look first. Build a vision based on your weekend lifestyle goals rather than just picking random plants. These fundamental design concepts will transform your frustrating patch of dirt into an inviting retreat.
Sunlight and Soil: Assessing Your ‘Canvas’ Before You Buy a Single Plant
Facing an empty canvas can trigger a fear of accidentally killing new plants. Before buying anything, look up your “Hardiness Zone”—a simple zip-code map telling you which plants survive your local winters.
To answer the common question of how much sun a beginner garden needs, try “Light Mapping” by checking your yard at 9 AM, noon, and 3 PM:
- Full Sun: 6+ hours of direct light.
- Partial Shade: 3-6 hours of dappled light.
- Full Shade: Less than 3 hours.
Next, grab a handful of damp dirt and give it the “Drainage Squeeze Test.” If it clumps into a hard ball, you have heavy clay, but if it falls apart like sugar, you have fast-draining sand. Knowing this unlocks easy garden design for poor soil conditions, allowing you to pick plants that naturally thrive in your existing dirt.
Understanding plant hardiness zones, sunlight levels, and soil textures builds a safety net against sudden plant death. With your canvas completely mapped out, you are finally ready to place the heavy pieces.

Designing the ‘Bones’: How to Use Permanent Structures as Your Garden’s Furniture
Just like decorating a living room, you would never arrange throw pillows before placing the couch. For simple backyard design ideas, this “couch” is your hardscaping (permanent, non-living structures like stone paths or wood fences). Placing these heavy pieces first gives your yard instant structural shape, which is completely different from softscaping (the seasonal, living plants).
Every successful outdoor space needs a visual anchor that tells the eye exactly where to look. Creating focal points in a minimalist garden is as simple as picking one “star of the show” to ground your layout. When exploring hardscaping elements for small backyard spaces, try using a short stepping-stone walkway to guide the eye straight toward this star, turning an empty patch of grass into a clear destination.
You do not need an expensive contractor to build this yard skeleton. Simply choose from these four essential ‘Bones’ for a beginner garden:
- A large shrub (like a Boxwood)
- A birdbath
- A garden bench
- A defined path
With your permanent anchors safely placed inside your mapped light zones, you are ready to decorate.
The ‘Rule of Three’ for Flower Beds: Designing Your First Layout from Scratch
Now that your permanent structures sit safely in their correct sun zones, it is time to add life. Limiting your garden “wardrobe” is one of the easiest simple landscaping ideas. Pick just three colors—two main shades and one bright accent—to stop visual chaos and make the space look instantly planned.
Arranging these colorful plants requires the “Step-Down” height rule so every single bloom stays visible. During your step-by-step flower bed design, place the tallest plants backward and the shortest borders forward. Give your future self breathing room by spacing these out based on how wide they will grow in two years, rather than today’s tiny size.
To make this layering foolproof, use the professional “Thriller, Filler, Spiller” technique, which ranks among the best simple garden design ideas for beginners. Plant a tall “thriller” in the back, use bushy “fillers” in the middle, and let a low “spiller” tumble across the front.
Mastering these three rules turns a flat patch of dirt into a layered, vibrant showcase. Before digging holes for your beautiful new layout, you must decide where that dirt actually lives.

Raised Beds vs. In-Ground Planting: Choosing the Right Home for Your Roots
Deciding where your new plants live depends entirely on your earlier soil test. If your dirt feels rock-hard, you are facing soil compaction—the “silent killer” that crushes tender roots before they can establish themselves. To give your garden a fighting chance, you must choose between raised bed gardening vs in-ground planting, or even building gentle dirt mounds called berms.
Comparing these options helps you match your yard’s needs to your physical comfort and wallet:
- Raised Beds: You control the soil completely, pull fewer weeds, and save your lower back from aching.
- In-Ground Beds: This method offers a cheaper setup, holds moisture better during hot weeks, and creates a natural look.
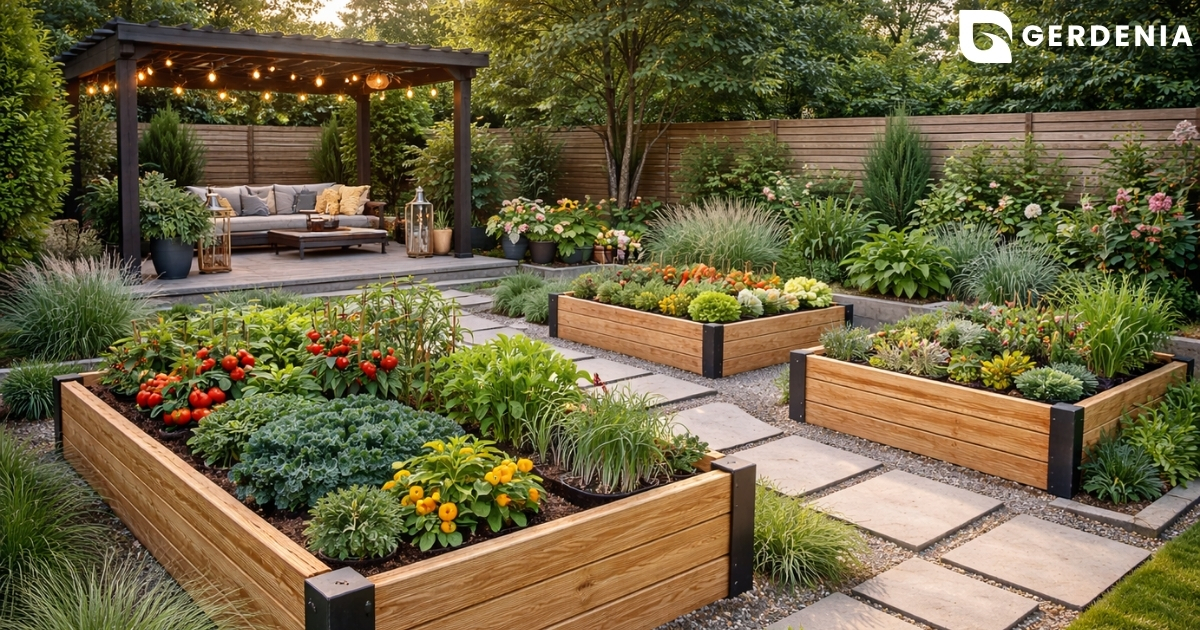
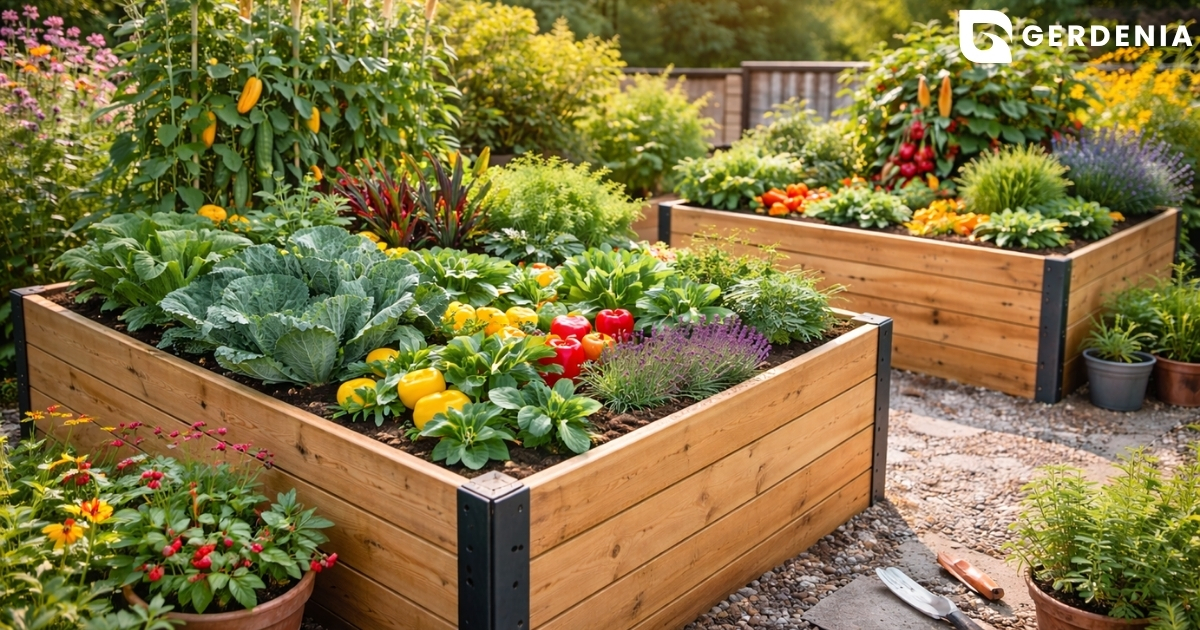
Bypassing terrible local dirt is simple by building a 4×4 box using budget-friendly landscaping materials for DIY projects like untreated pine lumber. Just ensure your bed depth reaches at least eight inches so roots have ample room to stretch downwards. Preparing this perfect foundation gives your roots the necessary environment to establish a robust, healthy system.
The ‘Gold Standard’ Plants: Low-Maintenance Favorites That Refuse to Die
Staring at the garden center aisle can trigger major anxiety. The secret to simple garden design is understanding plant timelines. Think of your garden like a wardrobe: you need staples alongside seasonal pieces. “Perennials” (plants that return every spring) are your reliable staples. “Annuals” (plants that live for just one season) act as quick, colorful pops. Balancing annuals vs perennials for year-round color gives you stability and visual interest.
Shopping smart means reading the plant tag first. Use your earlier sun mapping to avoid putting delicate shade-lovers into baking heat. You should also include a few “evergreens” (plants that stay green in winter) so your yard never looks completely bare when December arrives.
To skip the guesswork, grab these low-maintenance plants for novice gardeners:
- Hostas: Leafy perennials that thrive in shade and practically grow themselves.
- Hydrangeas: Reliable flowering shrubs that act as beautiful visual anchors.
- Marigolds: Bright, sun-loving annuals that bloom constantly and naturally repel pests.
- Daylilies: Tough-as-nails perennials that survive summer heatwaves with ease.
- Boxwoods: Classic evergreens providing easy, year-round structure.
Planting these sturdy survivors builds immediate confidence. However, your new favorites might quickly outgrow a tiny patio corner. When your ground space feels too cramped for spreading shrubs, shifting your focus upward provides an immediate solution.

Vertical Gardening for Small Spaces: How to Grow ‘Up’ When You Can’t Grow ‘Out’
Running out of dirt does not mean you have to stop planting. Just like hanging artwork draws the eye upward in a small living room, space-saving vertical gardening techniques make a cramped patio feel massive. We call this “verticality.” Instead of crowding your existing ground space, you can surround yourself with greenery by utilizing the empty vertical planes of your yard.
Transforming a bare boundary into a lush “Living Wall” requires minimal effort. By using vining plants—species that naturally climb and wrap around supports—you can easily achieve modern backyard landscaping on a small budget. Simply lean a basic wooden trellis against your fence. Then, plant beginner-friendly climbers like Clematis for elegant purple flowers, or Morning Glories for rapid, vibrant summer color.
Maximizing your square footage this way turns dead space into a beautiful focal point. While implementing these spatial designs, you might notice local bugs taking an interest in your new leafy walls. Thankfully, you do not need harsh chemical sprays to protect your hard work; nature provides its own defense mechanisms.
Companion Planting and Pest Control: Letting Nature Do the Hard Work
Staring at chewed-up leaves is frustrating, but reaching for harsh chemicals isn’t your only option. Think of your garden like a dinner party; you want to invite guests who get along. Using companion planting for natural pest control, you create “Plant Teams” that protect each other. Strong-smelling herbs act like a botanical cloaking device, naturally masking your prize flowers from hungry pests.
Pairing the right greenery together is a brilliant shortcut to success. Some of the most reliable plants are actually famous for their teamwork. Try planting these three classic “Buddy” pairings:
- Marigolds and Tomatoes: Bright blooms naturally repel destructive root worms.
- Basil and Peppers: Fragrant basil hides pepper plants from targeted flies.
- Lavender and Everything: Its soothing scent confuses pests across your entire yard.
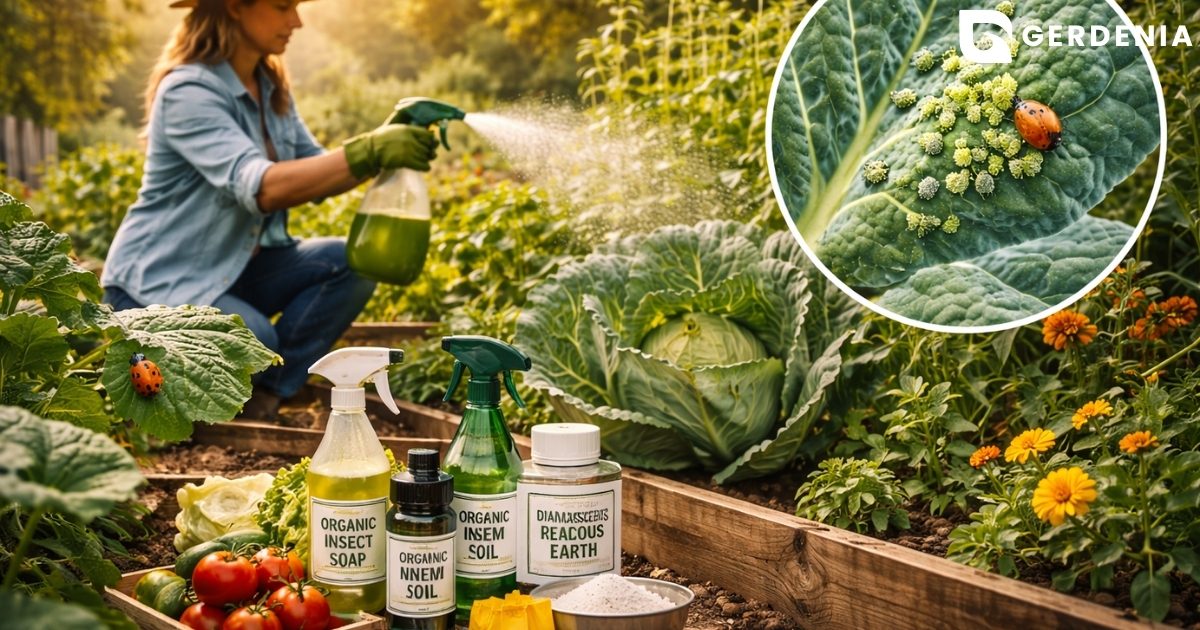
Beyond just confusing bad bugs, these fragrant combinations invite the “good guys” over. Pollinators (like bees) help your flowers multiply, while beneficial insects (like ladybugs) act as tiny, natural security guards that eat plant-destroying aphids. Incorporating these pairings creates a self-managing space that naturally wards off pests while inviting beneficial life.
Survival Basics: The ‘Weekend Warrior’ Guide to Watering and Mulching
Keeping your backyard alive through a summer heatwave does not require daily panic. The secret is Root-Zone Watering, which simply means delivering water directly to the dirt at the base of the plant instead of splashing the leaves. Use a “low and slow” trickle from your hose to help roots grow deep and strong.
Once your soil is hydrated, you must lock that moisture safely inside. Adding a two-inch layer of mulch (wood chips or shredded bark spread over the bare dirt) acts like a protective blanket for your garden bed. This easy step blocks the hot sun from drying out the earth and cuts your weeding time by seventy percent.
Executing these simple garden design ideas only requires a small starter kit. Skip the expensive gadgets and grab these essential gardening tools for first-time homeowners:
- A sturdy shovel
- A hand trowel
- A garden hose with a spray nozzle
- A pair of bypass pruners (curved blades that act like scissors for clean plant cuts)
- A pair of gloves
Armed with this basic gear, you have built the ultimate safety net for your new yard, ready to translate planning into immediate action.
Your First Garden Success Plan: 3 Steps to Take This Saturday
You used to look at bare dirt and feel paralyzed, but now you know how to plan a garden layout from scratch. By matching sunlight to structural bones and colorful fill, you are finally ready to dig.
Shift from planning to planting with a quick 48-hour mission. Do this now: step outside today and watch the shadows cross your yard to confidently map your specific sun zones.
Tomorrow, test your new landscaping knowledge by planting one sturdy, low-maintenance bush in your chosen spot. Once that structural anchor is settled, you will naturally feel confident enough to add colorful accent flowers.
Mastering simple garden design ideas is about taking joyful action rather than achieving instant perfection. Do not fear a few wilted leaves along the way, because every mistake is just compost for future success.