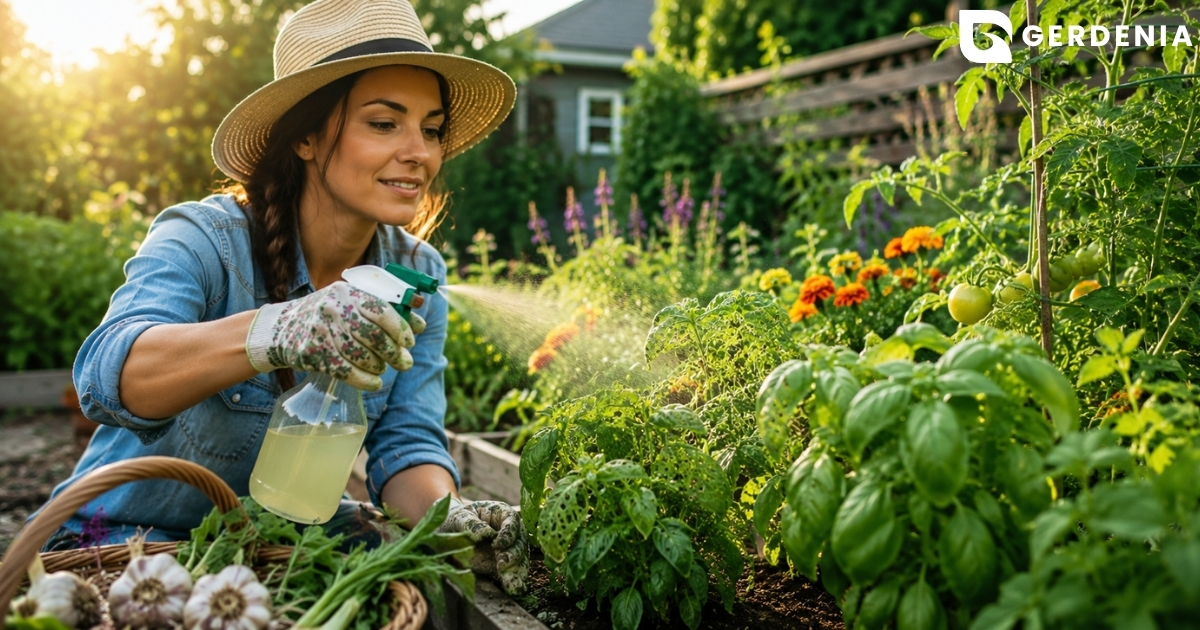
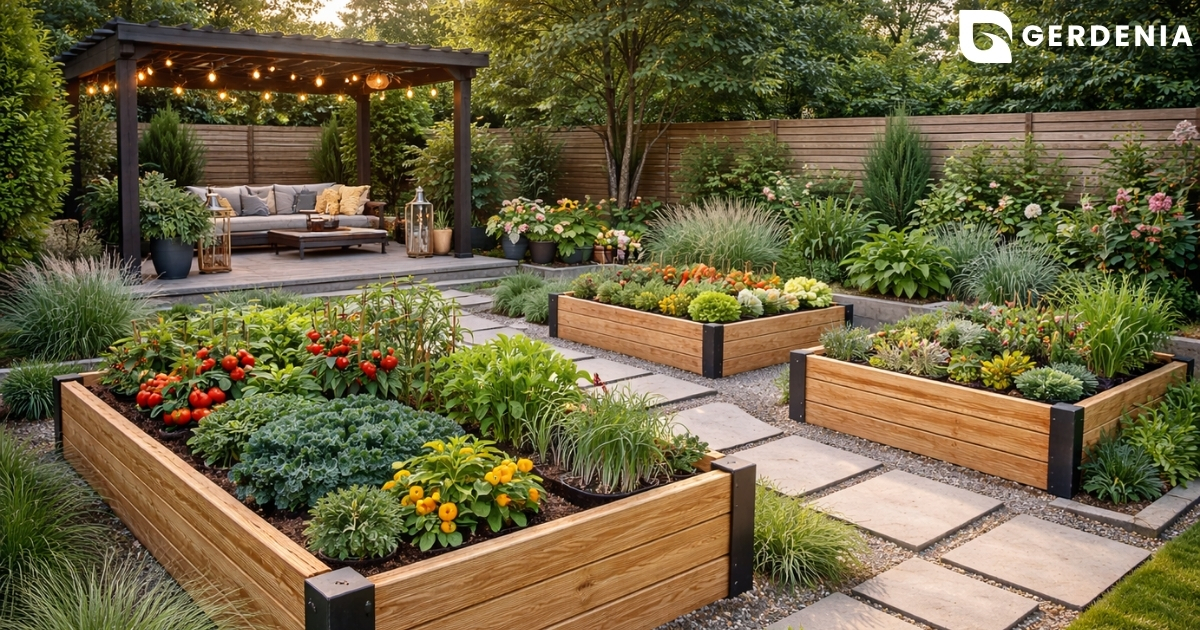
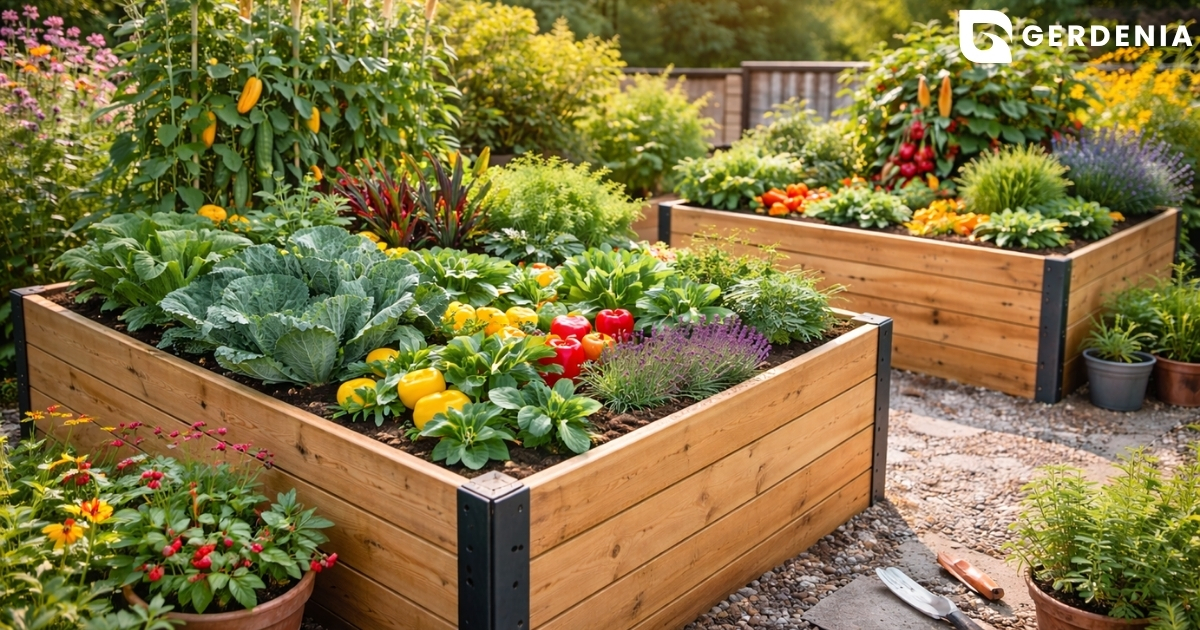
Imagine reaching out your kitchen window to snip a handful of fragrant basil for dinner without ever kneeling in wet mud. For decades, traditional growing meant battling hard clay and aching joints, but a raised herb garden completely changes those frustrating old rules.
If you have ever avoided weeding because of a bad back, this approach offers an immediate remedy. In practice, ergonomic gardening brings the work directly up to your waist, making elevated planter beds vs ground planting a lifesaver for anyone wanting a pain-free, accessible hobby.
Think of this structure as a custom home where you control everything, including the climate. According to common gardening wisdom, proper soil temperature regulation happens naturally here because the dirt warms up much faster in the spring sun, letting you start harvesting weeks earlier than traditional beds.
Grocery industry data reveals that growing your own herbs offers serious financial returns, too. By strategically mixing long-lasting perennial vs annual kitchen plants, you can significantly cut down your weekly shopping bill while keeping fresh, vibrant flavors right at your fingertips.

The 6-Hour Rule: Finding the Optimal Sunlight for Flavor-Dense Leaves
You know plants need sun, but for culinary herbs, light is the actual secret to taste. Soaking up rays produces essential oils—the natural compounds giving basil its sweet punch and rosemary its piney aroma. Meeting the optimal sunlight requirements for edible plants guarantees this flavor-dense harvest.
Intense afternoon heat, however, triggers “bolting.” This happens when stressed plants rapidly grow flowers to make seeds, turning leaves instantly bitter. Prevent this and confidently plan your garden boxes for herbs by matching plants to your available light:
- Full Sun (6+ hours): Basil, rosemary, oregano, and thyme.
- Partial Shade (4 hours): Cilantro, mint, and parsley (perfect for shady balconies).
Mapping the sun’s path easily brings your raised herb garden ideas to life. Just remember that placing a planter in constant sun means the frame takes a weather beating, making your choice of building materials incredibly important.
Why Cedar is the Gold Standard: Choosing Rot-Resistant Woods for Your Herb Planter
Constant moisture easily destroys a standard wooden herb garden bed. To fight this decay, hardware stores often push cheap “pressure-treated” lumber soaked in harsh chemicals. While fine for a backyard deck, you never want those artificial preservatives leaching into the soil where your dinner ingredients grow.
Nature already provides a much safer alternative. Cedar is naturally packed with tannins, acting like a built-in immune system against water damage and hungry insects. Utilizing these rot-resistant cedar wood benefits guarantees a durable frame that remains completely food-safe for your edible plants.
Standard pine often crumbles in three years, but a proper DIY cedar planter box construction easily lasts a decade. Once your sturdy, chemical-free foundation is built, you must ensure water flows correctly inside your setup to stop root rot before it starts.
Stop Root Rot Before It Starts: The Science of Depth and Drainage Layers

Most beginners accidentally kill their herbs by overwatering rather than underwatering. When moisture gets trapped at the bottom of a container—a hidden hazard known as a “perched water table”—the roots literally suffocate. Plant roots require aeration (breathing room) just as much as they need a drink, making preventing root rot in elevated beds your absolute top priority.
You can easily avoid this swampy mess using proper drainage layers for container gardening. Build a simple “drainage sandwich” before planting:
- Base: Spread two inches of gravel so excess water easily escapes.
- Middle: Lay landscape fabric over the rock to stop dirt from washing down.
- Top: Add your fluffy growing mix.
Deciding exactly how deep your planter boxes should be depends on your menu; shallow cilantro thrives in six inches, while woody rosemary needs twelve. With your drainage sorted, your foundation is ready for the perfect soil mix.
Mixing Your Kitchen Garden ‘Cake’: The 3-Ingredient Recipe for Healthy Soil
Filling your new raised herb planter with backyard dirt seems easy, but it causes a hidden problem. Ground dirt is too heavy, leading to soil compaction—a condition where the earth squeezes tightly together like wet clay. When this happens, roots cannot easily push through to find water, and your delicate plants quickly suffocate.
Creating the best soil mix for container herbs requires thinking like a baker. You need a fluffy blend that is 50% lighter than standard dirt. Enter perlite: those little white pebble-like specks you see in potting mixes. They act like tiny structural pillars, keeping the earth loose and breathable so roots can stretch.
Your recipe also needs a moisture base, bringing us to a choice between peat moss or coco coir. While both trap water beautifully, eco-friendly coco coir—made from recycled coconut husks—is increasingly preferred over mined peat bogs. Finally, stir in rich compost to boost flavor; building healthy dirt is surprisingly the ultimate organic pest control for culinary greens.
With your nutrient-packed foundation mixed and poured, the real excitement begins: deciding exactly what fresh flavors will upgrade your home cooking.
From ‘Pizza’ to ‘Taco’ Gardens: Planning Your Herb Layout for Maximum Yield

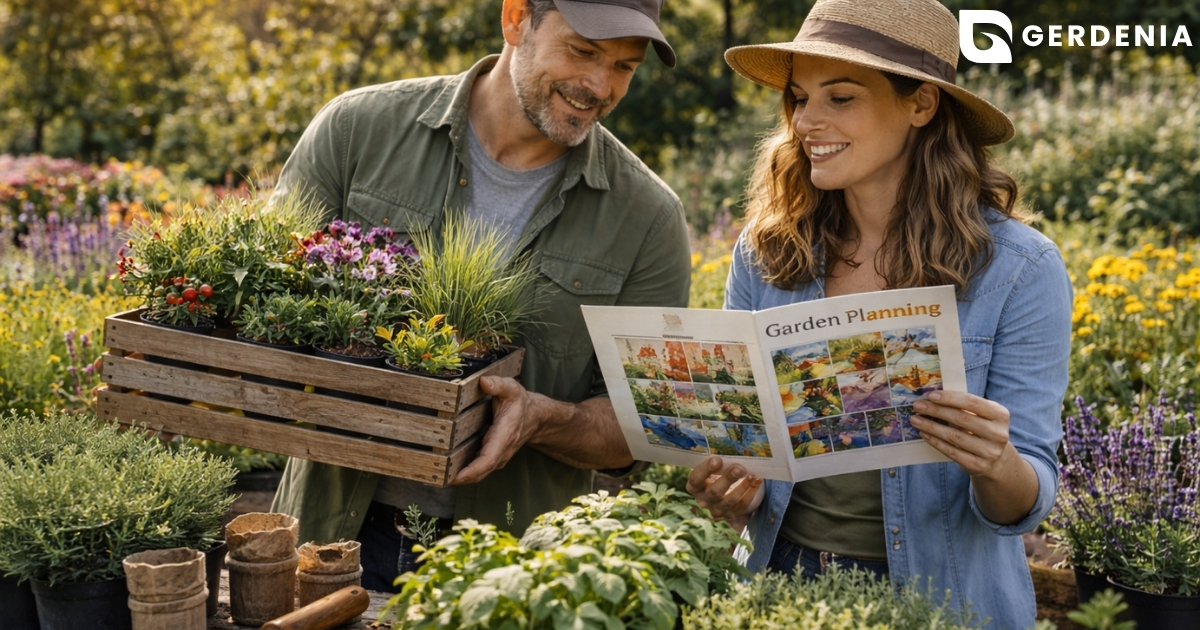
Designing your raised bed herb garden layout shouldn’t feel like a complex math test; it should simply reflect your weekly grocery list. Instead of planting randomly, think about the meals you actually cook to create a purposeful, flavor-packed space.
Try building a “Theme Kit” to keep your favorite recipe ingredients right at your fingertips:
- The Italian Pizza Kit: Sweet basil, oregano, and thyme.
- The Fresh Taco Kit: Zesty cilantro, chives, and a jalapeño pepper.
Once you pick your flavors, you must group plants by their thirst levels—a simple landscaping trick called hydro-zoning. In your new raised bed herb garden, keep heavy drinkers like basil and cilantro together, while letting drought-loving oregano stay comfortably dry in its own corner.
Running out of room for all these fresh ingredients? Build upwards using a space-saving vertical herb wall by attaching a simple wire trellis to the back of your planter for climbing plants.
Smart Herb Roommates: How Companion Planting Boosts Your Harvest
Plants have favorite neighbors just like we do. Knowing which herbs grow well together creates a garden that naturally defends itself without chemical sprays. Planting pungent chives next to delicate greens, for example, acts as an invisible shield that masks their sweet scent from hungry bugs.
However, not every kitchen staple shares space nicely. Mint is famous for its invasive growth, meaning its rapid roots will quickly choke out everything else in your raised herb garden planter. To enjoy fresh mint safely, simply bury the plant inside a plastic nursery pot to permanently trap those wandering roots.
Beyond pest control, smart groupings actually make your food taste better. Try companion planting for flavor enhancement; chamomile naturally conditions the soil to boost the aromatic essential oils in nearby basil. Once these well-matched roommates start thriving, regular and proper trimming will keep them producing for months.
The ‘Snip-to-Grow’ Secret: How Seasonal Harvesting Keeps Your Garden Productive
Many beginners hesitate to cut thriving plants, but regular trimming forces your raised herb garden to grow bushier and produce more culinary greens. To capture peak flavor, follow this simple ‘Harvest Clock’:
- Morning (The Golden Hour): Pick after the dew dries; essential oils are at their absolute highest.
- Afternoon: Avoid picking; plants are exhausted and heat-stressed.
- Evening: Fine for dinner prep, though slightly less fragrant than morning.
Instead of plucking random large leaves from the bottom, use the “Top-Down” method. Pinch off the top leaf cluster right above a “Y” intersection on the stem. This simple cut signals the plant to grow two new branches instead of one, instantly doubling your yield!
When autumn temperatures drop, outdoor herbs enter dormancy—a natural resting phase where growth pauses. Simply pot your favorites to enjoy continuous seasonal harvesting on a sunny windowsill.
Your Kitchen Garden Roadmap: 3 Steps to Your First Fresh Harvest
You no longer have to settle for wilted grocery store clamshells. Building your first raised herb garden comes down to a simple three-step plan. Just grab a beginner-friendly kit or untreated wood, blend your “cake mix” soil of fluff, drainage, and food, and plant the foolproof “Big Three”: basil, mint, and rosemary.
Give yourself a relaxed seven-day timeline to move from buying materials to gently watering your newly planted garden boxes for herbs. You will know you have succeeded the moment you realize you have built a sustainable kitchen source and drastically reduced your need for expensive dried seasonings.
Every time you step outside to snip fresh flavor for dinner, you will see your new herb garden bed as a vibrant extension of your kitchen. Once you master these forgiving plants, you will have the exact confidence needed to expand your harvest into growing fresh vegetables.