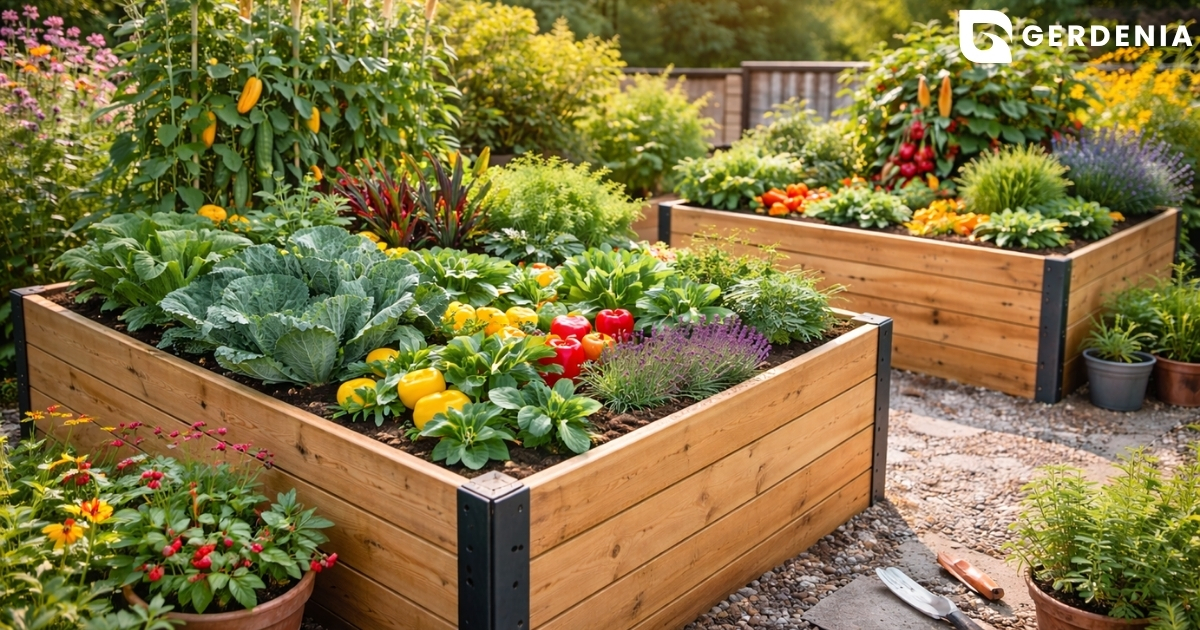
You’ve built the perfect vertical garden to maximize your patio space, but now you are staring at fifty different bags at the garden center. This sheer variety easily overwhelms anyone wondering exactly what to put in garden bed containers without wasting money. True soil isn’t just dead backyard dirt; it functions like a rechargeable battery that powers your plants all season long.
Horticultural experts note that the most common mistake new growers make is using heavy yard dirt that inevitably turns into a solid brick. This destructive process, called soil compaction, crushes the tiny gaps roots need to stretch and breathe. Potting soil differs significantly from garden soil because standard outdoor dirt lacks the lightweight structure necessary to survive in a confined vertical space.
Preventing your plants from suffocating requires three core pillars: drainage, nutrition, and aeration. Think of aeration foundations like the bubbles in a loaf of bread, providing fluffy, open spaces that stop the earth from settling too densely over the summer. Without these built-in air pockets, water pools at the surface while the delicate roots below starve for both moisture and oxygen.
Finding the perfect material balance transforms a struggling tower into a lush, productive green wall. Combining moisture-holding layers with rich compost and fluffy aerators creates the very best soil mix for raised garden beds and vertical planters alike. Building this healthy foundation correctly ensures your new garden thrives from the roots up.
Why Your Backyard Dirt is the Enemy of Vertical Gardening
Grabbing a shovel to fill planters with free yard dirt might seem like a simple solution, but it guarantees disaster. Ground dirt is incredibly heavy. When scooped into a container, it rapidly compacts into a solid block known as the “Brick Effect.” Since roots need air to survive, this heavy clay causes immediate root suffocation. Without its native underground ecosystem to keep it loose, backyard soil traps water and simply drowns your plants.
Beyond terrible drainage, yard dirt brings uninvited guests directly to your sensitive starters. Ground soil harbors dormant diseases that easily overwhelm young roots in a confined space, causing devastating pathogen transfer. When evaluating topsoil quality indicators for home gardeners, a light, spongy texture is essential—not dense yard clay.
The final hidden cost of using backyard dirt is the thousands of weed seeds naturally lurking inside it. While preventing weeds in garden beds with mulch is a great surface strategy, a truly weed-free container starts with a clean fill material.

The Perfect Three-Part Recipe for Healthy Foundations
Escaping the heavy “brick effect” of yard clay requires rethinking what plants actually need to grow. The secret to the best soil mix for raised garden beds is that it often contains no traditional “dirt” at all. Instead, successful beginners use a “soilless” media—a carefully balanced recipe of natural materials that supports roots without crushing them. The most foolproof approach is a variation of the famous “Mel’s Mix,” which divides your container space into equal thirds.
Building this perfect foundation requires blending equal amounts of three specific components:
- 1 part Moisture Retention: Peat moss or coconut coir
- 1 part Aeration: Perlite
- 1 part Nutrition: A high-quality compost blend
Finding the sweet spot between holding water and draining it is the functional magic behind this formula. Coconut coir provides a sustainable, eco-friendly sponge that traps hydration directly around the roots. To stop that sponge from becoming a soggy, suffocating mess, you must introduce permanent air pockets. When comparing vermiculite vs perlite for soil aeration, perlite—those little white rocks resembling crushed Styrofoam—is the clear winner for keeping vertical beds wonderfully lightweight.
Armed with this three-part foundation, your starter tomatoes will thrive in loose, nutrient-rich material that feels just like crumbled chocolate cake. However, buying enough bagged ingredients to completely fill a massive planter quickly becomes a major expense. You can easily cut this setup cost in half by utilizing specific filling techniques for deep garden boxes.
How to Fill Deep Garden Boxes Without Breaking the Bank
Staring at a waist-high garden box is exciting until you calculate how many bags of premium mix it requires. Fortunately, most vegetable roots only need 12 to 18 inches of good earth to thrive. Finding cheap ways to fill deep garden beds isn’t just about saving cash; it is an opportunity to build a self-feeding foundation.
The secret is a technique called Hugelkultur, which acts like a “slow-release buffet” for your garden. Layering organic matter in raised beds involves stacking materials that rot at different speeds underneath your topsoil. As this debris breaks down over time, it acts as a giant sponge and creates a long-term nutrient reservoir that feeds plants for years.
Avoid internet hacks that suggest tossing empty plastic bottles or rocks into the bottom, as these “filler” traps provide zero value and ruin drainage. Instead, filling a raised bed with logs and sticks mimics natural decomposition. Stick to these safe filler materials:
- Untreated logs
- Dried sticks
- Leaf mulch
- Unfinished compost
Using yard waste reduces soil costs by up to 60%. Once your woody foundation is set, simply cap it with 12 inches of growing media.

Potting Soil vs. Garden Soil: Why the Label Matters for Your Planter
When deciding how to top off garden bed boxes, it is tempting to grab the cheaper bags of “garden soil.” However, this heavy dirt is designed exclusively to be mixed directly into the ground. Potting soil is a lighter, “soilless” blend of fluffy materials formulated strictly for containers.
The physical difference becomes dangerously obvious when it rains. Bagged garden soil has a massive saturated weight, holding onto water like a dense kitchen sponge. This heavier dirt absorbs so much moisture that it creates enough outward pressure to bow out the sides of vertical structures or snap their corners.
Beyond structural damage, dense dirt creates a “perched water table”—a soggy bottom layer where gravity cannot pull the excess moisture out into the earth below. This leaves plants sitting in stagnant muck, guaranteeing they suffer from “wet feet” and eventual root rot. Always look for “container-safe” or “potting mix” labels to ensure healthy roots.
The Secret to Better Drainage: Stop Putting Rocks at the Bottom
Almost every new gardener has heard the advice to toss gravel into their planters. You might naturally wonder if stones belong at the bottom of a garden bed to keep plants from drowning. The short answer is no. Instead of helping water escape, creating a harsh layer of stones under your dirt actually traps moisture higher up where your plant’s roots are trying to breathe.
Think of your soil like a kitchen sponge. Water moves smoothly through the material until it hits a completely different texture, like smooth stones. When moisture reaches that rocky barrier, it stops and pools up, waiting until the dirt above is completely saturated before finally dripping down. Adding rocks simply creates a hidden, soggy swamp that suffocates roots.
Rather than wasting valuable vertical space on stones, fill the entire depth with your fluffy potting mix so roots can stretch downward. To add cheap bulk at the bottom, use coarse organic matter like twigs or pine bark that naturally blends with the soil over time.
Feeding the Beast: Organic Amendments for Long-Term Success
Even with perfect drainage, heavy-feeding plants like tomatoes will quickly empty your soil’s pantry. By mid-summer, you might notice your once-dark earth looking pale and dusty, while lower plant leaves turn yellow. This nutrient depletion means your hungry vegetables have eaten everything at the buffet. To keep the harvest coming, you must treat your beds as a living system.
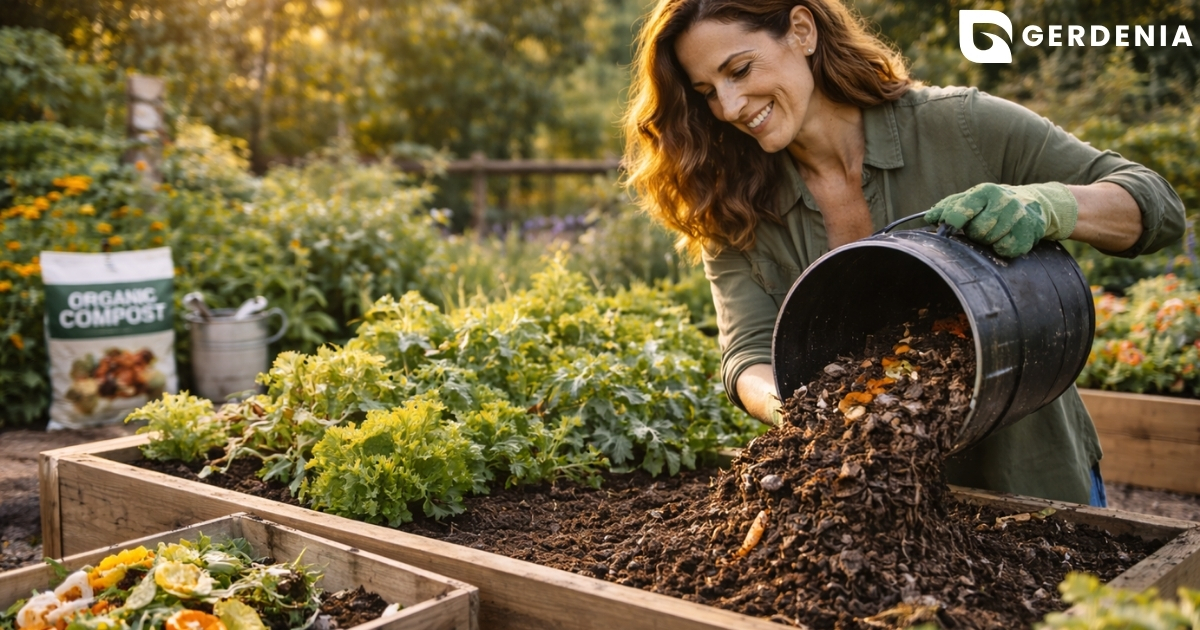
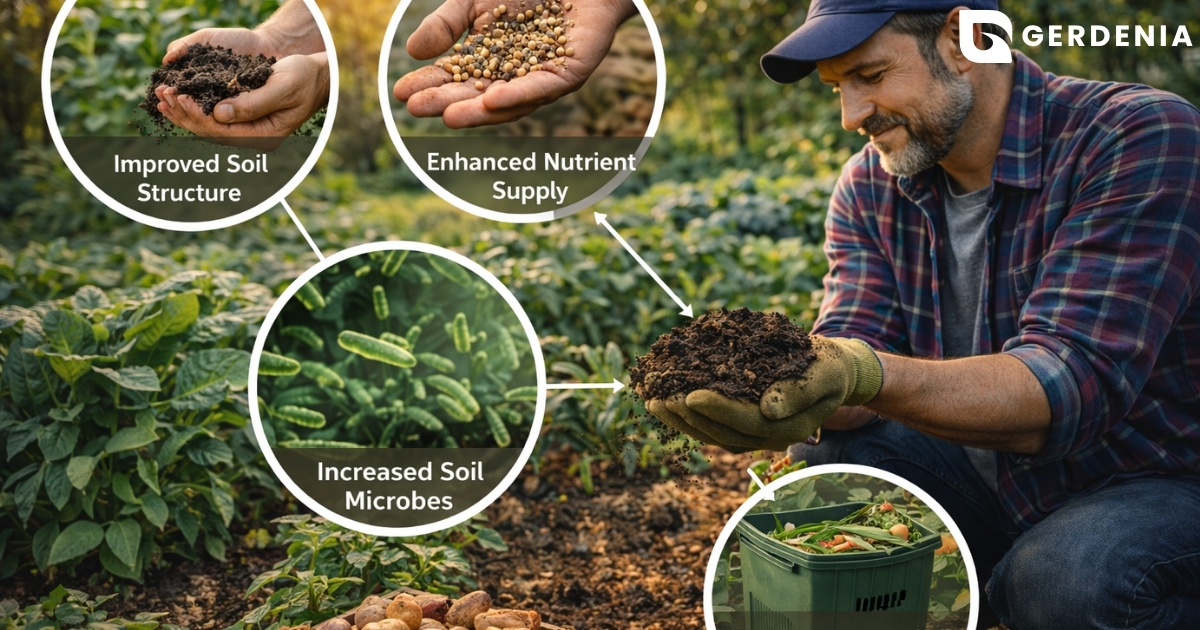
The secret to lasting fertility lies in the invisible microbial life beneath the surface. Think of these tiny bugs as the kitchen staff, breaking down raw ingredients so roots can easily absorb them. Adding compost to new garden beds introduces both a fresh food supply and these microscopic workers to prepare the meal.
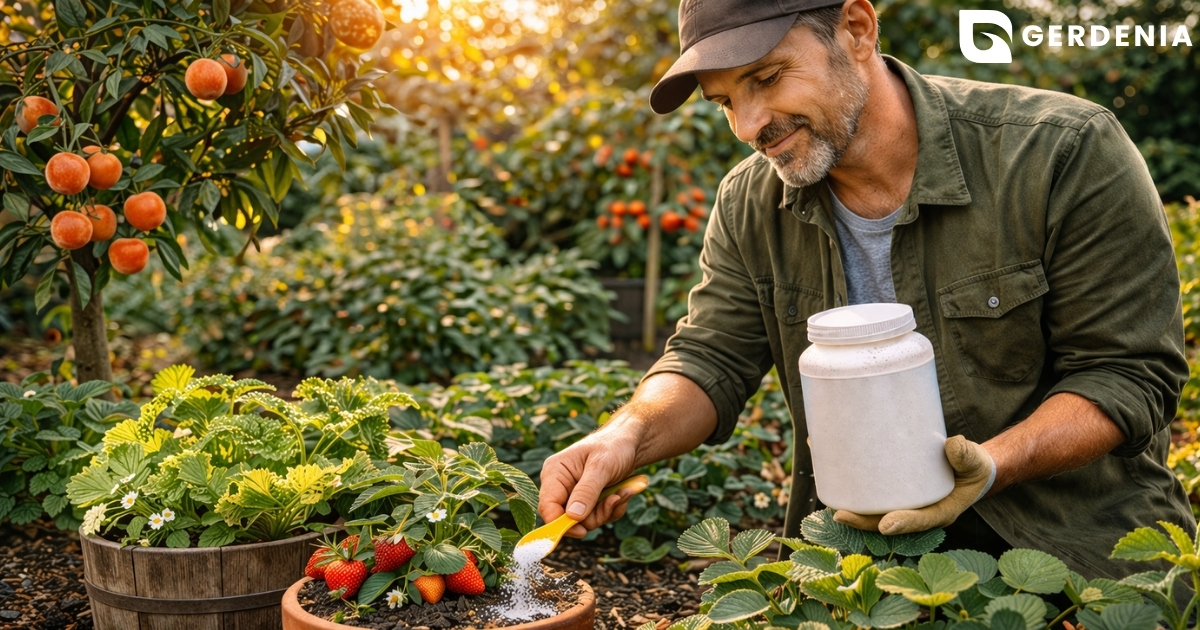
Stocking this underground pantry requires a mix of fast and slow-digesting foods. Blend these four essentials into the top layers for sustained fertility:
- Compost: For bulk nutrients and moisture retention.
- Worm castings: To deliver a concentrated burst of beneficial microbes.
- Kelp meal: For essential trace minerals.
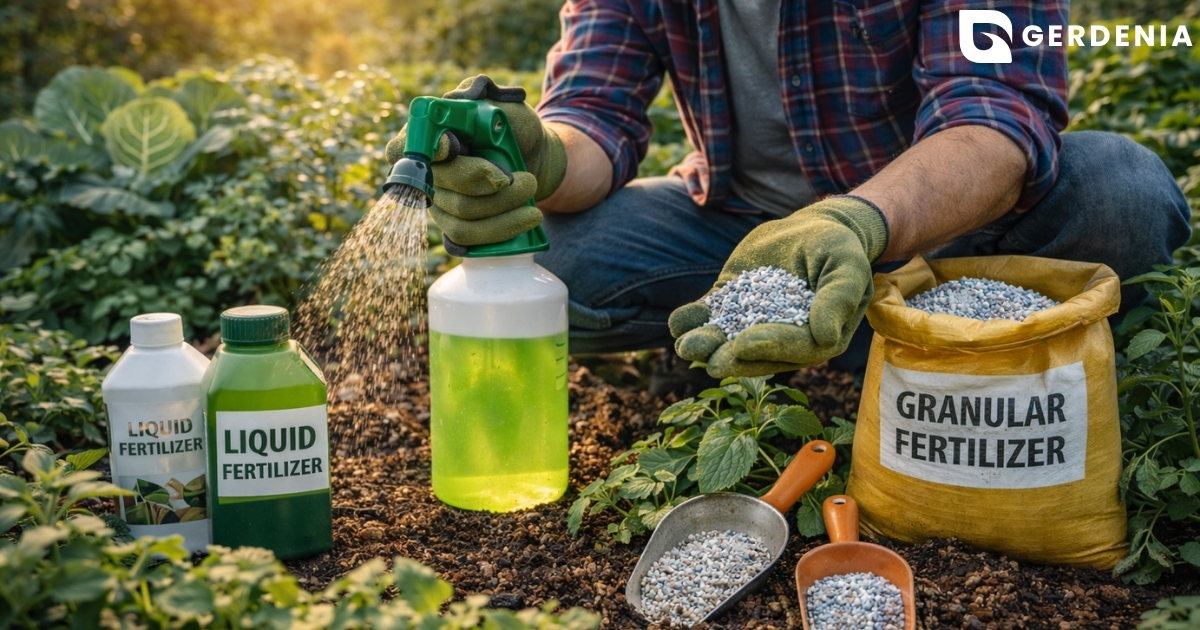
- Slow-release granules: To feed plants steadily over 3-month cycles, avoiding tedious weekly applications.
Building this rich, self-sustaining foundation ensures your vegetables thrive long after planting day.
Calculating Your Load: How Much Soil Do You Actually Need?
Standing in the garden center guessing how many heavy bags will fill your raised bed is a recipe for frustrating return trips. Basic multiplication prevents wasting money. Simply multiply your bed’s length by its width, then by its depth (in feet) to find your total cubic feet.
Knowing that volume lets you divide the total by standard 1.5 or 2 cubic-foot bag sizes to see exactly how many to load into your cart. Use this quick reference guide for common sizes:
- 4×4 bed (12″ deep) = 16 cubic feet
- 4×8 bed (12″ deep) = 32 cubic feet
- 2×4 vertical tier = 4 cubic feet
Even with perfect calculations, purchasing the exact amount often leaves boxes looking half-empty a week later due to “First Water Sinking.” Freshly poured soil is fluffy, but heavy watering causes hidden air pockets to collapse, shrinking the volume down like a wet sponge. Always plan to overfill slightly by grabbing an extra bag or two.
Your Weekend Action Plan: A Step-by-Step Filling Guide
You no longer have to stand in the garden center guessing how to prepare your containers. Instead of risking a heavy, waterlogged brick of dirt, you can confidently build a living foundation that naturally feeds your plants and lets delicate roots breathe.
To execute a professional-grade soil fill in one afternoon, follow this simple blueprint. This checklist guarantees excellent drainage and lasting productivity:
- Fill the base with your bulky organic materials (logs, sticks, leaves).
- Mix the ‘Big Three’ (moisture retention, aeration, nutrition) in a wheelbarrow.
- Layer and level the soil mixture over your organic base.
- Execute the ‘Big Soak’ to settle the layers and eliminate hidden air pockets before planting.
Give your hard work a final check using the “Squeeze Test.” Grab a handful of your new soil and squeeze it; it should gently hold its shape, but crumble easily when poked. Once you feel that perfect, chocolate-cake texture, your foundation is complete. Start small, confidently tuck your first plants into the earth, and enjoy a thriving, low-maintenance harvest!