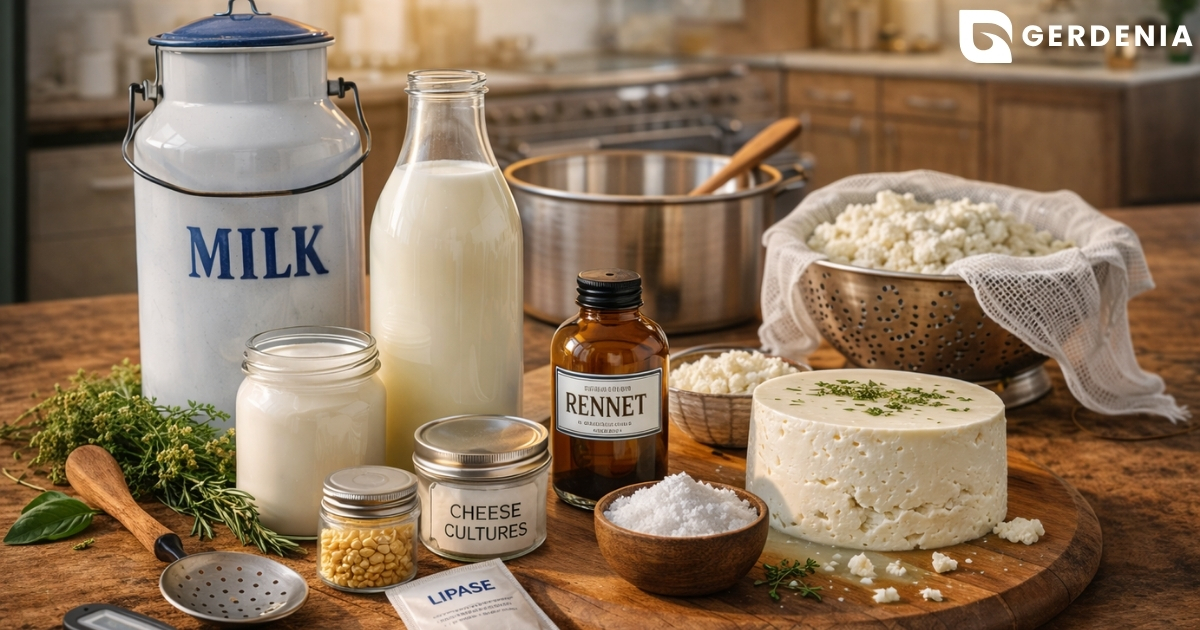
How does liquid milk transform into a firm wheel of artisan cheese? In practice, milk is essentially water containing tiny floating balls of fat and protein. Adding a catalyst acts like a magnet, forcing these microscopic proteins to snap together and expel the excess liquid. Scientists call this kitchen alchemy coagulation—the magical but highly controllable process of turning a liquid into solid curds.
The process of making cheese reveals a surprisingly accessible truth. Creating homemade batches requires just four foundational pillars: milk, an acid catalyst, cultures, and salt. Tweaking the balance and timing of these exact same ingredients dictates whether you stretch a warm knot of fresh mozzarella or age a sharp, crumbly cheddar.
Selecting the Right Milk for Creamy Artisan Results
Staring at the dairy aisle, selecting the right base from endless options is the first critical step. Your success depends heavily on choosing between standard grocery cartons and farm-fresh varieties. When weighing pasteurized vs. raw milk for home production, know that standard gently heated milk works beautifully, offering a safe, reliable canvas for beginners.
One crucial trap to avoid entirely is Ultra-High Temperature (UHT) milk. Because it is blasted with extreme heat for shelf stability, its tiny floating protein balls become permanently damaged. Think of it like trying to un-cook a scrambled egg. Those heated proteins lose their natural ability to snap together into solid curds, leaving you with a disappointing liquid soup instead of a firm block.
Finding the best types of milk for artisanal results also requires a specific chemical balance. Standard whole milk naturally provides the ideal fat-to-protein ratio—roughly equal parts of each—ensuring your final creation is rich and creamy rather than rubbery. With this perfect liquid foundation secured, you are ready to master coagulation.

Mastering Coagulation: Why Rennet is the ‘Musical Director’ of Milk
To transform that perfect liquid foundation into solid curds, you need a chemical catalyst. You can trigger this “Great Divide” using two methods: rapidly souring the milk by adding liquid citric acid for acidification, or introducing enzymes. Enter rennet, the true maestro of the process. The active enzyme inside it, chymosin, acts like microscopic scissors that snip milk proteins so they magnetically snap together. This role of rennet in milk coagulation is essential, but it requires gentle handling. Always dilute it in cool, unchlorinated water first; otherwise, you risk creating uneven, patchy curds. Today, the difference between animal and vegetable rennet is strictly ethical rather than functional.
- Citric Acid: Perfect for fast, fresh favorites (Ricotta, quick Mozzarella).
- Rennet (Chymosin): Essential for firm, aged blocks (Cheddar, Gouda).
Once these proteins lock hands and the watery whey separates out, the physical transformation is complete. Yet, creating texture is only half the magic. To develop those sharp, nutty, or buttery flavors you love, temperature control and starter cultures play a critical role.
Temperature Control and Starter Cultures: Hiring the ‘Micro-Chefs’
While rennet builds structure, friendly bacteria—your “micro-chefs”—bring the flavor through lactose conversion. They eat milk sugars and produce lactic acid over time. This ongoing feeding process is exactly what factors determine flavor and texture development, dictating whether your final wheel tastes gently milky or intensely sharp.
These tiny workers are extremely picky about their environment, highlighting the importance of temperature control in fermentation. A standard kitchen thermometer is your best tool here. If the milk gets too cold, the bacteria fall asleep; if it gets too hot, they perish, completely stalling the process. Common cheese making starter cultures fall into two distinct groups:
- Mesophilic (Cool-loving): Thriving around 86°F, these are perfect for mellow, buttery cheeses like Cheddar or Brie.
- Thermophilic (Heat-loving): Preferring warmer baths up to 130°F, these create hard, flavorful classics like Parmesan.
Once these cultures have properly acidified your batch, you must physically separate the remaining liquids from the solids to build the perfect texture.
From Slurry to Solid: Using Cheesecloth and Presses for Perfect Texture
Lifting a pot of coagulated milk reveals a chunky stew. Now begins the Great Divide: separating solid curds from liquid whey. Before practicing techniques for straining curds through cheesecloth, boil the cloth for five minutes. This crucial sterilization prevents wild kitchen bacteria from hijacking your batch. Time dictates the final moisture level; a quick 15-minute gravity drain yields fluffy ricotta, while letting it drip for hours builds the firmer base required for mozzarella. To succeed in this stage, gather these basic cheesemaking supplies for beginners:
- Accurate thermometer
- 100% cotton cheesecloth
- Sturdy colander
- Weighted press
What if you want a sliceable cheddar instead of a soft spread? That requires mechanical force. Using a cheese press for hard varieties squeezes out the stubborn moisture that gentle gravity simply cannot reach, packing loose clumps into a dense wheel. Once your curds are firmly shaped, you might wonder why a fresh block occasionally feels like a bouncy ball. These textural mysteries can be solved with a few troubleshooting adjustments and proper aging techniques.

Ending the Rubbery Batch: Troubleshooting and Aging Your Success
You no longer have to view cheesemaking as an unpredictable magic trick. When troubleshooting rubbery texture in homemade batches, focus on three immediate fixes: lower your cooking heat, reduce your rennet drops, and always wait for the firm, gelatin-like “Clean Break” before slicing. Perfect texture means nothing without a safe environment, making sterilizing equipment to prevent bacterial contamination your most crucial habit before the milk even reaches the stove.
Once confident whipping up fresh Ricotta, you are ready for the final evolution: aging. Here, helpful bacteria act as “micro-chefs,” slowly cooking the cheese from the inside out to develop sharp, robust flavors. You don’t even need a damp stone basement; simply transforming a standard refrigerator crisper drawer into a DIY “cheese cave” provides the perfect environment to age your wheels. Starting with simple curds builds the foundation needed to eventually craft and age your own custom creations.