We’ve all been there: you spot a lush, vibrant basil plant at the store, bring it home with high hopes, and three days later it is drooping sadly over the rim. When you are desperately searching for gardening help, it feels easy to assume you were simply born with a “brown thumb.” In reality, keeping plants alive isn’t a secret gift bestowed upon a lucky few. It is just a series of small, right moves.
Beautiful backyards do not require backbreaking labor every weekend. By adopting a few sustainable gardening habits, you can create a stunning space while drastically cutting down on your chore list. In practice, working in harmony with nature’s existing rules is always easier than fighting against them. This ecosystem-based approach is the ultimate way to prevent accidental plant murder because the environment actually steps in to do the heavy lifting for you.
At its core, a thriving eco-friendly yard relies on three basic pillars: healthy soil, smart watering, and plant diversity. If you build up the dirt with compost, water plant roots deeply instead of just splashing the leaves, and mix different types of flowers together, the yard naturally balances itself.
You certainly do not need a degree in botany to build this kind of resilient oasis. The best gardening advice usually comes down to stepping back and observing. Whether you need simple garden tips for a sunny patio or comprehensive gardening tips and tricks for a new backyard bed, these practices will turn your struggling sprouts into a thriving sanctuary.
Is Your Soil Starving? How to Test pH at Home and Feed Your Ground Naturally
You already know plants pull their meals from the dirt, but what if they still look hungry? Plants are remarkably like people. If the “flavor” of your soil is too sour, their roots physically cannot absorb nutrients. Before buying expensive natural fertilizers for indoor and outdoor plants, you must check the ground’s chemistry.
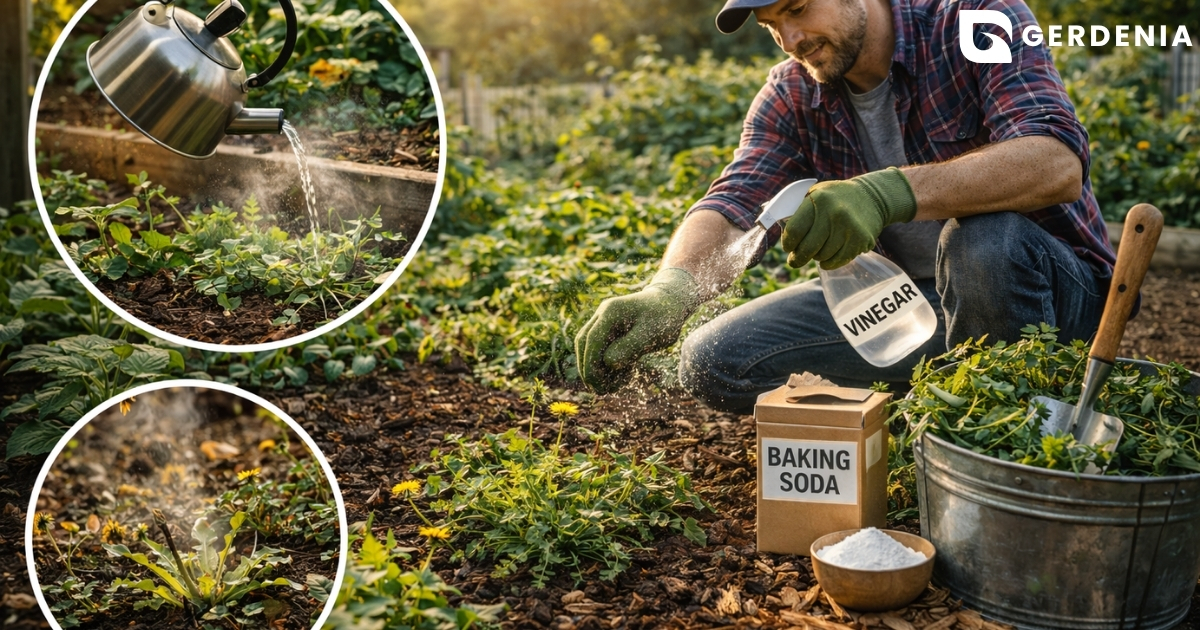
Fortunately, learning how to test soil pH at home takes five minutes using pantry staples. Try this quick experiment to see what you are working with:
- Scoop a handful of garden soil into two separate cups.
- Add a splash of vinegar to the first; fizzing means your soil is alkaline.
- Mix baking soda and water into the second; bubbling reveals acidic, or “sour,” soil.
Getting the pH right is only half the battle, as roots also need room to breathe. When weighing perlite vs vermiculite for drainage, simply consider your plant’s drinking habits. Perlite looks like crushed styrofoam and drains water away quickly, making it perfect for succulents. Vermiculite acts like a sponge, holding moisture right next to the roots of thirsty vegetables like tomatoes.
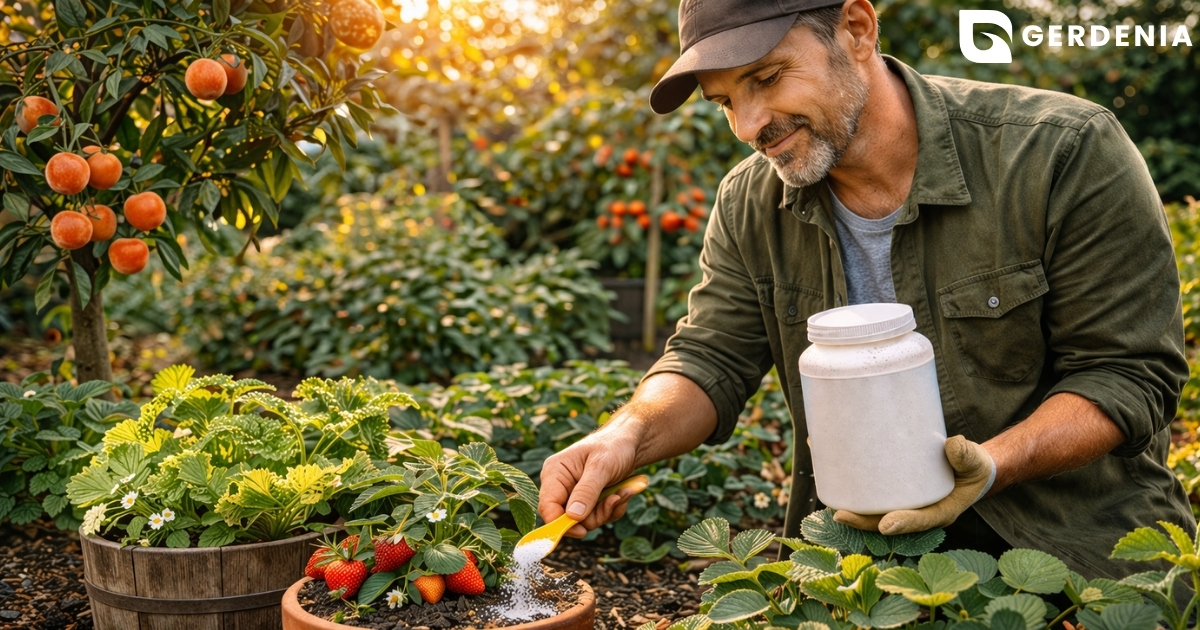
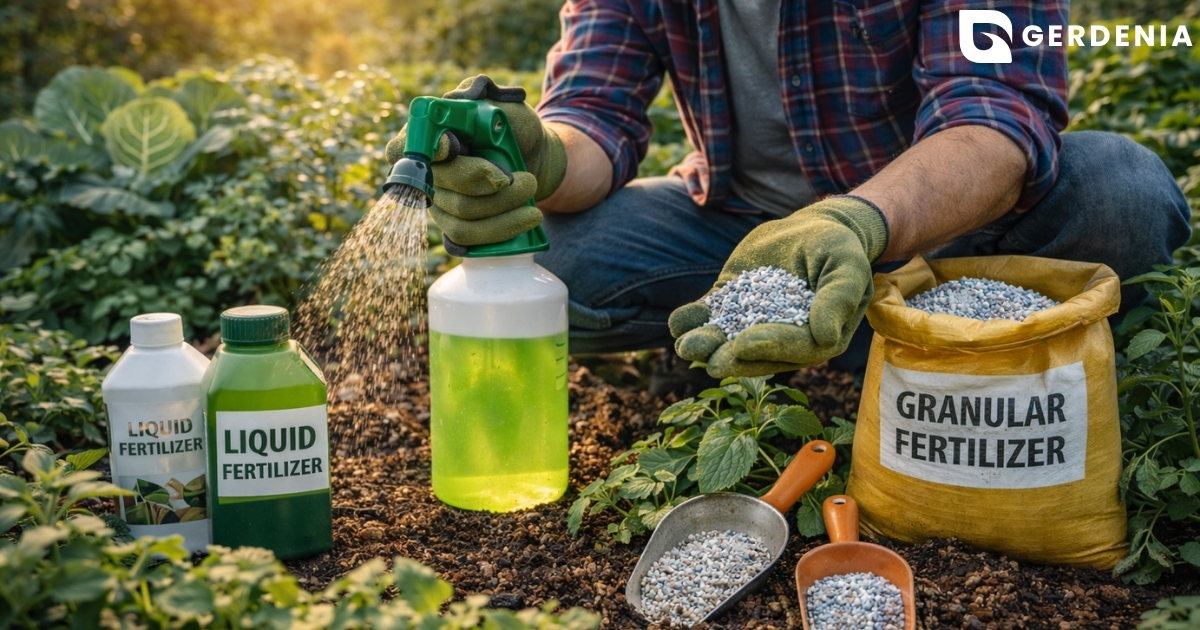
Fixing these foundation issues is surprisingly straightforward. If your pantry test revealed sour soil, sprinkling garden lime will naturally sweeten it back to a healthy balance. Once your dirt is properly tuned, you can decide exactly where your plants will live, bringing us to the choice between raised beds and in-ground gardening.
Raised Beds vs. In-Ground Gardening: Choosing the Right Foundation for Your Space

Staring at an empty yard, you might wonder whether to dig in or build upward. Traditional planting works beautifully if you have soft earth, but many of us inherit yards baked as hard as brick. When ground suffers from heavy compaction, delicate roots simply cannot push through to find water, leaving your plants struggling as if they were trapped in tiny, suffocating pots.
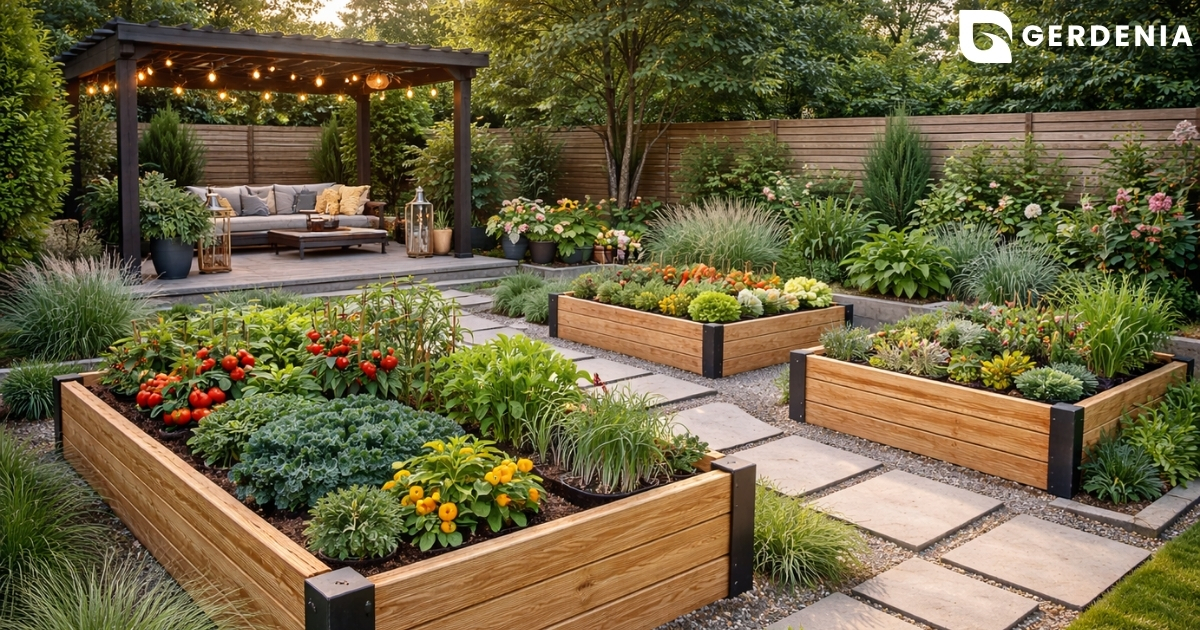
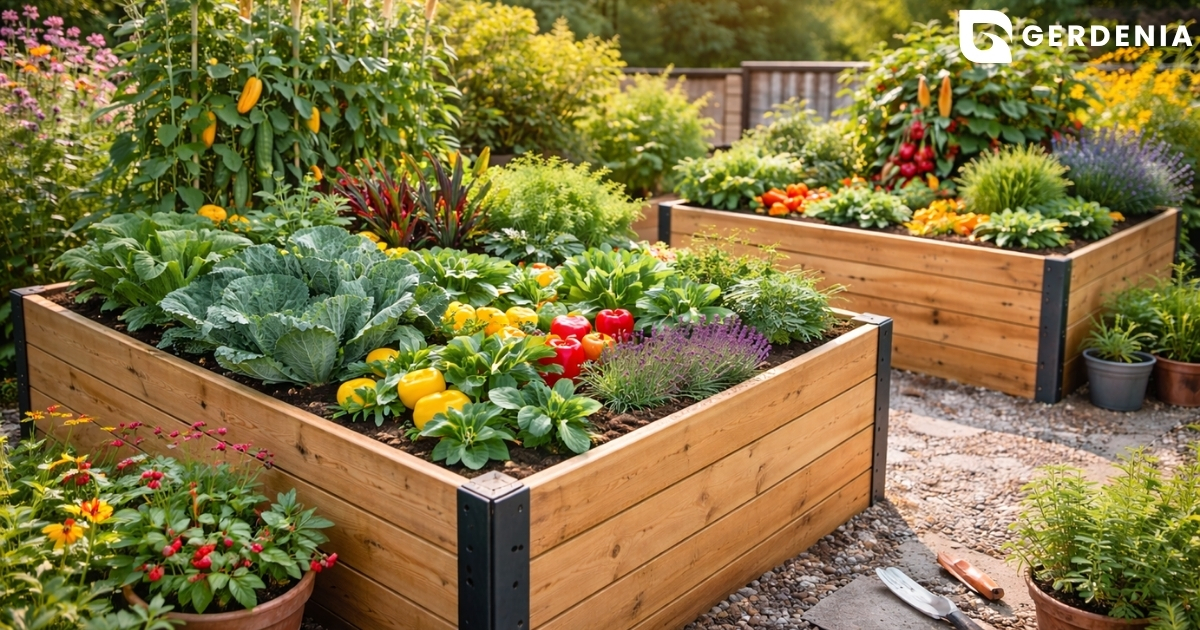
Building upward solves this underground traffic jam instantly. When weighing a raised bed vs in-ground gardening, elevated boxes offer unparalleled control because you fill them with fresh, airy dirt that drains away excess water after heavy spring rains. Because it sits above ground level, this elevated earth also warms up much faster under the early sun, letting you transplant eager seedlings weeks earlier than you could in the cold yard.
Your physical comfort matters just as much as your plants, and bringing the soil higher means significantly less bending and backache. Utilizing simple diy home gardening tips and clever garden tricks like raised containers helps maximize tight spaces easily. Once your foundation is built, your next crucial decision is placement, bringing us to the 6-hour rule: how much sun do your tomatoes and veggies really need?
The 6-Hour Rule: How Much Sun Do Your Tomatoes and Veggies Really Need?
Without enough light, seedlings stretch upward, becoming pale and flimsy. This awkward phase, called “legginess,” happens when plants desperately reach for the rays they need to survive. To prevent this stretching, you must know exactly how much sun tomatoes need daily compared to your leafy greens. “Full sun” simply means six to eight hours of direct, unfiltered light, while “partial shade” means a gentler three to six hours.
Learning to read your yard’s daily sunlight patterns is one of the most effective garden tips and tricks you can master. Here are some quick planting tips for common backyard crops:
- Tomatoes: Full sun (8+ hours) for heavy, juicy fruit.
- Peppers: Full sun (6-8 hours) to produce healthy blossoms.
- Root Veggies: Partial sun (4-6 hours) for strong, plump carrots.
- Herbs: Partial sun (4-6 hours) prevents tender basil from burning.
- Lettuce: Partial shade (3-4 hours) stops delicate leaves from turning bitter.
Mapping out these sunny patches allows you to place vegetables with similar cravings in the same boxes. This natural organization sets the perfect stage for our next strategy: the buddy system, using companion planting to boost harvests and repel pests.
The Buddy System: Using Companion Planting to Boost Harvests and Repel Pests
Grouping your veggies by sunlight is just the first step; who they sit next to matters just as much. Think of your garden like a dinner party where the right seating arrangement prevents drama. This strategy, known as companion planting, pairs specific crops together so they can share nutrients or chase away bugs naturally.
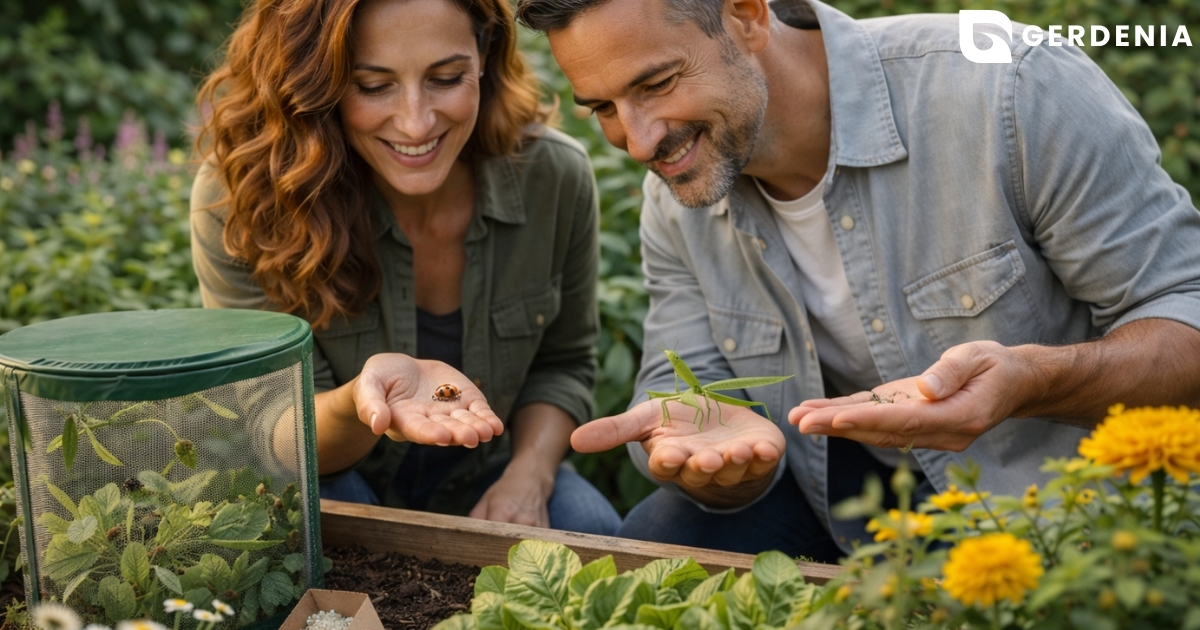
Instead of reaching for harsh sprays when insects appear, smart pairings offer some of the safest organic pest control methods for backyard plants. A clever trick called “trap cropping” acts like a natural decoy. By planting something bugs find irresistible nearby, they will happily munch on that sacrificial plant and ignore your prized vegetables entirely.
To save time and frustration this season, piece together your layout using a practical companion planting chart for vegetables. The best garden advice starts with these beginner-friendly buddies:
- Tomatoes & Basil: Basil naturally repels flies and is widely believed to boost your tomato’s flavor.
- Marigolds & Everything: Their strong, spicy scent confuses pests, making them a perfect protective border.
- Carrots & Onions: Smelly onions mask the sweet scent of developing carrots, hiding them from hungry rust flies.
When your plants actively support each other, you spend far less time hovering over them to fix problems. This effortless teamwork sets you up perfectly for the ultimate hands-off approach: thriving on neglect with the best drought-tolerant plants for low-maintenance beauty.
Thriving on Neglect: The Best Drought-Tolerant Plants for Low-Maintenance Beauty
Leaving for a weekend shouldn’t mean returning to a yard full of crispy leaves. Building a “vacation-proof” space is among the smartest home and garden tips to save money on your water bill while keeping a lush landscape. The secret is selecting the best drought-tolerant plants for low maintenance, like rugged succulents or vibrant lavender. These sturdy survivors naturally store their own moisture, meaning they actually prefer a little neglect.
Knowing when these hardy plants finally need a drink comes down to simple visual cues. Before instinctively reaching for the hose, check the foliage. A genuinely thirsty plant often shows crispy, curling edges as it tries to hold onto its internal water. Conversely, soft, heavy drooping combined with yellowing usually means it is drowning in soggy dirt. Mastering this difference is one of those essential gardening tips that prevents accidental overwatering.
When you do step outside to water, make every drop count. A deep, infrequent soak encourages roots to stretch further down, making them highly resilient during heatwaves. However, even the deepest watering won’t last if the summer sun bakes the bare dirt immediately afterward. To lock that moisture into the earth, you need a protective barrier.
Mulching Techniques: Using ‘Soil Blankets’ to Keep Roots Cool and Moist

Think of mulch as a protective blanket for your dirt. When the summer sun beats down, a thick layer of wood chips or straw keeps roots cool and locks in precious moisture. Covering bare earth also blocks sunlight from reaching pesky weed seeds, eliminating nearly 70% of your weeding work. Adopting this habit is one of the best gardening tips for keeping a polished, low-maintenance yard without spending hours on your knees.
Applying this barrier correctly prevents accidental plant rot. Avoid piling materials high against the stem like a miniature volcano, which traps wetness against the wood. Instead, use the “donut” method, an essential favorite among easy garden tricks. Spread a two-inch layer of material evenly over the root zone, but leave a small, bare ring directly around the plant’s base so the stem can breathe.
Matching your material to your space completes your mulching techniques to improve soil health. Choose durable shredded bark for permanent flower beds and quick-rotting straw for seasonal vegetable patches. As these natural coverings slowly break down and feed your plants, you might feel inspired to start creating your own organic soil boosters by turning everyday kitchen scraps into garden gold.
Kitchen Scraps to Garden Gold: Composting for Beginners Step by Step
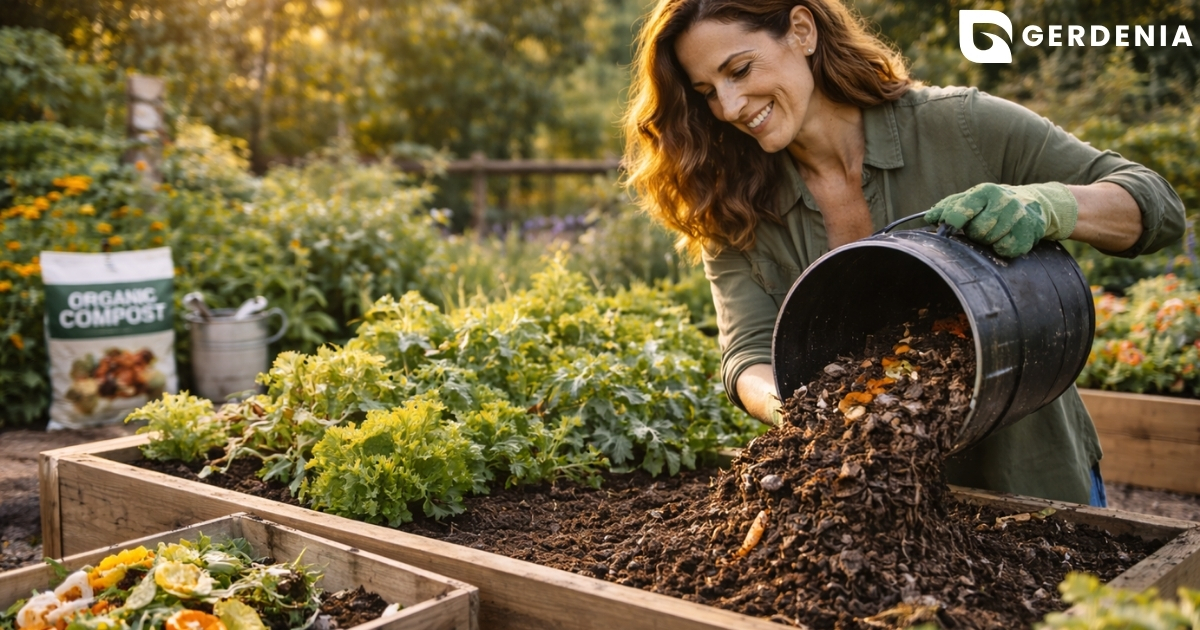
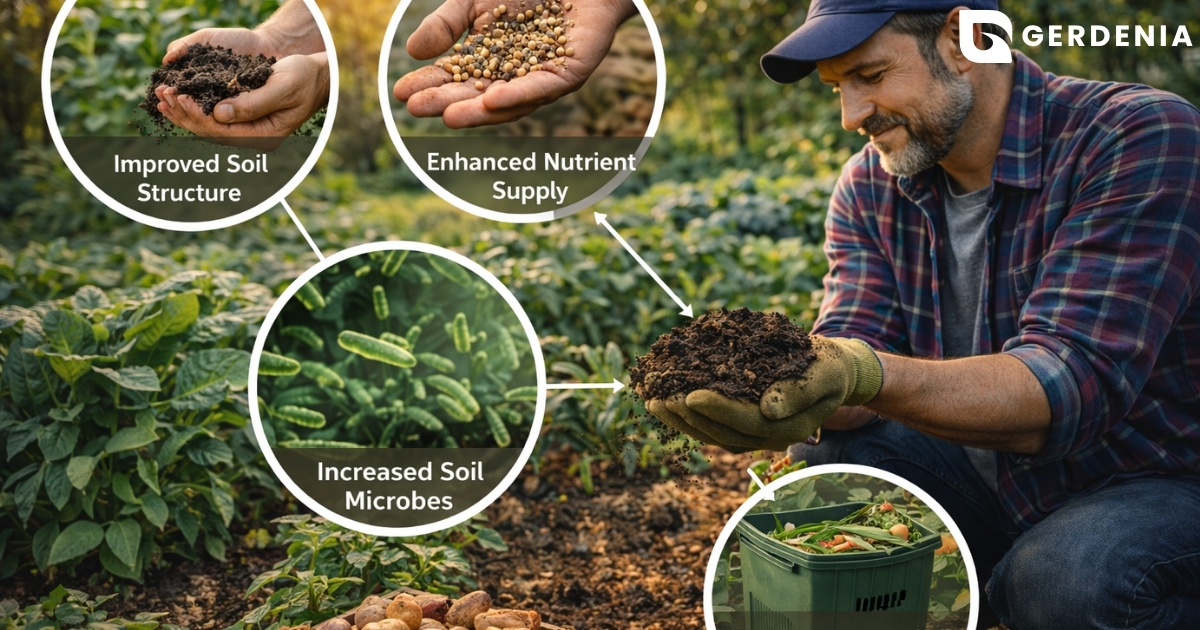
Turning morning coffee grounds and autumn leaves into rich soil might seem complex, but it is actually a simple cornerstone of proper gardening. You do not need expensive tumblers to start a zero-dollar system. By harnessing natural decomposition cycles, you create free, nutrient-dense food that consistently ranks among the best natural fertilizers for indoor and outdoor plants.
The secret to an odorless pile comes down to balancing two ingredients: “Greens” and “Browns.” Think of Greens (vegetable peels, grass clippings) as the nitrogen-rich energy drink speeding up the breakdown. Browns (dead leaves, torn cardboard) provide carbon, acting as dry fiber to prevent a slimy, smelly mess. Mixing roughly two parts Brown to one part Green creates the perfect environment for helpful microbes to do the heavy lifting.
Following this system for composting for beginners takes just a few minutes a week:
- Collect: Save your daily kitchen scraps in a small countertop container.
- Mix: Combine your fresh Greens with your stored, dry Browns.
- Layer: Add the mixture to your outdoor pile, topping it with a final layer of Browns to block fruit flies.
- Wait: Let nature run its course, turning the pile occasionally with a shovel so it can breathe.
You will know your “black gold” is ready when it smells like fresh earth and crumbles easily. This rich additive builds resilient roots, but even well-fed gardens face occasional hiccups. When sudden trouble strikes, your next step is mastering plant first aid: solving yellow leaves and using organic pest control.
Plant First Aid: Solving Yellow Leaves and Using Organic Pest Control

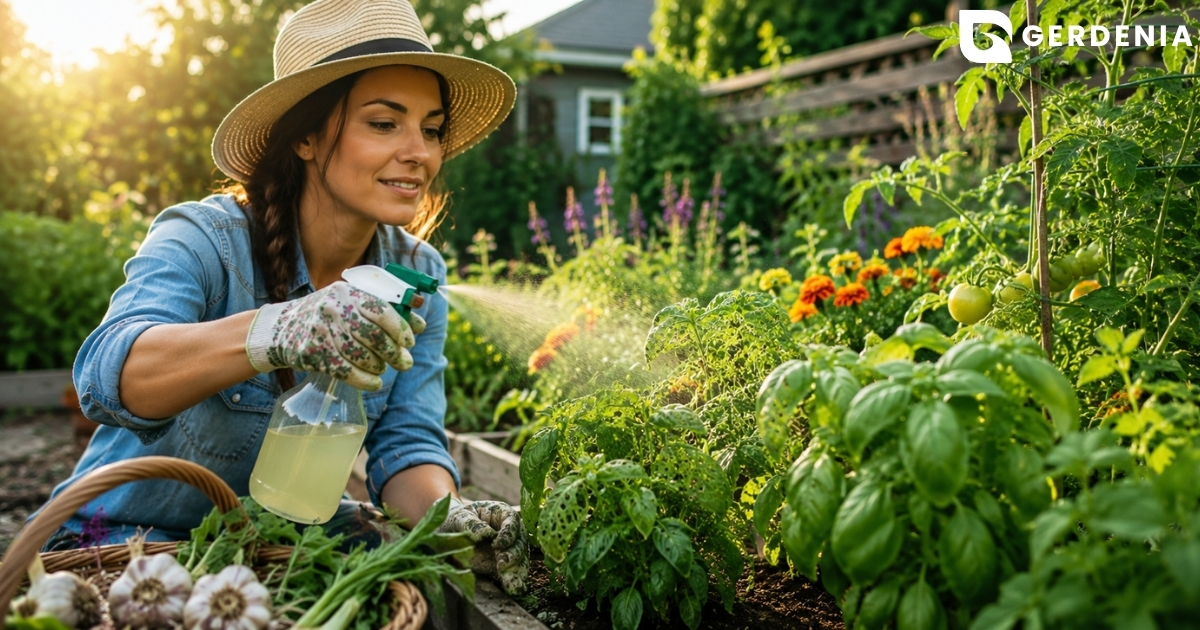
Seeing holes in your tomatoes can cause panic, but harsh chemicals aren’t your only option. One of the best organic pest control methods for backyard plants sits beside your kitchen sink. Mixing mild dish soap with water creates a gentle spray that easily washes away aphids. This safe route prevents a classic beginner vegetable gardening mistake: making your homegrown harvest toxic.
Once those bugs are banished, you might still wonder why your plant leaves are turning yellow. Foliage acts like a dashboard warning light when an environment is completely out of balance.
Decode these colorful cries for help in under a minute using this quick check:
- Water Check: Feel the dirt; yellowing edges on a soggy soil surface mean drowning roots.
- Light Check: Pale leaves stretching toward a window signal a desperate hunger for sunshine.
- Food Check: Fully yellow older leaves indicate your plant needs a nitrogen-rich fertilizer snack.
Mastering these simple fixes keeps minor hiccups from becoming fatal disasters. With healthy greenery, you can confidently scale up your growing space in tight areas.
Maximizing the Mini-Garden: Pro Tips for Porches and Tiny Backyards
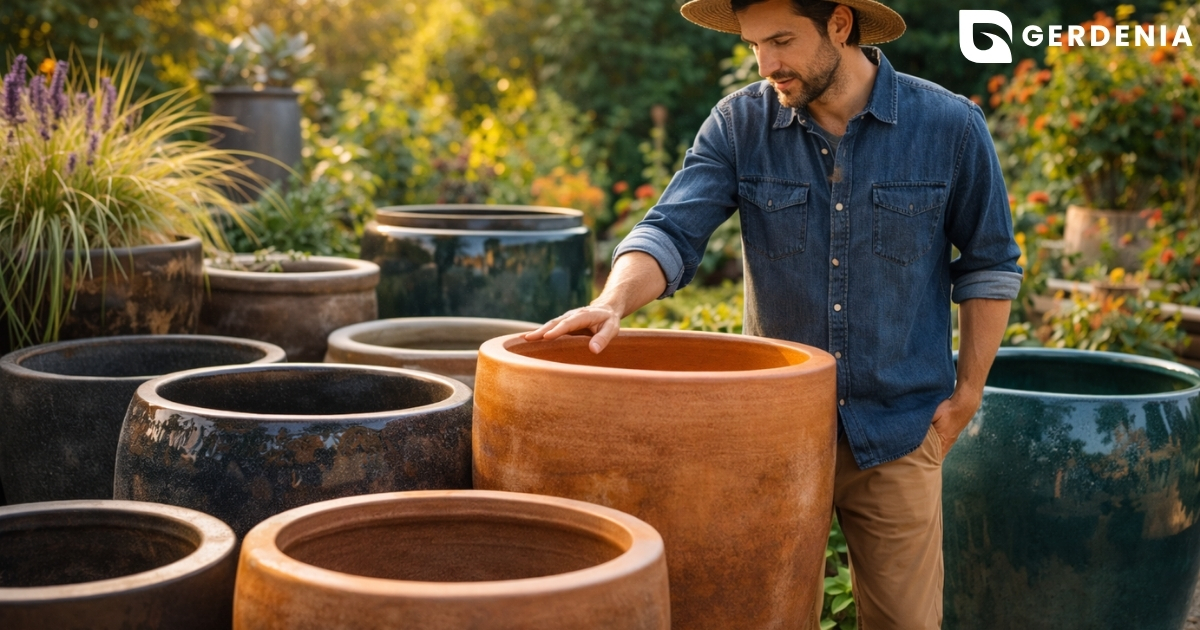
You don’t need a sprawling estate to grow fresh food; your balcony is packed with potential. One of the best diy home gardening tips is to intentionally shop for “dwarf cultivars.” Think of these as the compact-car versions of your favorite vegetables, specifically bred to thrive without stretching out. Just remember to match your pot size to the plant’s mature needs, giving the roots just enough “toe room” to spread without drowning them in a massive tub of excess, soggy dirt.
Shift your perspective from the floor to the sky by embracing vertical gardening. Instead of letting sprawling vines like cucumbers or peas take over your limited patio floor, train them to climb simple trellises or balcony railings. Growing upward is the ultimate trick for maximizing harvests in small garden spaces, effectively tripling your yield by utilizing the blank canvas of your walls.
Transforming a cramped porch into a lush oasis just requires a little strategic planning and the right garden layout. Combining perfectly sized containers with upward-reaching plants creates a beautiful, space-saving canopy that practically maintains itself.
Your Eco-Friendly Roadmap: A Seasonal Checklist for a Thriving Sustainable Garden
You no longer need to feel intimidated by your outdoor space. Armed with just a trowel, sharp pruners, and a reliable hose—the essential gardening tools for every homeowner—you now have the confidence to work with nature instead of guessing what it wants.
Turn these good gardening tips into your customized 12-month maintenance schedule using this simple seasonal garden maintenance checklist:
- Spring prep: Wake up your soil.
- Summer water: Hydrate deeply at the roots.
- Fall compost: Replenish lost nutrients.
- Winter rest: Let the garden recover.
This upcoming weekend is your perfect opportunity to dive in. On your next free Saturday, complete this clear three-step action plan: step outside with your trowel, gently clear away dead debris so plant roots can breathe, and spread a fresh protective blanket of mulch. Remember that sustainable gardening is always about progress, not perfection.
When you spot your very first bloom or pick a fresh harvest from your porch, plant care becomes much more intuitive. You are well on your way to becoming a confident eco-gardener with a space that is finally ready to thrive.