Most new gardeners pick a spot simply because it looks pretty from the kitchen window. They imagine a picturesque patch of green tucked neatly against the back fence, out of the way of daily yard traffic. But according to basic horticultural knowledge, deciding where to plant a garden based solely on the view guarantees disappointment. To help plants actually thrive, you must look at your yard through the eyes of a seedling.
Humans eat meals at a dining table, but for a vegetable, sunlight is the actual food. Think of the sun as a plant’s kitchen; it is where they manufacture the energy required to survive and bloom. In practice, placing crops in a shaded, out-of-the-way corner literally starves them. That is exactly why figuring out where to put garden beds requires prioritizing biological needs over simple backyard aesthetics.
Countless beginners abandon their hobby after a season of picking tiny, sun-starved tomatoes or pulling up rotten roots from a soggy lawn depression. Finding the best place to grow a garden means discovering the specific spot where nature does the heavy lifting. Your ultimate goal should always be maximum harvest with minimum daily effort.
Achieving that dream relies on a straightforward strategy rather than pure luck. By observing daily light, testing water drainage, evaluating soil health, and keeping everything conveniently close to the hose, you will confidently pinpoint the perfect location.

Mastering the 6-Hour Rule: How to Map Sunlight Like a Pro
To figure out how many hours of sun for garden plants you actually need, think of sunlight as your plant’s primary fuel source. “Full Sun” means an area gets at least six hours of direct light, acting as a massive energy buffet for tomatoes. Alternatively, “Partial Shade” provides about four hours of light. This is a smaller meal that works perfectly for delicate leafy greens.
Finding these bright zones does not require expensive tools, even when maximizing sun exposure in small yards. You can easily perform a sun audit using the “Clock Method” on your next day off:
- 9 AM: Notice where morning light hits and fences cast long shadows.
- 12 PM: Find the brightest, hottest spots directly overhead.
- 4 PM: Mark which areas are still glowing before evening falls.
Skipping this simple audit risks causing “leggy growth” in your yard. This frustrating problem happens when pale, skinny stems stretch desperately toward the light, eventually snapping under their own weight. Securing optimal sunlight for vegetable gardens prevents this weak stretch entirely. If your test reveals the brightest zones run evenly along a specific fence, you might have discovered a natural advantage. That observation perfectly explains why south-facing plots are real estate gold for your vegetables.
Why South-Facing Plots Are Real Estate Gold for Your Vegetables
Your basic compass directions hold the secret to finding the ultimate growing spot. In the Northern Hemisphere, the sun travels along an angled path through the southern half of the sky, making “solar aspect”—the compass direction a space faces—a crucial detail. Because the sun hovers there longest, south-facing garden plot benefits are massive, delivering the intense, all-day rays your hungry summer vegetables desperately crave.
The north side of your property tells a much different story. These spots are constantly blocked by your home’s shadow, resulting in chronically chilly soil and frustratingly slow growth. You can maximize your sunny southern advantage instead by identifying local garden microclimates right next to brick walls or concrete patios. These heavy materials provide “thermal mass,” acting like giant heat batteries that soak up intense afternoon warmth and gently radiate it back to your plants overnight.
Every final decision on where to place a garden must balance this beautiful warmth with pure practicality. The absolute best southern corner becomes completely useless if a summer heatwave bakes your plants to dust before you can haul a heavy watering can across the lawn. Efficient hydration directly determines your overall success.

The 50-Foot Hose Reality: Why Proximity to Water Determines Success
Picture lugging a sloshing watering can across the yard in sweltering July heat. That grueling chore kills motivation, which is why deciding where to plant a garden must start at your spigot. Adopt the “Lazy Gardener” radius: a comfortable zone near your back door. Keeping demanding plants in your daily line of sight guarantees proximity-based maintenance, so you will naturally spot and water thirsty leaves immediately.
Your proximity to outdoor water source connections also dictates your physical effort. A full watering can weighs roughly twenty pounds, turning long daily treks into exhausting workouts. Even when using a hose, you need a clear path to drag it without snapping fragile seedlings. When deciding how to arrange plants in a garden, place heavy-drinking tomatoes closest to the tap, reserving far corners for drought-resistant herbs.
Efficiently delivering moisture solves only half the hydration puzzle. Once you easily soak your plants, the earth underneath must handle the influx without becoming a swamp. Before committing to this highly convenient spot, you must verify the ground won’t accidentally suffocate your roots.
The 4-Hour Puddle Test: Identifying Soil That Drowns Your Plants
Drowning a plant is surprisingly easy when you assume more water is always better. Just like humans, plant roots must breathe oxygen to survive. If moisture pools underground, roots suffocate in a fatal condition known as “wet feet,” causing yellow leaves and wilting stems despite heavy watering. Deciding exactly where to put garden beds means finding earth that actually breathes.
Fortunately, evaluating backyard soil drainage doesn’t require a science degree. Before committing to a spot, you can easily check the ground’s natural plumbing using a simple technique called the Puddle Test.
Begin testing soil composition before planting by following these straightforward steps:
- Dig a hole roughly twelve inches deep and twelve inches wide.
- Fill it entirely with water and let it drain empty.
- Refill the hole immediately and check the time.
- If the puddle takes over four hours to disappear, your soil traps too much water.
Discovering slow-draining earth simply means you might need to build a raised bed to keep roots above the soggy zone. Even if your soil drains perfectly, however, you aren’t ready to plant. You still need to look down before digging deep, avoiding the hidden killers: tree roots and underground utility lines.
Avoiding the Hidden Killers: Tree Roots and Underground Utility Lines
Beautiful canopies hide greedy neighbors below the surface. Large trees survive by sending out massive root networks that aggressively steal water and nutrients from smaller, weaker plants. To protect your vegetables, you must find the tree’s “drip line”—the imaginary circle on the ground directly beneath the outermost tips of its branches. Planting outside this boundary ensures a safe distance from tree roots and shade, giving your new seedlings a fair chance to thrive without fighting for resources.
Hidden hazards also make digging blindly a dangerous gamble. Deciding exactly where to place a garden requires knowing what buried pipes or wires run beneath your lawn. Striking a gas line or internet cable turns a fun weekend project into a costly, potentially deadly disaster. Fortunately, locating underground utility lines is simple and free; a quick call to your local 811 service prompts professionals to paint safe zones on your grass.
Always clear this mandatory underground checklist before picking up your shovel:
- Cleared utility markers from local services.
- Safe spacing beyond tree drip lines.
- Confirmed property boundaries to avoid neighbor disputes.
With subterranean threats handled, protecting plants from unpredictable above-ground weather becomes the next priority.
Using the ‘Sweater Rule’ to Protect Plants from Wind and Frost
Stepping into a shady, breezy corner of your yard might make you reach for a pullover, perfectly illustrating the ‘Sweater Rule.’ That physical chill is your first clue for identifying local garden microclimates—small zones where temperatures shift dramatically from the rest of your property. Because cold air is heavy, it naturally rolls downhill to settle into the lowest dips of your lawn. Avoid these sunken ‘frost pockets,’ as they will easily stunt a new seedling’s growth.
Fast-moving air creates another invisible threat by turning narrow passages between buildings into destructive wind tunnels. When deciding where to plant a garden, steer clear of funneling gusts that can snap fragile stems overnight. Instead, set up a windbreak by using an existing fence or a dense hedge to safely block the breeze. This barrier guarantees excellent wind protection for delicate vegetables, keeping them upright while preventing their soil from drying out rapidly.
A sheltered sweet spot against a sun-baked brick wall can actually keep your soil up to five degrees warmer than the surrounding yard. This cozy temperature boost acts like a natural greenhouse, helping heat-loving crops thrive much earlier in the season. Beyond temperature control, the actual shape of the earth beneath your boots plays a massive role in garden success.

Leveling Up: Why Flat Ground and Raised Beds Beat Sloped Lawns
Watching a spilled glass of water race across a tilted table perfectly illustrates how sloped lawns treat rainfall. When evaluating your yard, selecting level ground for garden beds is crucial because gravity pulls moisture downhill faster than roots can drink it. This rapid water runoff washes away topsoil and leaves plants thirsty, forcing you to water constantly just to keep them alive.
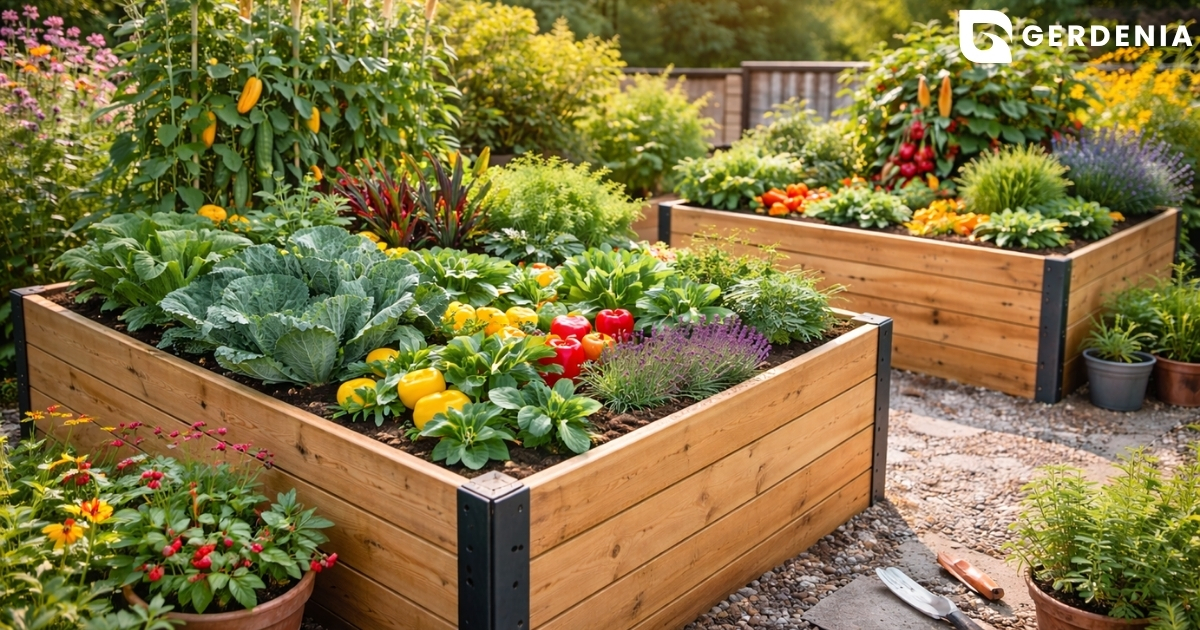
Rather than renting heavy earth-moving equipment to fix a sloped yard, you can rely on a much simpler solution. The debate of raised beds versus in-ground gardening is quickly settled when dealing with uneven terrain. Constructing a basic wooden frame allows you to create a level planting surface that captures water evenly. These elevated boxes also act as giant, self-draining sponges, protecting sensitive roots from rotting during a heavy summer downpour.
Figuring out exactly how to organize a garden ultimately depends on the physical earth beneath your boots. While naturally flat ground easily supports traditional rows, trickier slopes demand a strategic mix of leveled frames and patio containers to correct the terrain. Once you match your bed style to your yard’s shape, you must ensure this new setup isn’t a chore to reach on a busy evening.
The ‘Kitchen Door’ Strategy: Placing Your Garden for Daily Harvests
Picture walking out your back door to snip fresh basil while dinner simmers. This setup mimics a Potager—a traditional kitchen garden designed for effortless, everyday harvesting. If you tuck plants out of sight, weeds usually take over before you even notice them. Instead, establishing convenient kitchen garden access provides vital visual maintenance cues, boosting your overall harvest simply because you monitor your plants daily.
Finding the best place to grow a garden relies on creating a path of least resistance. To trigger that psychological nudge toward regular care, run potential spots through this ‘Daily Walk’ checklist:
- Can you clearly see the garden from your most-used door?
- Is it located naturally on your way to the car or mailbox?
- Does it sit close enough to the kitchen for a quick harvest?
Deciding how to organize a garden around your existing habits transforms watering from a forgettable chore into a natural two-minute routine.
Your 3-Step Action Plan to Breaking Ground with Confidence
You no longer have to guess where to plant a garden based simply on what looks nice from the patio. By combining your new understanding of sunlight, drainage, soil health, and water access, you can confidently choose a spot designed for actual growth.
Start your layout on paper before digging a single hole. Sketch your yard, trace the sun’s daily path across the grass, and quickly verify your local USDA plant hardiness zone requirements to guarantee your favorite vegetables will actually survive in your climate.
This weekend, take the first physical steps toward finding the best place to grow a garden. Perform the puddle test in your sunniest mapped area to confirm the roots will not drown, and then push a few wooden stakes into the dirt to outline your future raised bed.
Walk past those stakes over the next few days to see how easily the layout fits into your daily routine. That little marked-off patch of dirt is the starting line for the morning you finally step outside, reach into the leaves, and harvest your first perfect, sun-warmed tomato.