Walking into an empty backyard can feel exactly like staring at a blank page. You desperately want a beautiful space to relax, but deciding where to push that first shovel into the dirt often leads to paralysis. Without a solid garden layout, it is incredibly easy to buy gorgeous plants at the nursery, stick them in a random corner, and watch them wither in a single season. According to common landscaping experts, this unplanned approach is the fastest way new gardeners waste money and lose their enthusiasm.
Shifting your perspective from simply “planting things” to designing an outdoor room changes everything. Think of a garden plan exactly like a floor plan for your house. Pathways act as the hallways connecting different spaces, a brick patio serves as your living room floor, and tall evergreen hedges function as the walls offering privacy. This familiar mindset moves the focus away from just picking out pretty flowers toward creating a functional blueprint for how you actually want to live outside.
Building this space without feeling overwhelmed requires following a simple three-step priority sequence. First, define the Purpose of the area, whether that means hosting weekend barbecues or creating a quiet morning reading nook. Next comes the Hardscape, establishing the permanent “bones” like wooden decks, fences, and walking paths before any soil is turned. Finally, we layer in the Softscape—the actual living plants and shrubs—to complete your gardening layout and bring the entire outdoor room to life.
The Sun-First Strategy: How to Map Your Yard’s Light Like a Pro
You already know a tomato plant wants sunshine while a fern prefers shadows. Yet, many gardeners watch new purchases crisp up or refuse to bloom because they guessed the lighting incorrectly. The secret to plant survival is treating your yard like a puzzle of distinct light zones.

Every yard contains hidden temperature zones called microclimates—small areas noticeably hotter, colder, or wetter than the surrounding space. To perform an accurate microclimate assessment for plant placement, use the “Saturday Sun Test.” Simply dedicate one weekend day to watching how shadows travel across your grass.
Figuring out how to maximize garden sunlight requires mapping three crucial moments:
- 9:00 AM: Find the gentle morning sun. This light is perfect for delicate flowers that scorch easily in afternoon heat.
- 12:00 PM: Note high noon shadows and environmental cues. Look closely at brick walls or concrete patios, as they absorb and radiate intense heat to nearby plants.
- 4:00 PM: Identify deep afternoon shade creeping in from tall fences or neighboring trees.
Documenting these hot spots and frost pockets takes the guesswork out of layout design. Once you know where the light falls, matching a shrub to its perfect home is easy. Before digging those holes, establish a framework to organize the space by building the “bones” of your garden through hardscaping.
Building the ‘Bones’ of Your Garden: Why Hardscaping Comes Before Plants
Before buying plants for those newly mapped shade zones, you must lay your yard’s “bones.” This framework is called hardscaping—the permanent, non-living features like patios, fences, and pathways. Think of it like building a house; you wouldn’t install carpet before framing the walls. Placing these heavy structures first ensures you establish reliable hardscaping elements for functionality while tackling essential drainage solutions for sloped yards. If rainwater naturally pools near your foundation, a retaining wall or gravel trench must be installed before you dig a single flowerbed.
With the structural foundation secure, you can control how people move through and view the space. A gracefully curved walkway naturally directs attention, simplifying the process of choosing a garden focal point—like a bright wooden bench, a tall decorative urn, or a bubbling birdbath. As you map out these paths, use a smart planning technique called hydro-zoning. This simply means grouping plants with identical watering needs together. Keeping thirsty plants near the garden hose and drought-tolerant shrubs further out will save you countless hours of dragging sprinklers.
Picking surface materials for these zones depends on your budget and expected foot traffic. Consider these popular options:
- Gravel: Highly affordable and excellent for drainage, but requires solid edging to prevent stones from shifting into the grass.
- Wood: Provides a warm, natural aesthetic for decks, though it needs occasional sealing to prevent rot.
- Stone Pavers: High upfront cost, but offers unmatched, permanent durability for busy dining areas.
Now that your pathways and watering zones are locked in, it is time to start planting, prioritizing the productive areas that will yield a reliable harvest.
The Productive Patch: Designing a Vegetable Garden Layout that Actually Feeds You

Staring at an empty patch of dirt, it is tempting to just start digging, but knowing how to organize a vegetable garden begins with your earlier sun mapping. To maximize that daily light, arrange your planting beds from north to south. This simple directional trick ensures that as the sun crosses from east to west over your yard, every plant gets an equal share of sunshine without taller crops casting permanent shadows on the shorter ones.
With your orientation set, you must decide how to arrange the seeds. The classic row vegetable garden layout—long single lines of plants with walking paths between them—works great for a farmer with a tractor, but it wastes precious backyard space. Instead, try block spacing, where plants grow closer together in dense grids. Because block planting eliminates unnecessary dirt walkways between every single plant, the foliage creates a natural canopy that blocks weeds and can generate up to 20 percent more yield in the exact same footprint.
Certain high-growth crops still demand strict personal space, regardless of your chosen grid. A successful tomato garden layout, for instance, requires planting seedlings at least two to three feet apart. Though they look tiny in nursery pots, mature tomatoes need excellent air circulation around their leaves to prevent fungal diseases. When reviewing vegetable garden layout plans and spacing, treat large vegetables like the bulky furniture of your yard—give them room to breathe so they don’t smother the surrounding crops.
Mapping these footprints on paper saves you the heartbreak of uprooting overcrowded vegetables mid-summer. Yet, if your yard lacks the sprawling ground space required for these healthy spacing rules, you can still maximize yields by growing upward using raised beds and vertical layers.
Maximizing Square Inches: Small Gardens with Raised Beds and Vertical Layers

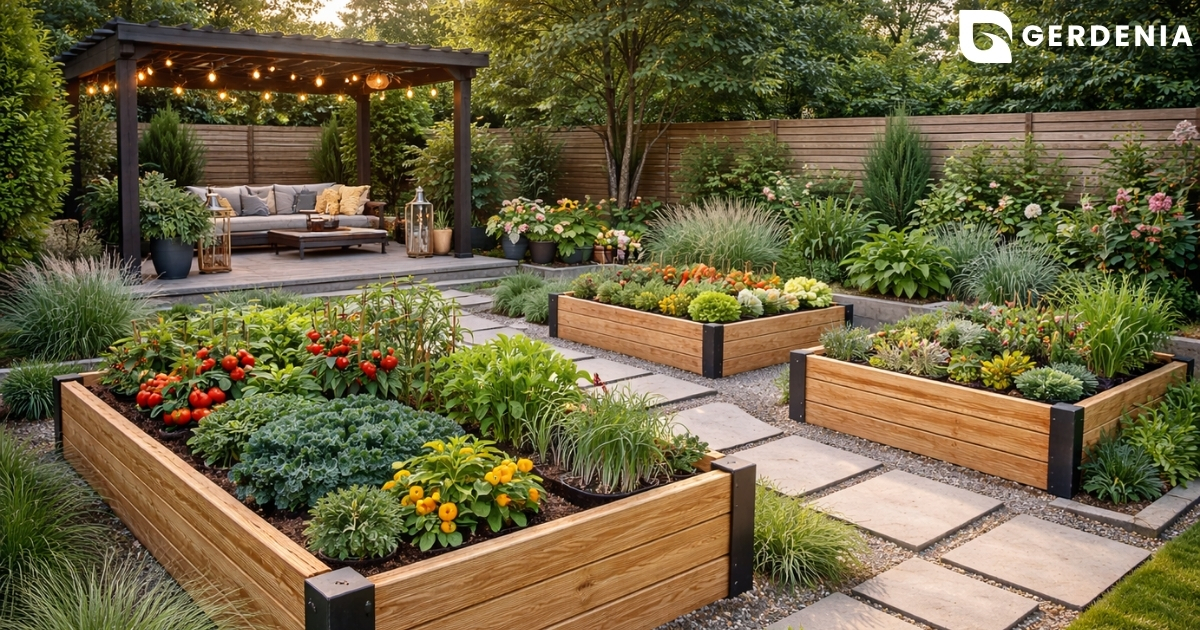
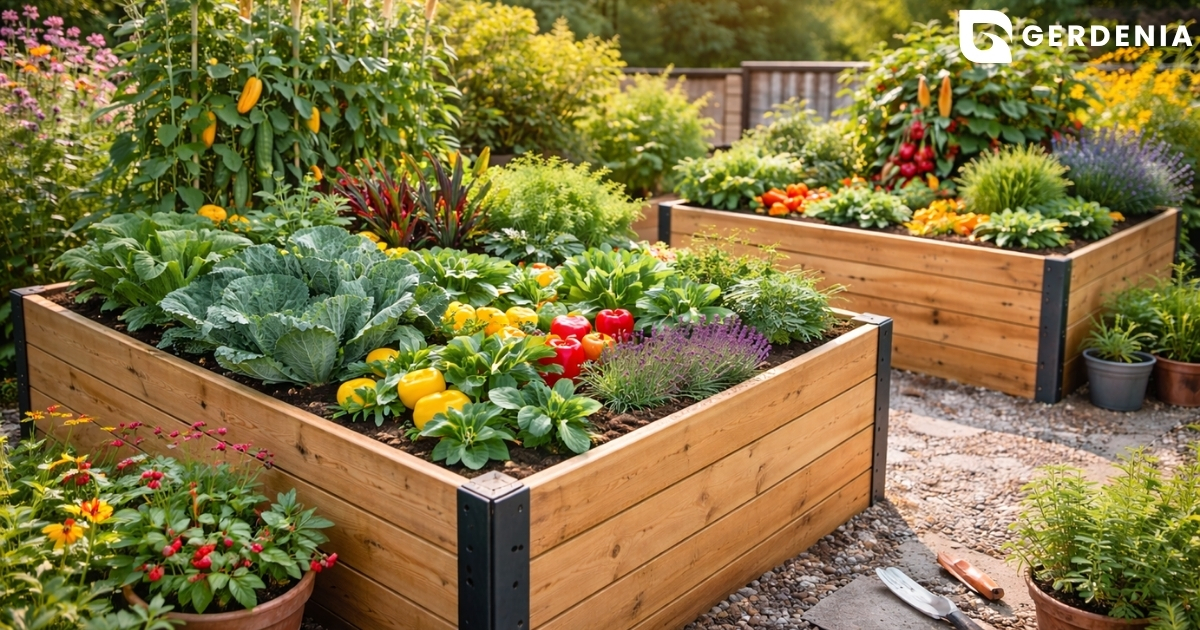
Running out of ground space doesn’t mean shrinking your harvest. When planning small gardens with raised beds, the secret to success lies in the 4×4 Foot Rule. By keeping your planter boxes no wider than four feet across, you can easily reach the center from any side without stepping on the dirt, which compacts the soil and suffocates tender roots. Think of this footprint as your garden’s kitchen island—compact enough to walk around comfortably, but large enough to produce a serious meal.
Once your boxes are built, you can double your growing area by treating your small space backyard design like a set of stadium bleachers. This strategy, known as vertical layering, ensures every leaf gets its moment in the sun. In a raised bed vegetable garden layout, place your shortest crops (like lettuce) at the front edge, medium plants (like peppers) in the middle, and your tallest plants at the very back. This staggered approach prevents large foliage from casting shadows over the smaller herbs while squeezing more greenery into the exact same square footage.
To truly maximize that back row, you must stop looking at the dirt and start looking at your fences. By integrating vertical gardening techniques, you turn empty walls into productive growing zones. The easiest way to pull this off is by pairing vigorous climbers with the correct support structures:
- Pole Beans: Need a sturdy teepee made of tall bamboo poles to twist their strong vines around.
- Cucumbers: Thrive on sturdy, angled wire A-frames, which allow the heavy fruit to hang down for easy picking.
- Clematis: Require a delicate wooden lattice or thin wire netting to wrap their tiny, fragile leaf stems around.
Even the smallest patio feels like a lush oasis when you stack your layout intelligently. However, when plants live this close together, they start competing for resources like roommates sharing a tiny apartment fridge. To keep the peace in these dense living quarters, organize plants carefully by matching their specific water, soil, and companion needs.
The ‘Good Neighbors’ Rule: Organizing Plants by Water, Soil, and Companion Needs
Throwing a thirsty hydrangea next to drought-loving lavender is a recipe for a gardening headache. The most effective strategy for creating low maintenance landscaping solutions is grouping plants by their exact thirst levels, a technique professionals call “hydro-zoning.” By keeping heavy drinkers in one irrigation zone and dry-soil survivors in another, you cut water waste by up to 30 percent while ensuring every root system thrives on the exact same watering schedule.
Beyond sharing a sprinkler routine, some plants actively protect each other when placed side-by-side. This teamwork is known as companion planting, a natural method where specific greenery repels pests that want to eat their neighbors. For instance, tucking strong-smelling marigolds next to tomatoes creates an invisible bug shield without requiring harsh chemical sprays. Referencing companion planting charts for beginners helps you easily match protective, aromatic herbs with your most vulnerable vegetables.
Visual harmony is the final piece of this neighborhood puzzle. To design stunning perennial flower bed borders—those reliable garden boundaries that return beautifully year after year—you must arrange these compatible plant groups by both height and bloom time. Placing tall late-summer bloomers in the back and short spring flowers up front guarantees a tidy, continuous display of color that never looks overgrown. Knowing exactly which plants make the best roommates establishes a solid foundation for turning your ideas into a scalable plan.
The Step-by-Step Garden Map: Turning Your Ideas Into a Scalable Plan
Now that you know which plants make good roommates, it is time to assign their permanent bedrooms. Executing a step-by-step garden mapping routine prevents the heartbreak of crowding expensive greenery into tight corners. Start by drawing your yard on a simple 1:12 scale, meaning one inch on your page equals exactly one foot of actual ground outside. To capture these physical dimensions accurately, gather your essential toolkit for mapping:
- A long tape measure
- Graph paper
- Stakes
- Colorful string
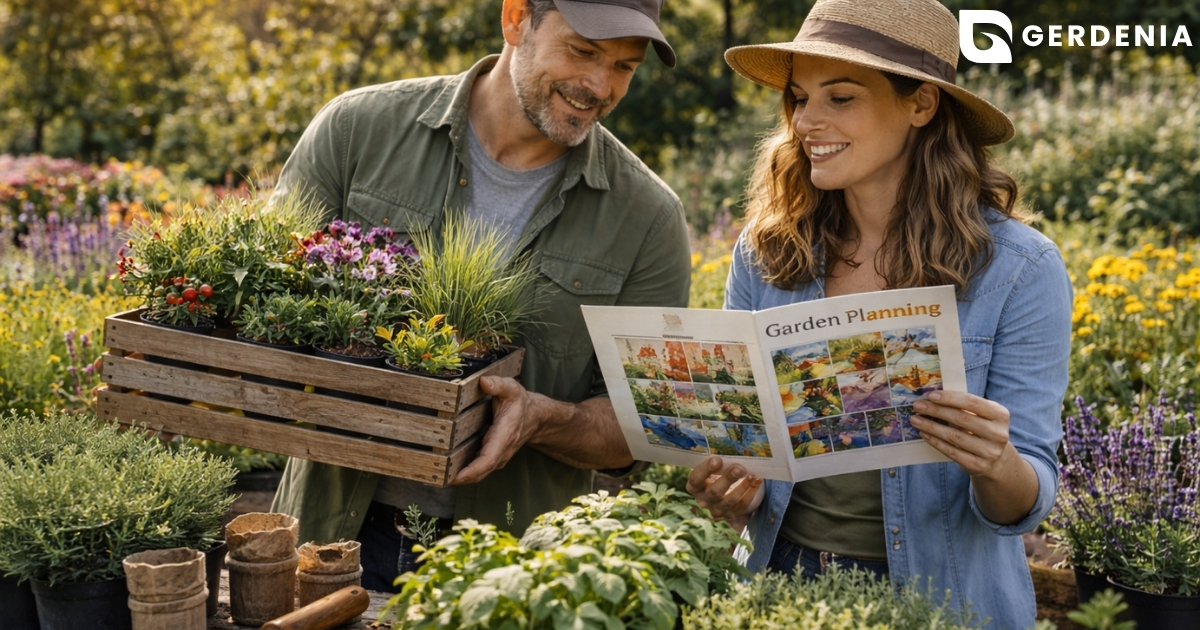
If sketching feels intimidating, exploring the best garden planning software tools can easily do the heavy lifting for you. These beginner-friendly apps let you drag and drop patios and shrubs onto a virtual grid to see how everything fits together. More importantly, they automatically display the mature sizes of your selections, ensuring those cute little nursery pots do not turn into a tangled, overgrown jungle three years down the road.
Stepping back into your yard with these dimensions in hand bridges the gap between imagination and reality. Understanding exactly how to lay out garden beds becomes foolproof when you drive stakes into the soil and connect them with string to trace your blueprints. Walking around these physical outlines guarantees your pathways are actually wide enough, establishing a clear roadmap from your first sketch to your first harvest.
Your Garden Layout Roadmap: From First Sketch to First Harvest
Staring at a blank backyard no longer needs to feel overwhelming. You now have the tools to stop guessing at the nursery and start designing your outdoor space with purpose. By treating your yard like an interior room, you can confidently arrange both hardscape and plant layers.
Put this into practice with a 30-day startup plan. Spend your first weekend tracking sunlight, then draw a simple garden plan mapping your main paths. Next, reserve the sunniest zones for vegetable garden layout ideas and sketch garden bed layout ideas for your borders. Plant one small section first to build your confidence and establish realistic maintenance expectations.
A landscape is never finished; it naturally evolves alongside you. Try mapping just one new pathway or seating area this week, and notice how it instantly changes your space. Step outside today, trust your newly trained eye, and watch your empty canvas slowly transform into a functional, beautiful extension of your home.