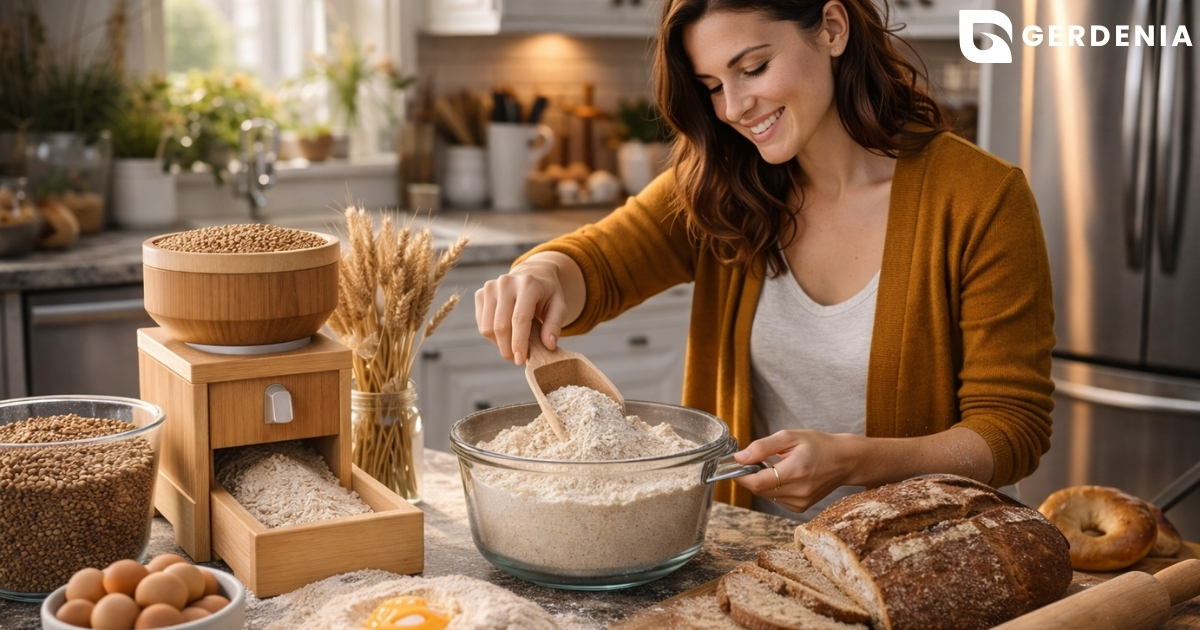
Imagine the smell of bread baking in your oven, but with a richness and sweet, nutty aroma you have never quite experienced before. That secret is not a complicated technique; it is an ingredient you made yourself: fresh ground wheat flour. Most of us treat flour as a permanent, shelf-stable powder that lasts forever in the pantry, but true grain is actually a live food waiting to be unlocked.
Industry data reveals a surprising truth about that convenient bag in your kitchen: commercial flour often loses up to 90% of its key vitamins within days of milling unless it is heavily processed. Once a kernel is cracked open, it begins reacting with the air around it in a process called oxidation (staling). Just like a sliced apple turns brown and soft on the counter, milled grain quickly loses its vibrant flavor and nutritional power when exposed to oxygen.
Look closely at the visual differences between commercial and DIY ingredients, and you will immediately spot the advantages. Factory-processed dust looks pale and flat, while the nutrient density of fresh stone ground flour gives it a creamy, golden hue alongside a wonderfully gritty, aromatic quality.
Learning how to make homemade flour solves this staleness problem by allowing you to easily follow the 72-hour freshness rule. Baking experts agree that using your flour within three days of grinding captures the peak flavor and maximum nutrition before the delicate natural oils can spoil. Taking control of this simple step transforms your everyday baking from a standard recipe into a truly nourishing, artisanal experience.

The Anatomy of a Grain: Why the Bran and Germ Are the Secret to Real Nutrition
Most of us treat baking as a simple process of mixing powder and water, never realizing that standard grocery store bags leave out the best parts of the plant. The real difference between whole grain flour vs refined white flour comes down to what survives the commercial milling process. Massive factories strip away the most flavorful, nutritious components of the grain simply to extend the shelf life of their products.
Think of a wheat kernel as a tiny survival kit packed with everything a new plant needs. When learning how to turn wheat into flour, understanding this little package is the secret to unlocking incredible taste. Transforming whole wheat to flour at home means grinding up all three essential parts:
- The Bran: The tough, protective outer shell, loaded with essential fiber and B vitamins.
- The Germ: The tiny sprouting core, packed with healthy fats, antioxidants, and rich, nutty oils.
- The Endosperm: The starchy middle section that provides energy and gives baked goods their fluffy structure.
Keeping these elements intact completely transforms your food. Because the germ holds delicate, flavor-rich oils, grinding the entire seed captures a fresh, sweet taste that refined powders simply lack. This basic anatomy makes it much easier to select the perfect ingredients for your kitchen goals, dictating the choice between hard wheat and soft wheat for breads or biscuits.
Hard Wheat vs. Soft Wheat: Choosing the Right Berry for Bread or Biscuits
With the grain’s anatomy clarified, the next step is shopping for raw ingredients. Whole, unprocessed kernels are simply called “wheat berries” by farmers and bakers alike. Finding the right grain to make flour can feel overwhelming when looking at bulk bins, but the secret to picking the perfect seed comes down to an invisible factor inside the endosperm: protein.
Think of flour protein like a stretchy net that catches air. When mixed with water, high-protein flour creates a strong, elastic web that traps yeast bubbles and helps dough rise beautifully. Bakers refer to this as “strength.” Strong grains make chewy, structured foods like bagels or pizza crust, while low-protein grains create the fragile, delicate texture needed for tender muffins and pie crusts.
Finding the best wheat berries for bread flour means looking for the word “hard” on the packaging. Hard red wheat offers a robust, earthy flavor perfect for rustic loaves, while hard white wheat yields a milder, sweeter taste closer to traditional sandwich bread. Learning how to make bread flour at home simply requires taking either of these high-protein berries and grinding them down into a fine powder.
Soft white wheat berries sit on the completely opposite end of the spectrum. These lower-protein seeds are the secret to baking incredibly light biscuits and fluffy cakes without the dough turning tough or rubbery. Once you select your ideal grain based on your baking goals, you do not need to buy an expensive mill right away. You can easily start by turning your kitchen gadgets into grain grinders using a simple blender and food processor hack.
Turning Your Kitchen Gadgets into Grain Grinders: The Blender and Food Processor Hack
Most of us assume that learning how to make flour requires expensive specialty equipment. In reality, you can start experimenting today using tools already sitting on your kitchen counter. While standard appliances aren’t designed for daily bulk milling, grinding grains in high speed blender pitchers works wonderfully for occasional baking. You can even whip up a quick batch of diy oat flour in food processor bowls for weekend pancakes.
The biggest challenge with these everyday gadgets is temperature control. Just like rubbing your hands together creates warmth, fast-spinning blades generate intense friction heat. If the powder gets too hot, it can literally “cook” the grain’s delicate oils, spoiling that fresh, nutty flavor.
To protect your appliance’s motor and preserve your flour’s nutrients, rely on this simple process:
- Chill the grain: Freeze berries for an hour before blending to combat heat.
- Use small batches: Blend only one to two cups at a time.
- Pulse technique: Run short 15-second bursts, resting the motor in between to cool.
- Sift out large bits: Pass the finished powder through a mesh strainer.
Once outgrowing this basic kitchen hack, the next logical step is upgrading to a dedicated manual or electric mill.

Manual vs. Electric Mills: Finding Your Perfect Grinding Partner
Upgrading from a basic blender is an exciting milestone when milling flour at home. The first big decision is choosing between manual vs electric grain mills. Hand-cranked models offer an unplugged, quiet experience perfect for occasional baking, while electric versions provide the fast convenience most modern households crave.
The internal mechanics dictate the quality of your final bake. An electric impact mill works much like a hyperactive blender, using rows of stainless steel fins to shatter the grain mid-air. While these machines produce fine powder quickly, they sound like a loud shop vacuum on your counter, making them a tough sell for peaceful morning routines.
When weighing an impact mill vs stone burr grinder, the latter reveals a much gentler approach. Stone burrs use two grooved plates to slowly shear the kernels apart. Since we already know that fast-spinning metal generates damaging heat, this slower crushing action creates a “cool-grind” effect, beautifully preserving those fragile, flavorful oils inside the seed.
Your perfect machine ultimately depends on whether you prioritize lightning-fast results or a quiet, heat-controlled process. Whichever grinder claims a permanent spot on your kitchen counter, achieving the absolute best, fluffiest texture requires a surprisingly simple trick: a tiny splash of moisture.
The Tempering Secret: Adding 2% Water for Better Flour Texture
That tiny splash of water unlocks a professional technique called tempering. When tempering wheat berries before grinding, you simply stir about one teaspoon of water into a pound of grain and let it rest in a sealed jar overnight. This effortless step fundamentally changes how the seeds behave inside your machine.
Think of a dry autumn leaf crumbling when squeezed. Bone-dry grains act exactly the same way, with their tough outer shell (bran) shattering into tiny, dusty shards that make your bake gritty. By adding a touch of water, the bran becomes slightly damp and pliable. Instead of exploding into a messy, coarse dust, it peels away from the powdery center (endosperm) in broad, clean flakes.
Controlling this outer layer is a crucial step in making flour that performs beautifully. Without microscopic bran shards slicing through your delicate dough, your breads will achieve a noticeably higher, fluffier rise. Preparing flour with this moisture trick guarantees a silkier texture, though removing those softened bran flakes entirely remains ideal for lighter pastries and delicate cakes.
How to Sift Homemade Flour for Silky White and Pastry Results
Delicate cakes often require a softer touch. Learning how to make white flour at home simply comes down to filtering. When you pass fresh-milled grain through a fine screen, you control the “extraction rate.” This practical baking term describes the percentage of the original grain remaining in your bowl after removing bran and germ from whole wheat. Sifting away those larger, fibrous flakes leaves you with a silky, high-extraction white flour.
Achieving this lighter texture depends on choosing the correct sieve. Sifters use “mesh sizing,” which counts the tiny holes per square inch:
- 40-mesh (coarse): Removes the largest bran pieces while maintaining a rustic feel.
- 50-mesh (standard): The perfect sweet spot for everyday sandwich breads.
- 60-mesh (fine pastry): Exactly how to sift homemade flour for pastry and airy sponge cakes.
Transforming your fresh grind into a versatile powder gives you the freedom to bake anything. However, if the sifted ingredient still feels unpleasantly rough, the sieve might not be the culprit. Proper texture control through double-milling is the next crucial step to ensuring bakery-quality results.

Fixing the ‘Gritty’ Problem: Texture Control for Smooth Dough
Sometimes, your dough feels like wet sand instead of a smooth cloud. When fixing gritty texture in homemade flour, the issue usually stems from expecting a single pass to do all the work. Just like trying to blend a frozen smoothie in five seconds, rushing the process leaves behind stubborn, coarse fragments that refuse to absorb water properly.
Learning how to grind your own flour correctly often involves a simple trick called “double-milling.” First, run the grain through your machine on a coarse setting to simply crack the tough kernels. Next, let those warm particles cool slightly, and then grind them a second time on a much finer setting to finally achieve a soft, powdery consistency.
Making flour perfectly suited for different recipes using the exact same machine relies on calibration. This simply means adjusting your blender speed or mill dials based on a specific grain’s unique hardness before you start grinding. While mastering these quick adjustments ensures beautiful bread today, protecting the fresh ingredient requires proper storage to prevent rancidity.
The Fresh Flour Shelf-Life Secret: Preventing Rancidity in Bulk Grains
When milling flour from scratch, you fundamentally change the grain’s biology. The tiny germ inside each kernel holds healthy oils, and crushing the protective shell suddenly exposes them to oxygen. This triggers oxidation, the exact same natural process that turns sliced apples brown on your counter. Because oxidation speed is incredibly fast in a fine powder form, those exposed fats can quickly go “rancid,” losing their sweet flavor and developing a distinct, sour smell resembling dusty cardboard or old playdough.
Protecting the shelf life of freshly milled flour requires treating it more like fresh produce than a dry pantry staple. Heat and light accelerate spoilage, making cold storage your absolute best defense. Simply pack any leftover powder into an airtight bag or jar and freeze it immediately. This easy habit pauses the degradation process, preserving those nutritious oils for several months instead of just a few short days.
Fortunately, storing bulk grains for long term use is incredibly simple because intact kernels wear their own natural armor. Keep whole berries in sealed buckets within a cool, dark space, and they will happily last for years. Once ingredients are safely tucked away, the baking process requires a slight recipe adjustment: adding more water.
Adjusting Your Recipes: Why Fresh Flour Thirsts for More Water
Swapping a commercial bag for a fresh grind requires a mindset shift in your recipe approach. Store-bought brands use chemical conditioners to guarantee predictable results, but learning how to make flour at home means working with a whole, living ingredient. Your freshly ground wheat contains the fibrous outer shell (bran), which completely changes how it interacts with liquids.
Because that bran acts like tiny, thirsty sponges, you must increase the hydration absorption in your dough. Standard recipes assume you are using refined powder. When figuring out how to mill your own flour for bread, a good rule is adding an extra tablespoon of water per cup. The mixture should feel slightly stickier than usual initially.
A brief timeout is the secret to achieving a soft, fluffy loaf. Implementing a twenty-minute dough resting period allows those fibrous flakes to fully soak up the liquid and soften. If you skip this pause when you make your own bread flour, the sharp, dry bran pieces will slice through delicate gluten strands during kneading, creating a heavy brick.
After that short wait, the dough will miraculously transform from a shaggy mess into a smooth, workable ball. Mastering this simple water adjustment proves that artisanal baking just requires a little patience. Beyond mastering the handling of these robust grains, milling whole berries also offers significant financial benefits.
The Economics of Milling: Cutting Your Grocery Bill with Bulk Grains
Most bakers hesitate to buy a dedicated grain mill because of the initial price tag, but looking at the long-term math reveals a surprising reality. When figuring out how to make homemade flour, you aren’t just creating a pantry staple; you are unlocking incredible nutrient-per-dollar value. A premium bag of artisanal whole wheat loses delicate vitamins weeks before hitting the grocery shelf. By purchasing intact wheat berries—which act like tiny, naturally sealed survival kits that last for years in airtight containers—you secure maximum nutrition for a fraction of the supermarket price.
Sourcing these bulk bags is easier than ever, with local co-ops and online retailers shipping heavy buckets directly to your door. The true cost savings of milling your own flour becomes obvious when you review the daily numbers:
- Cost comparison per pound: Store-bought specialty ($2.50), Bulk grain ($0.60), Savings per loaf ($1.90).
Recouping your appliance investment happens remarkably fast at that rate. If your family bakes just two artisan loaves a week, an entry-level electric stone mill pays for itself in under a year. Beyond economics, mastering how to mill your own flour provides absolute control over your ingredients without relying on store-bought preservatives. These financial rewards make establishing a weekend milling plan highly practical for baking that first homemade loaf.
Your Weekend Milling Plan: 3 Steps to Your First Homemade Loaf
You used to look at a bag of store-bought flour as a static, shelf-stable powder. Now, you hold the knowledge to unlock a fresh, vibrant ingredient right in your own kitchen. Learning how to make flour at home shifts your perspective from a simple consumer to an active creator, proving that you no longer have to settle for baked goods lacking in natural oils and complex flavors.
Avoid information overload by executing a low-stakes first milling project using existing kitchen tools. Follow this progression to build confidence:
The ‘First Loaf’ Checklist:
- Start with Oats (easy)
- Move to Hard Red Wheat
- Record your hydration levels
Track your progress with a dedicated baking journal to master how fresh homemade flour behaves differently than older, commercial bags. As you experiment, pay close attention to the sensory changes happening in your kitchen. Your primary goals are achieving a fine, powdery texture and noticing an enhanced nutty aroma. These are your true success metrics, serving as proof that the delicate oils and vitamins remain perfectly intact after grinding.
Every batch brings you closer to genuine culinary independence. You are no longer just following a recipe to bake a loaf of bread; you are capturing the peak vitality of a whole grain before it fades. Step into your kitchen, fire up your blender or mill, and experience the unparalleled taste of true freshness in your next bake.