There’s nothing quite like the scent of damp earth warming in April, yet for many beginners, that excitement quickly turns into the frustration of a wilted plant. Experienced gardeners know that the core of our Essential Tips for Spring Planting Success relies entirely on preparation, not a magical “green thumb.”
Think of your backyard like building a new home: if the base is weak, the entire structure eventually collapses. This is exactly why the “Foundation Trio”—your soil, your timing, and your plant selection—is crucial to understand. According to time-tested wisdom, mastering these three gardening essentials helps you avoid common pitfalls like the ‘May Frost’ trap, where planting too early leaves delicate seedlings exposed to a sudden, season-ending freeze.
Setting a realistic goal right now will keep this hobby incredibly rewarding. Rather than expecting a massive, magazine-worthy harvest your first year, simply watch for sturdy stems and bright new green growth as your primary success metrics. Applying these fundamental spring planting tips ensures you are building a predictable, thriving ecosystem from the ground up.
When is it Safe to Plant? Finding Your Local ‘No-Fly Zone’ for Frost
Spring fever makes us want to buy bright green tomato seedlings the moment they hit store shelves. Before you grab a trowel, you need to know what temperature is safe for spring planting. Even if the afternoon sun feels warm, night temperatures below 50 degrees Fahrenheit will shock tender vegetables like basil and peppers, stunting their growth for the summer.
To avoid this heartbreak, start by checking a USDA plant hardiness zone map guide. Think of this map as your geographic safety net. By dividing the country into numbered zones based on extreme cold weather, it tells you exactly which plants can naturally survive your local winters.
While zones dictate what you can grow, your local frost schedule tells you when to plant. Think of this date as a “No-Fly Zone” for your garden. To safely time your planting:
- Search online for your last frost date by zip code to find your historical average.
- Identify if your plants are “hardy” (survive light freezes) or “tender” (must avoid frost completely).
- Calculate a 10-day safety buffer after that predicted date before putting tender starts in the ground.
Waiting for the right weather can test your patience, but you do not have to sit idle. With your calendar marked, you can use the extra time to begin preparing the ground itself.
Wake Up Your Dirt: How to Test and Amend Soil for Thirsty Roots

Have you ever bought a healthy plant that turned yellow within weeks? The hidden culprit is often poor drainage, because roots actually need to breathe. If your yard is full of heavy, wet clay, water gets trapped and suffocates the plant. Before buying soil testing kits for home gardens, try the simple “Sponge Test.” Squeeze a handful of moist dirt; it should hold together like a wrung-out sponge but crumble easily when gently poked.
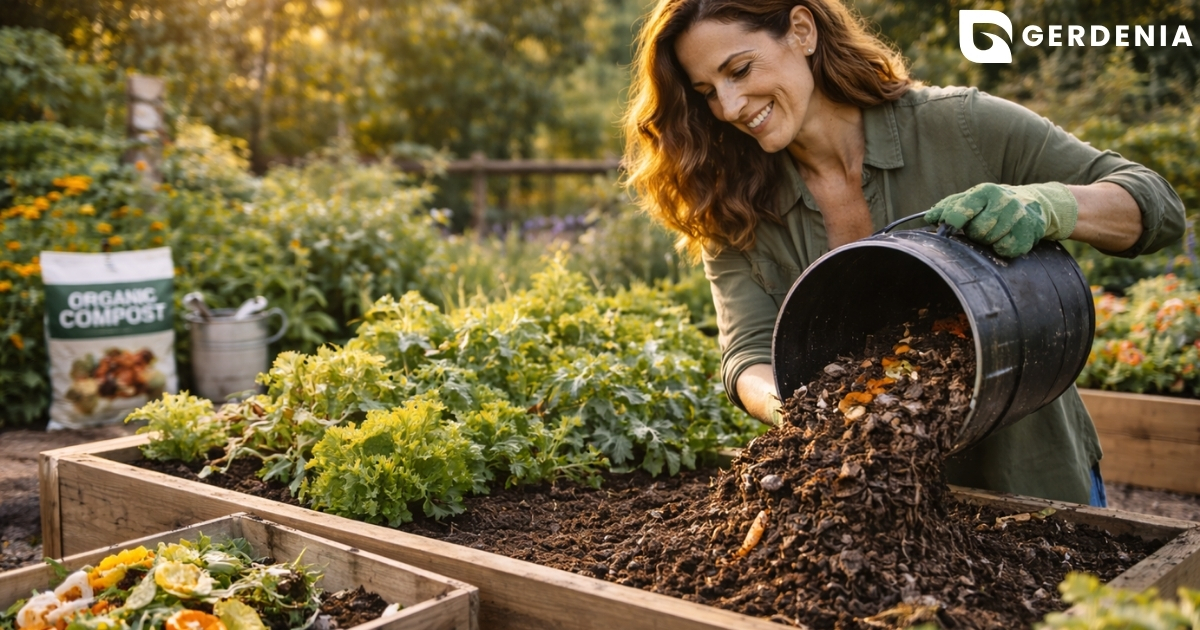
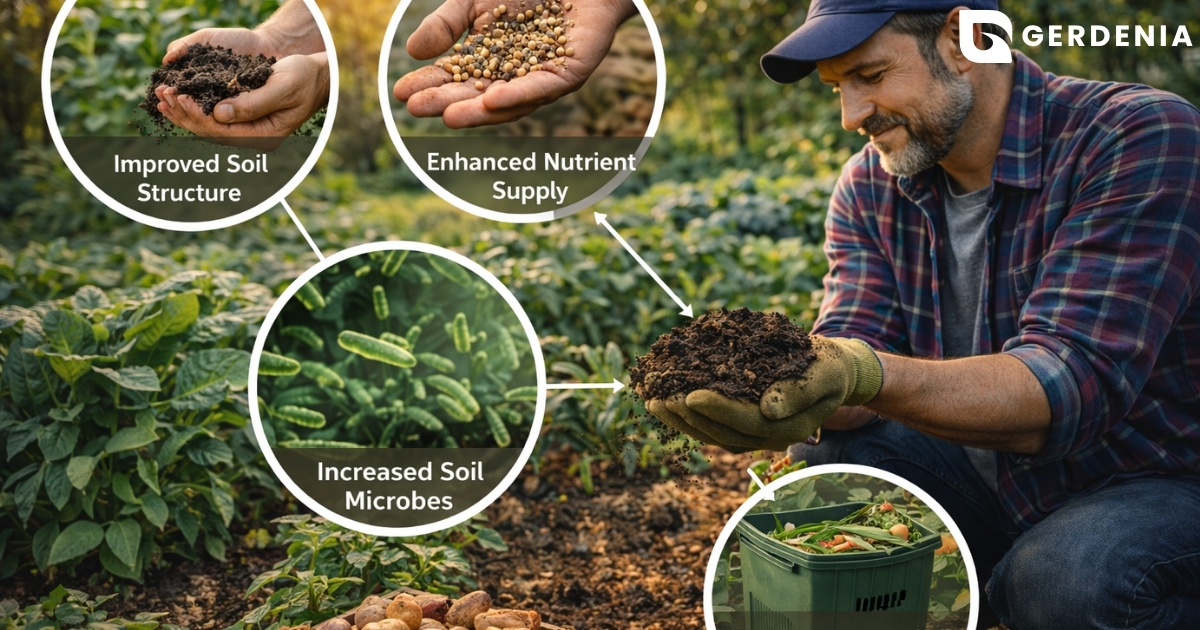
Fixing dense dirt means amending garden soil with organic matter to create tiny air pockets, a process called soil aeration. This lets water drain while giving roots room to stretch. Improve your beds with this basic shopping list:
- Compost: Breaks up hard clay while adding rich, natural material.
- Peat moss: Helps overly sandy yards hold onto moisture.
- Perlite: Lightweight white specks that stop the ground from compacting.
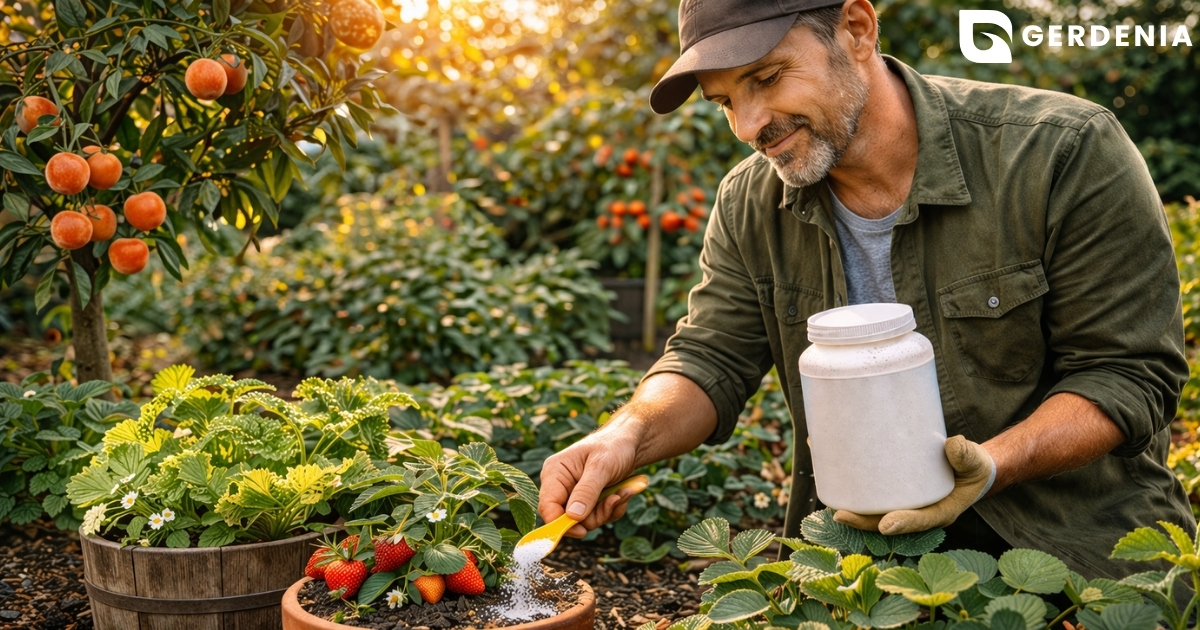
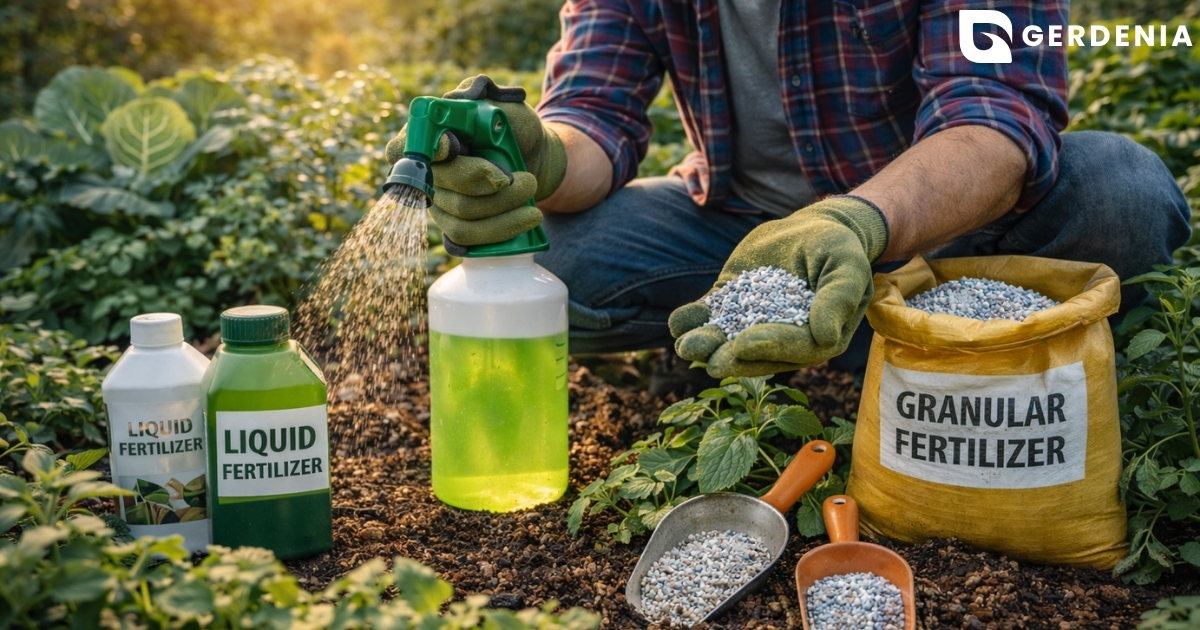
Your final step is learning the difference between compost vs fertilizer for vegetable gardens. Think of compost as a hearty daily meal that builds long-term soil health. Fertilizer acts like a multivitamin—it provides a quick nutrient boost but cannot fix poor drainage or hard soil.
Indoors or Outdoors? Choosing Between Seed Packets and Garden Center Starts
Staring at racks of seed packets and leafy baby plants leaves new gardeners wondering where to begin. Seeds save money, but buying established plants—known as “nursery starts”—buys you time. When weighing starting seeds indoors vs direct sowing (planting seeds right in the ground), remember that slow-growing crops need a months-long head start just to produce fruit before fall arrives.
The biological catch is that not all roots tolerate moving day. Some suffer from transplant sensitivity; if their fragile roots are disturbed, they wilt and fail. These delicate varieties absolutely require direct sowing. Conversely, slow-growers thrive when purchased as sturdy nursery starts. Follow this simple vegetable planting guide to choose the right method:
- Direct Sow (Hate moving): Carrots, peas (the best early spring vegetables to plant), and sunflowers.
- Buy Starts (Need a head start): Tomatoes, peppers, and eggplants.
For a first-time balcony or backyard garden, mixing both methods perfectly balances your budget and your timeline. Plant inexpensive seeds directly in the dirt, but invest in starts for your main crops to guarantee a quick win. Once you bring those baby plants home, however, do not immediately shove them into the bright outdoors. They require a transition period to keep them from frying in the afternoon heat.
Avoid the Sunburn: The 7-Day Plan to Harden Off Seedlings

Setting a healthy indoor plant directly outside often results in crispy leaves by the next morning. This happens because indoor babies lack built-in “sunscreen” and sturdy stems. Moving them directly into full sun causes fatal UV shock and wind breakage. To survive, they need acclimatization—a gradual toughening-up period called hardening off.
Learning how to harden off seedlings is simply about pacing, much like avoiding a sunburn on your first day at the beach. Follow this basic seven-day schedule:
- Days 1-2: Two hours in dappled shade, completely protected from wind.
- Days 3-4: Four hours of morning sun with a gentle breeze.
- Days 5-6: Six hours of direct, midday sunlight.
- Day 7: Leave them outside overnight.
Watch the foliage closely during this transition. If you spot white, papery patches on the leaves, the plant is sunburned—move it back into the shade immediately. Preventing transplant shock in flowers and veggies requires patience, but once they survive their first outdoor night, they are completely ready for their permanent home in the garden.
The First Drink and Space to Breathe: Planting Techniques That Guarantee Growth
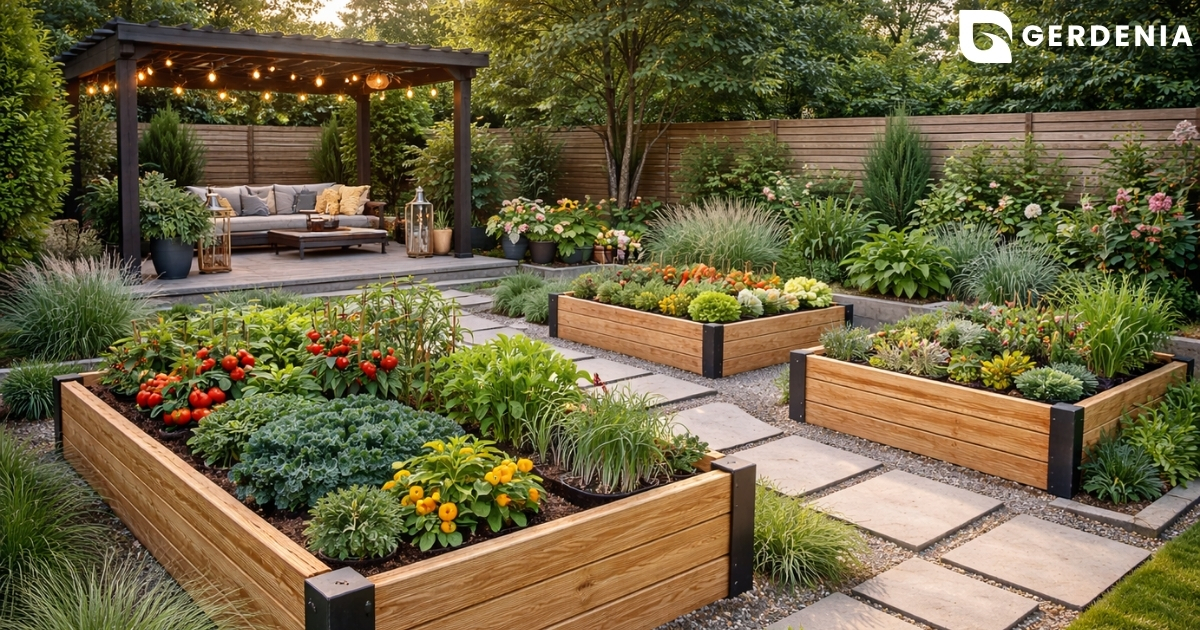
Randomly shoving hardened seedlings into the dirt is a recipe for overcrowding. Successful garden layout planning for beginners relies on leaving enough space between plants for breezes to pass through, which keeps leaves dry and disease-free. You can also leverage the benefits of companion planting in spring by placing pest-deterring marigolds right next to your vulnerable tomatoes.
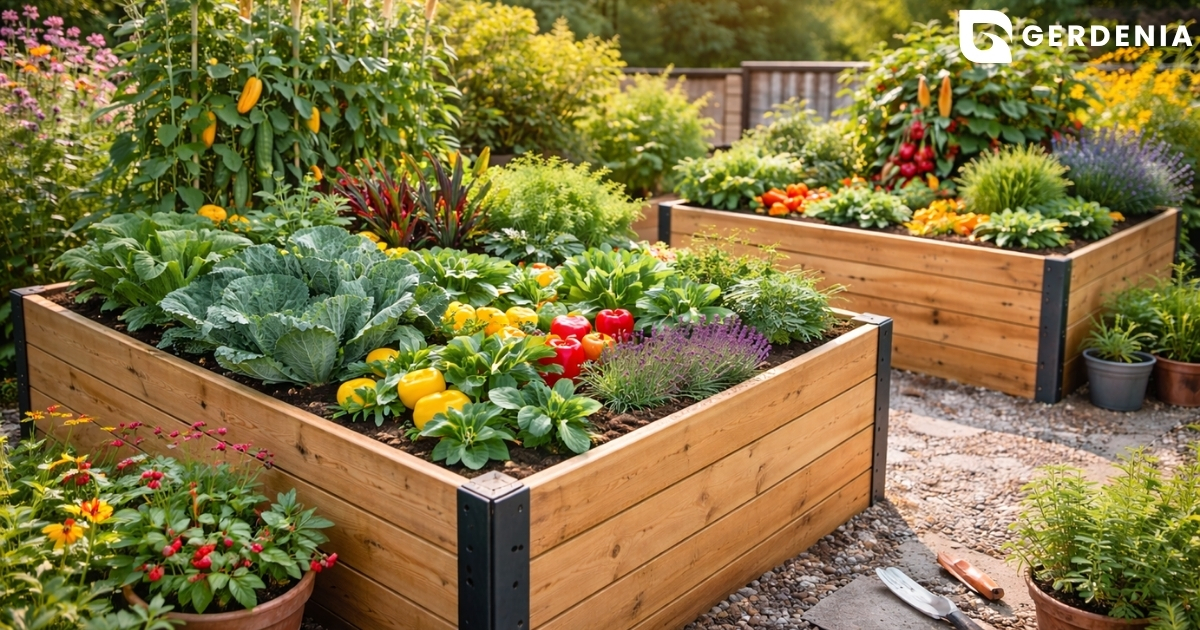
When preparing raised beds for spring, remembering the “depth rule” prevents deadly transplant shock. Most flowers and vegetables should sit exactly level with the surrounding soil, just as they did in their nursery pots. Tomatoes are the famous exception; bury them deeply up to their bottom leaves so their fuzzy stems grow extra roots.
To get these plants safely settled, follow this simple checklist:
- Dig wide: Create a hole twice as wide as the pot.
- Tease the roots: Lightly massage the bottom of the root ball to encourage outward spreading.
- Deliver the “First Drink”: Pour water into the hole while backfilling the dirt. This deep soak collapses hidden underground air pockets that can instantly dry out and kill new roots.
Now that your greens are securely planted and thoroughly watered, bare dirt becomes your biggest enemy. Protecting this exposed earth from the baking sun is the next critical step for a low-maintenance garden.
Lock in the Moisture: Using Organic Mulch to Stop Weeds Before They Start

Leaving bare dirt in your garden is like going out in the hot summer sun without sunscreen. Exposed soil quickly dries out, but adding exactly two inches of mulch acts as a protective blanket that reduces evaporation and suppresses 90% of weeds. Instead of using inorganic rubber or rocks, you want materials that naturally decay to feed your earth over time.
Choosing the right material matters when evaluating organic mulch types for weed control, so consider these common backyard options:
- Straw: Best for vegetable beds (Pros: lightweight and holds moisture; Cons: may contain stray seeds).
- Shredded bark: Ideal for ornamental flowers (Pros: looks tidy; Cons: breaks down very slowly).
- Grass clippings: A free lawn resource (Pros: adds quick nutrients; Cons: turns slimy if piled thickly).
Because these materials eventually decompose, you might wonder when to fertilize spring perennials—doing so right before applying your fresh spring layer works perfectly.
The biggest mistake beginners make is creating “mulch volcanoes” by piling woodchips high against plant stems, which suffocates roots and invites rot. Always leave a clear one-inch gap around the green base so the plant can breathe safely.
Your Spring Planting Roadmap: 3 Immediate Steps to a Successful Harvest
You are no longer guessing at the garden center; you now have the blueprint to turn bare dirt into a thriving ecosystem. By understanding the journey from preparing loose, breathable soil to tucking your plants in with a protective blanket of mulch, you have learned the essential tips for spring planting success.
Put this knowledge to work this weekend with a simple action plan. First, check your local frost dates to establish a safe timeline. Next, pick up your gardening essentials, focusing heavily on a few bags of rich compost to feed your soil. Finally, choose a few sturdy hero plants or easy seeds to get started.
Gardening is about patience and progress, not perfection. Try planting just one small bed or container first to build your confidence. Soon, you will spot that first bright new green leaf unfurling—the ultimate proof that your roots are settled and your garden is officially alive.