Imagine reaching over your counter to snip a handful of fragrant, vibrant basil for your pasta dinner, rather than digging through the fridge for a wilted plastic clamshell. That familiar “sad grocery store herb” scenario not only wastes money but deprives your food of genuine flavor. By choosing the best culinary plants for kitchen windowsills, you unlock an incredible freshness-to-table return on investment where every home-cooked meal instantly tastes brighter.
Many hopeful cooks wonder, “how do i start an herb garden if I accidentally kill every houseplant I buy?” Fortunately, creating a thriving indoor patch does not require a magical green thumb or a sprawling backyard. Most of these leafy ingredients are actually incredibly hardy survivors that prefer a little neglect over being constantly fussed over. The real reward comes from that daily emotional win of harvesting a living thing that thrives under your care.
Horticultural extension programs routinely observe that new growers typically struggle due to three very preventable mistakes. First, they drown the roots in pots without drainage holes, giving the plant a fatal case of “wet feet.” Second, they underestimate the required sunlight, confusing a mildly bright room with actual direct sunbeams. Finally, beginners are terrified to trim their plants, not realizing that cutting stems acts like a haircut that encourages the plant to grow back twice as bushy.
Culinary experts widely agree that the flavor density of a freshly plucked leaf is dramatically higher than anything sitting on a supermarket shelf. Once a sprig is cut and shipped across the country, its delicate natural oils begin evaporating immediately. Growing your own pantry means capturing those concentrated tastes at their absolute peak, saving you five dollars a box while delivering a sensory punch that commercial stems simply cannot match.
Over your first thirty days, your primary goal is helping these new arrivals settle into their pots and establish strong roots. Do not expect a massive, sprawling bush by the end of week two; instead, celebrate the appearance of tiny new leaves. This initial month is about building a healthy foundation so your herb garden can continuously provide delicious, vibrant garnishes throughout the entire season.
The ‘Hours of Power’ and ‘Wet Feet’ Rules: Setting Up Your First Herb Bed or Pot
Finding the perfect spot for herbs requires measuring light using the “Shadow Test.” Herbs need six “Hours of Power”—direct light where your hand casts a sharp shadow. Meeting these sunlight requirements for Mediterranean species like rosemary ensures they produce the vibrant, flavorful oils you want for cooking.
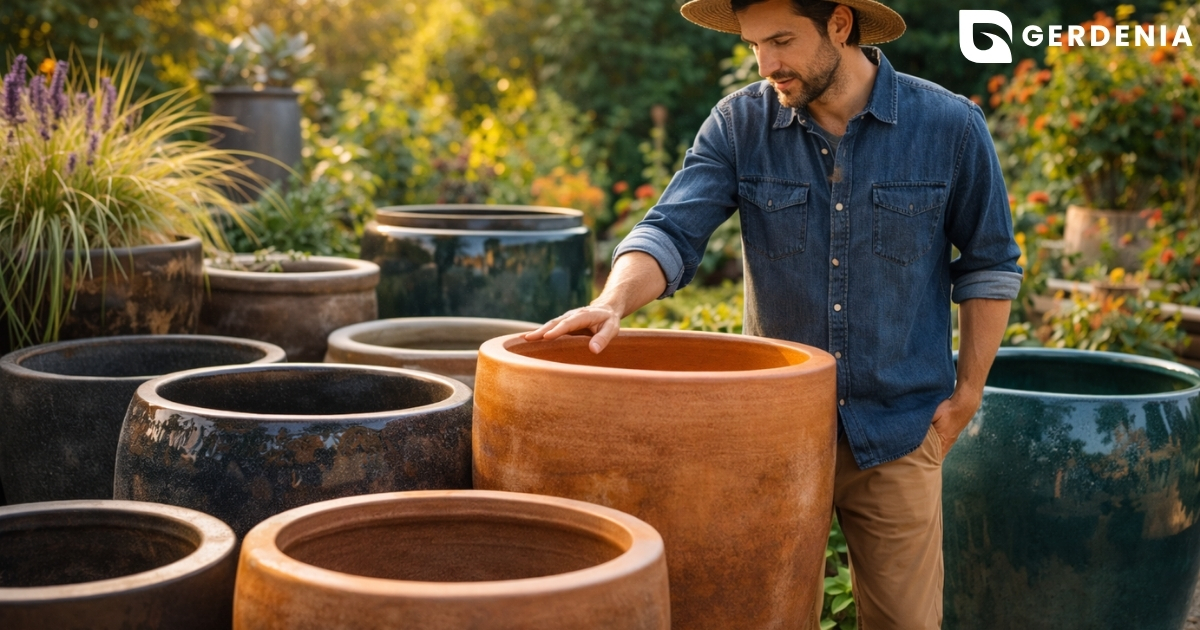
While sunshine feeds leaves, roots need equal attention. Herbs hate “wet feet,” which happens when roots sit in puddles and rot. Growers often see topsoil dry from evaporation and add water, ignoring the soaked bottom. Evaporation simply dries the surface into the air, but true drainage physically pulls excess water out the bottom.

Achieving optimal soil drainage for container crops requires built-in escape routes for water. Run through this quick drainage readiness checklist before planting:
- Find holes: Ensure at least one open hole exists at the base.
- Check saucers: Pick a tray you can easily empty so pots never sit in stagnant water.
- Size properly: Choose a container leaving just an inch of space around the roots to prevent water-logging.
Figuring out watering schedules comes down to the “Two-Inch Soil Test.” Poke your finger into the dirt up to your second knuckle; if it feels totally dry, grab your watering can.
How to Harvest Basil Without Killing the Plant: The ‘Snip the Tip’ Secret for Bushy Growth
Taking scissors to your beautiful new herb planting feels wrong, but harvesting is actually the secret to vigorous growth. To master how to harvest basil without killing the plant, follow the “One-Third Rule.” Never remove more than a third of the plant’s total height at once. This guarantees you get fresh ingredients for dinner while leaving enough foliage for the plant to absorb sunlight and recover.
Finding the right spot to cut matters just as much as how much you take. Look closely at the stem for “leaf nodes,” which are the little joints where two tiny new leaves are starting to grow. Snip the main stem just above these nodes so the plant pushes energy into those tiny leaves, literally turning one branch into two bushy stems.

Regular trimming also prevents a process called “bolting,” which happens when an herb desperately shoots up flowers to produce seeds. Once basil bolts, its leaves turn surprisingly bitter. Pinch off any flower buds immediately to keep the leaves sweet and productive.
Mint: Why This ‘Garden Bully’ Must Live in a Pot
While basil needs careful attention, mint requires strict containment. You know plants naturally grow roots downward, but mint also shoots out sneaky horizontal underground stems called “runners” or “stolons.” Planted in a shared garden bed, these runners rapidly invade neighboring spaces to steal water and sunlight. To stop this garden bully from taking over, always plant mint in a standalone pot to isolate its roots.
Choosing the right variety for that container matters because flavors vary wildly. Spearmint provides the sweet, mild taste perfect for homemade mojitos and fresh summer salads. Peppermint packs a much sharper, intense menthol punch that is better suited for hot soothing teas or baking projects.
Even this incredibly low maintenance perennial can eventually look a little ragged. If your potted plant gets long and stringy, simply cut the stems back by half, applying similar pruning techniques for bushy mint growth that we used for basil. It will bounce back beautifully.
Rosemary: The Drought-Tolerant Perennial That Thrives on Neglect
Unlike soft herbs, rosemary hails from rocky Mediterranean cliffs and actually thrives on neglect. The core difference between annual and perennial aromatics is lifespan and watering needs: annuals die yearly and require constant drinks, but perennials like rosemary can live for decades if kept remarkably dry. Recreate its natural habitat with a “sand-mix” soil by blending coarse sand into your standard potting dirt so water passes through instantly.
If roots sit in puddles, they suffocate from root rot—a fatal condition where roots turn to mush. When exploring outdoor herb garden ideas, remember that overwatering kills this tough plant. Watch for the top 3 signs of overwatered rosemary:
- Yellowing needles dropping off
- Damp, musty smelling dirt
- Wilted tips despite wet soil
As it ages, the base naturally develops “woodiness,” turning brown and bark-like to protect itself. Unsure if a stiff branch is dead? Use the “Scratch Test.” Gently scrape the bark with your fingernail; if you see bright green underneath, the branch is perfectly healthy.
Thyme: The Low-Maintenance Aromatic for Tiny Spaces
Thyme is another Mediterranean survivor that practically demands you forget about it. When planting a herb garden in cramped quarters, this tiny plant is your secret weapon. You will find two types: upright and creeping. Upright thyme grows into a tiny bush perfect for roasting pans. Creeping thyme spreads flat across the dirt like a green carpet, easily fitting into marginal, shallow balcony spaces.
You can actually hack this herb’s flavor by intentionally withholding water. Think of it like concentrating soup stock. When thyme gets thirsty in poor dirt, it produces pungent essential oils to protect itself. Pampering it with constantly damp soil creates a bland plant, so let the dirt dry out completely for a robust, earthy punch.
That flat creeping variety also serves a brilliant purpose in a mixed herb and flower garden. It acts as a “living mulch”—a ground-hugging blanket blocking weeds from stealing nutrients. While thyme loves baking in dry heat, other delicate favorites require careful temperature management.
Cilantro vs. Heat: Keeping the ‘Ice Cream’ of Herbs from Melting
If thyme is a tough weed, cilantro is the ice cream of the plant world—it melts when things get hot. Anyone researching growing herbs indoors for beginners quickly learns this delicious green hates summer heat. When temperatures spike, cilantro panics and triggers that familiar process called bolting, shooting up a tall flower stalk and turning bitter.
Outsmart this delicate behavior using a simple trick called succession planting. Instead of planting all your seeds at once, sow a small pinch every two weeks. This creates a constant supply of fresh leaves before older plants bolt. When figuring out how to grow an herb garden that survives July, also tuck your cilantro pots into the shade of taller plants to keep their roots comfortably cool.
Even when the summer heat finally wins, the harvest isn’t over. Those little round pods left behind after flowering are coriander seeds, giving you a completely different culinary spice to harvest and dry.
Parsley: The ‘Two-Year Surprise’ That Every Chef Needs
While cilantro rushes through life, parsley takes its time. It is a biennial, meaning it lives for two full years before flowering, providing a long-lasting supply of fresh organic kitchen greens. When setting up your pots, you generally have two choices:
- Italian Flat-Leaf: The chef’s favorite, packing a robust, peppery flavor meant for cooking.
- Curly Parsley: Milder in taste with ruffled edges, making it a beautiful plate garnish.
Patience is required, as these seeds are notoriously slow to wake up. You can speed up germination using seed scarification—a technique that weakens the hard outer shell. Think of it like soaking dried beans before making soup. Resting seeds in a bowl of warm water overnight softens this tight coating, helping the tiny green shoot break through the soil days earlier.
Once sprouted, handle the plant carefully. Parsley grows a taproot, which is a thick main root pointing straight down like a tiny carrot. Because they rely on this single anchor, they hate being transplanted. Sow seeds directly into their final deep pots to establish strong, undisturbed roots.
Chives: The ‘Cut and Come Again’ Beginner Favorite
Wondering how to create a herb garden that practically tends itself? Chives are your answer. This reliable perennial—meaning it returns yearly to your pot—is incredibly forgiving for beginners. Harvesting them is exactly like mowing a lawn. Simply grab a handful of the grassy stems and snip straight across, leaving about two inches at the base so they can rapidly push up fresh new growth for your next baked potato.
Eventually, that single plant will expand into a tightly crowded clump. While planting herb plants from a local nursery is standard, chives offer free extras through a technique called “division.” Once the pot gets totally packed, remove the root ball and gently pull the clump apart into smaller sections. Replant these separated pieces in fresh soil to instantly multiply your windowsill collection.
Beyond tasty stems, chives push out gorgeous purple blossoms in spring that hide a fun culinary secret. These edible flowers pack a spicy onion kick, perfect for garnishing salads or steeping in white vinegar to create a bright pink dressing.
Oregano: The Sun-Seeker That Gets Better with Pruning
Oregano craves the brightest spot in your herb garden. Think of intense sun as a recipe’s secret ingredient. When oregano bakes under bright rays, the plant responds by producing rich essential oils. This oil concentration is exactly what creates that famous, punchy pizza-shop flavor you know and love.
Maintaining that robust taste requires regular clipping so the green stems avoid turning into stiff, woody twigs. Using the “haircut rule,” snip the top few inches of growth regularly to force the plant to bush outward. Remember that over-feeding actually dilutes those precious oils. When fertilizing organic kitchen greens for maximum flavor, less is always more.
Before freezing temperatures arrive, protect your plant by moving its pot indoors to a bright windowsill. This easy overwintering trick keeps your fresh culinary clippings going right through the snowy months.
Sage: The Velvety Survivor That Loves a Good Haircut
Running your fingers across a sage leaf feels like touching soft velvet, but this fuzzy exterior hides a remarkably resilient plant. Long before becoming a modern kitchen staple, sage was prized for its natural antimicrobial properties, meaning it actively fights bacteria. If you are starting a medicinal backyard plot, this hardy herb is a fantastic first choice offering both savory flavor and traditional healing benefits.
That beautiful texture has one vulnerability: poor airflow invites powdery mildew, a common fungal issue resembling spilled white flour across the leaves. The best organic pest control for this problem is providing the plant plenty of breathing room. Because sage naturally matures into a thick, woody shrub, its crowded center easily traps dampness.
Consistent clipping prevents this trapped moisture while ensuring a steady supply of soft, tender growth rather than stiff, unusable branches. Snip the top few inches frequently to maintain a healthy, air-filled canopy.
Dill: The Tall Neighbor That Needs a Little Support
Picture a feathery green tower swaying in the breeze. Dill grows surprisingly tall, but because it relies on a single deep taproot—much like a carrot—it lacks a wide base to anchor itself. To prevent the plant from snapping in strong winds, simply tie the main stem loosely to a wooden stake.
Beyond its distinct flavor, this tall neighbor acts as a garden bodyguard by serving as a “trap crop”—a plant intentionally grown to lure pests, like aphids, away from your prized vegetables. When reviewing a companion planting chart for natural pest repellent, dill ranks highly for most herb gardens. Just keep it far away from fennel; these two are so closely related they will cross-pollinate and ruin each other’s taste.
Pairing this leggy plant with the right friends creates a thriving ecosystem. Three great companions for dill include:
- Cabbage: Dill attracts helpful insects that protect cabbage leaves.
- Cucumbers: A classic culinary pairing with perfectly shared watering needs.
- Onions: Their strong scent naturally deters roaming bugs.
Stop the Squish: Organic Pest Control for Your Edible Greens
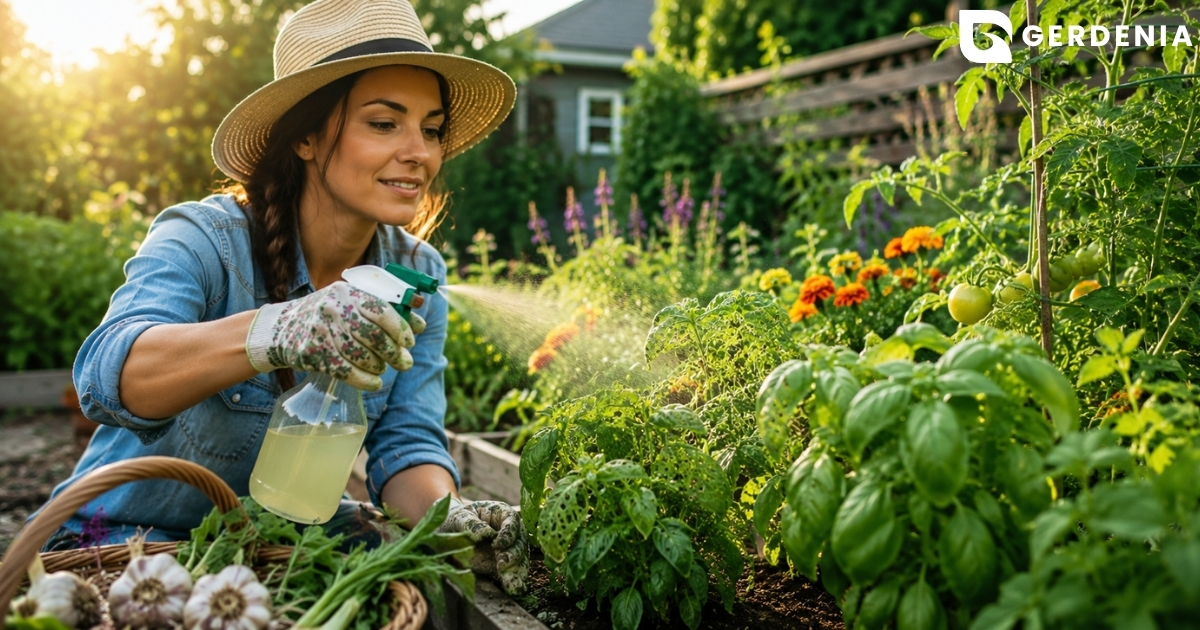
Spotting a bug on your basil might cause panic, but a healthy garden actually requires life. Before swatting, check if you have a pest or a partner. Ladybugs and hoverflies are beneficial insects—the “good guys” that naturally eat the aphids destroying your leaves. Invisible fungi and mildew are often bigger threats, usually caused by common mistakes when watering, like soaking leaves instead of the dirt. Simply use “Airflow Tactics”: space your pots out so a natural breeze can pass through, keeping the foliage perfectly dry.
When bad bugs do take over, avoid harsh chemicals. You can easily create safe organic pest control for edible greens using simple items already sitting right by your kitchen sink:
- 1 teaspoon of mild liquid dish soap (avoid heavy degreasers)
- 1 quart of room-temperature water mixed into a clean spray bottle
Mist this gentle solution directly onto the unwanted pests during cool evening hours to prevent the sun from burning the wet leaves. Just rinse your harvested clippings with plain tap water before cooking.
Drying and Preserving: How to Enjoy Your Harvest All Winter
After a successful harvest, you often end up with more clippings than you need for tonight’s dinner. The secret to locking in that intense summer taste is protecting the plant’s volatile oils—the fragile, invisible compounds giving basil its punch and mint its zing. Since you likely spent the season carefully fertilizing for flavor, proper drying and preserving fresh homegrown leaves ensures those precious oils won’t just evaporate on your kitchen counter.

Hanging hardy sprigs like rosemary upside down in a dark, airy spot slowly draws out moisture while protecting that flavor. You will know they are completely ready for a glass jar when they pass the “Snap Test.” Simply bend a stem; if it feels rubbery, it needs more time, but if it breaks in half with a crisp, audible crack, the moisture is safely gone.
For softer plants like cilantro that lose their magic when air-dried, the freezer is your best tool. Chop the leaves, drop them into an empty ice cube tray, and cover with olive oil to freeze instant, ready-to-cook flavor cubes for winter soups.
Your 7-Day Herb Garden Action Plan: From Windowsill to Table
You started this journey wondering if you had the skills to keep a fragile plant alive. Now, you know exactly what your plants actually need to thrive: a sunny windowsill, a pot with proper drainage, and the courage to give them a regular “haircut” to encourage fresh growth.
If you are still asking yourself, “should I start a herb garden?”, the answer is a resounding yes. Figuring out how to have an herb garden doesn’t require a weekend of backbreaking yard work or a degree in botany; it just takes a simple, stress-free plan to get your hands a little dirty.
The ‘First Week’ Checklist:
- Day 1: Pick up a hardy starter basil plant and a small pot with a drainage hole.
- Day 3: Settle your plant in its sunny spot and water it only when the top soil feels dry to the touch.
- Day 7: Give it that first “haircut” by snipping a few top leaves to garnish your dinner.
By starting small and focusing on the incredible flavor your harvest adds to your meals rather than stressing over a picture-perfect plant, you set yourself up for consistent success. Soon, digging through the fridge for a plastic clamshell of wilted grocery store greens will feel like a distant memory. Instead, you will look at your windowsill and see a vibrant, living pantry that you grew with your own two hands.