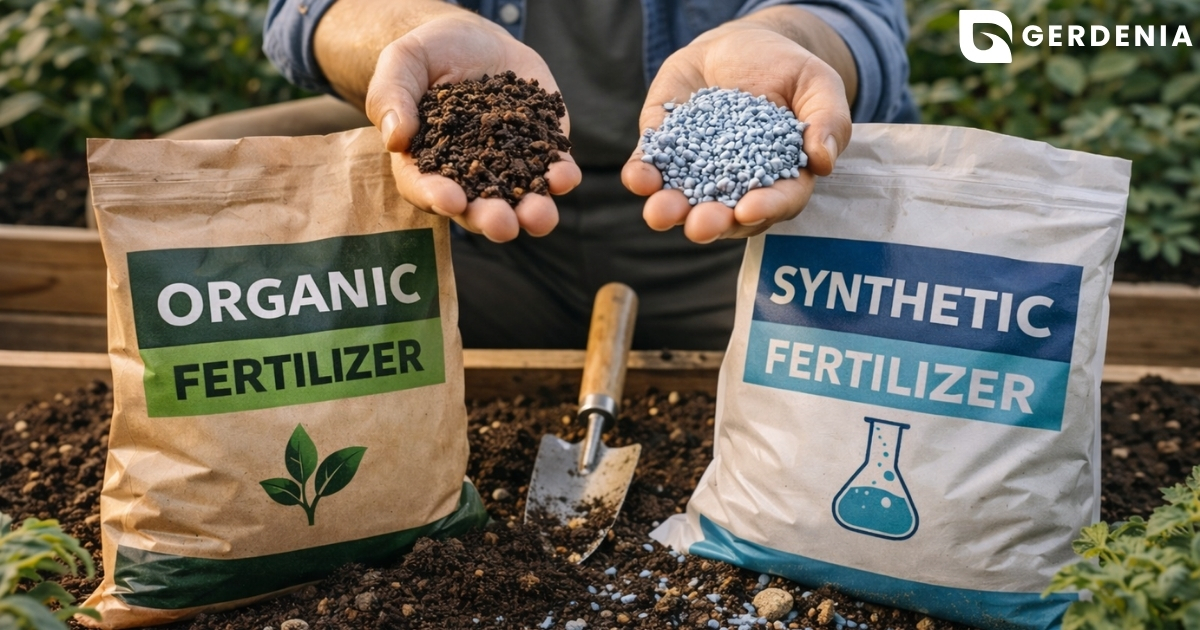
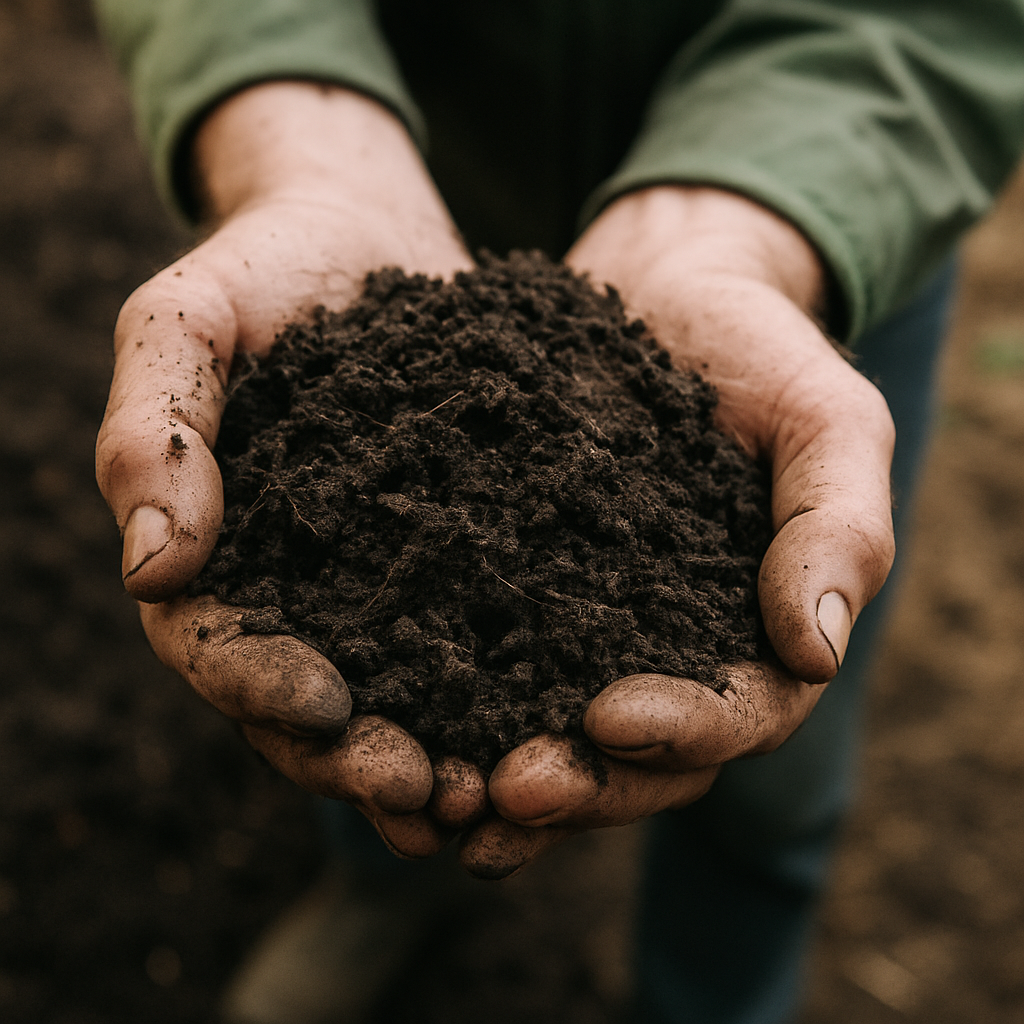
Every week, the average household tosses pounds of food scraps into plastic bags destined for the landfill. According to environmental waste studies, you can actually reduce your weekly household trash by up to 30% simply by redirecting those banana peels and coffee grounds. Instead of creating smelly garbage, these leftover ingredients hold the potential to become “black gold”—a dark, earthy dirt that breathes life into your plants.
Many people assume this transformation requires a massive backyard and a degree in biology. In reality, anyone with a simple kitchen bin or a small patio space can master this natural habit. By keeping those scraps out of the trash, you instantly solve two common household frustrations: overflowing landfill waste and the need for expensive store-bought plant food.
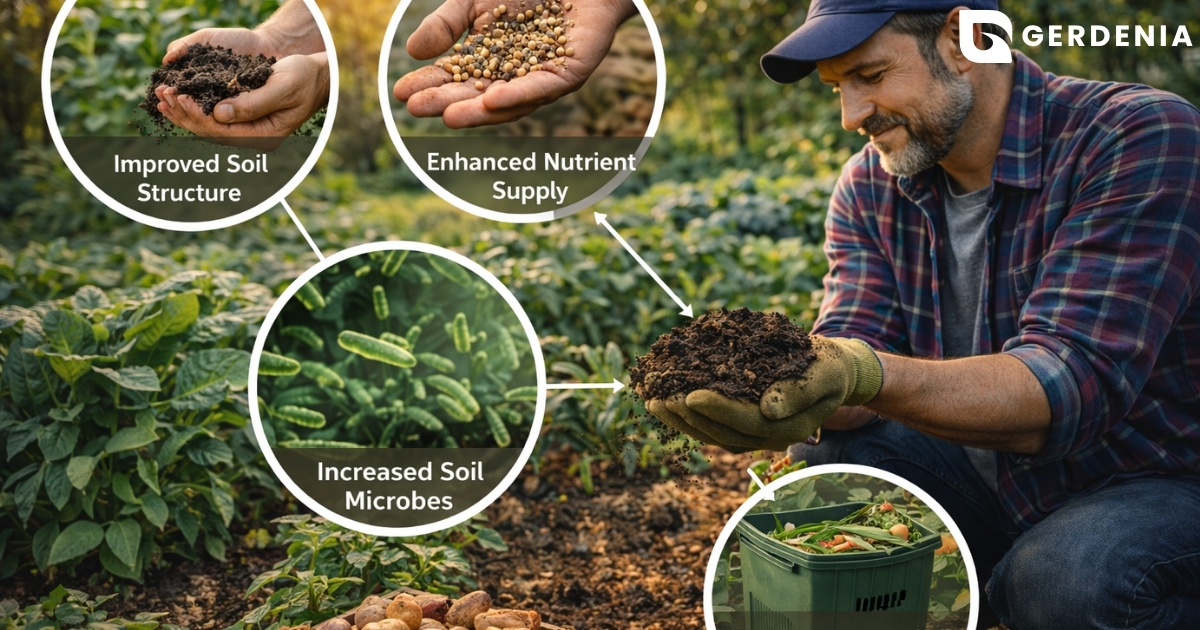
Nature has been quietly perfecting this system for millions of years. Decomposition acts as a continuous resource cycle, where microscopic helpers eat your leftover food and turn it back into usable earth. You will quickly see the benefits of organic matter in garden soil as your potted ferns and tomato plants thrive on this free, nutrient-dense fertilizer.
Mastering composting is much like following a slow-cooking recipe, requiring just a few simple items and a little patience. Learning these basics means letting nature do the heavy lifting while you reap the rewards. It is time to transform everyday kitchen waste into an incredible, sustainable resource.
The ‘Kitchen Recipe’ Strategy: Balancing Greens and Browns for Fast Results
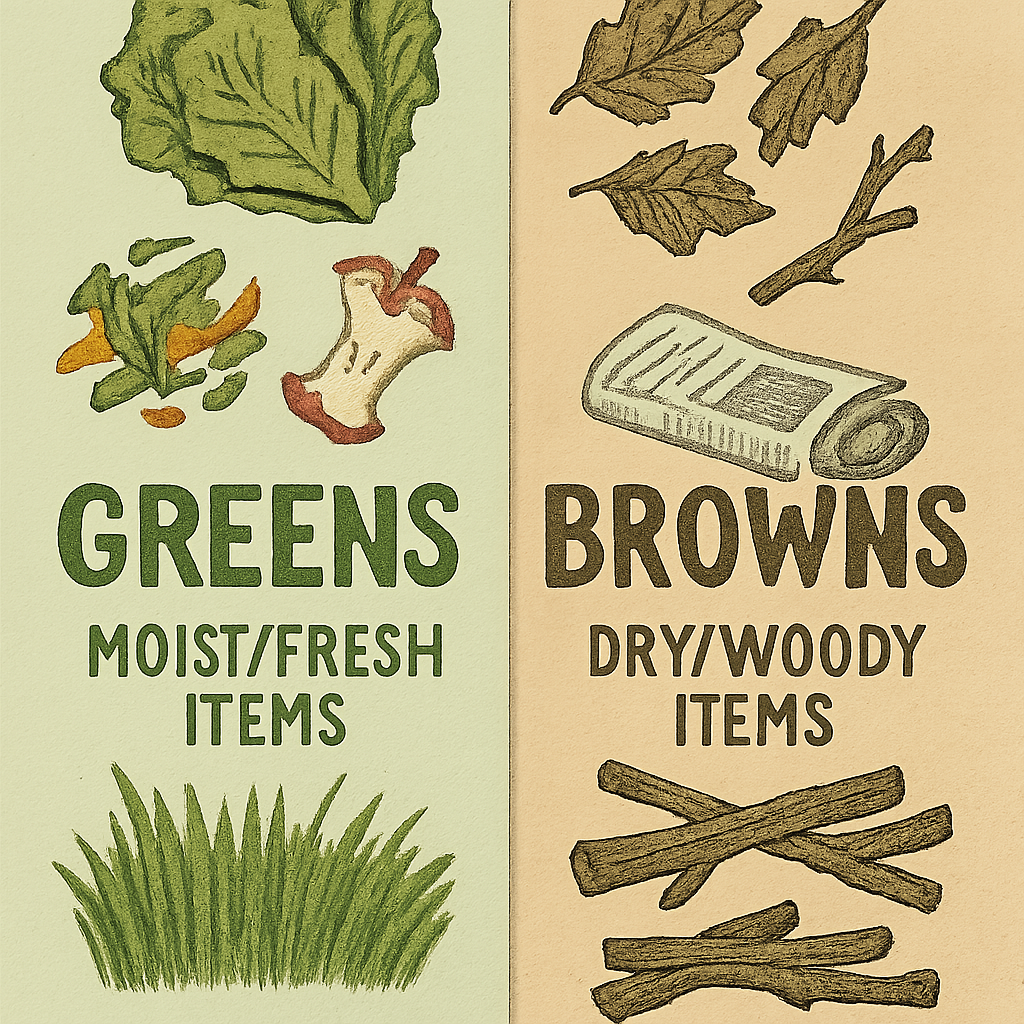
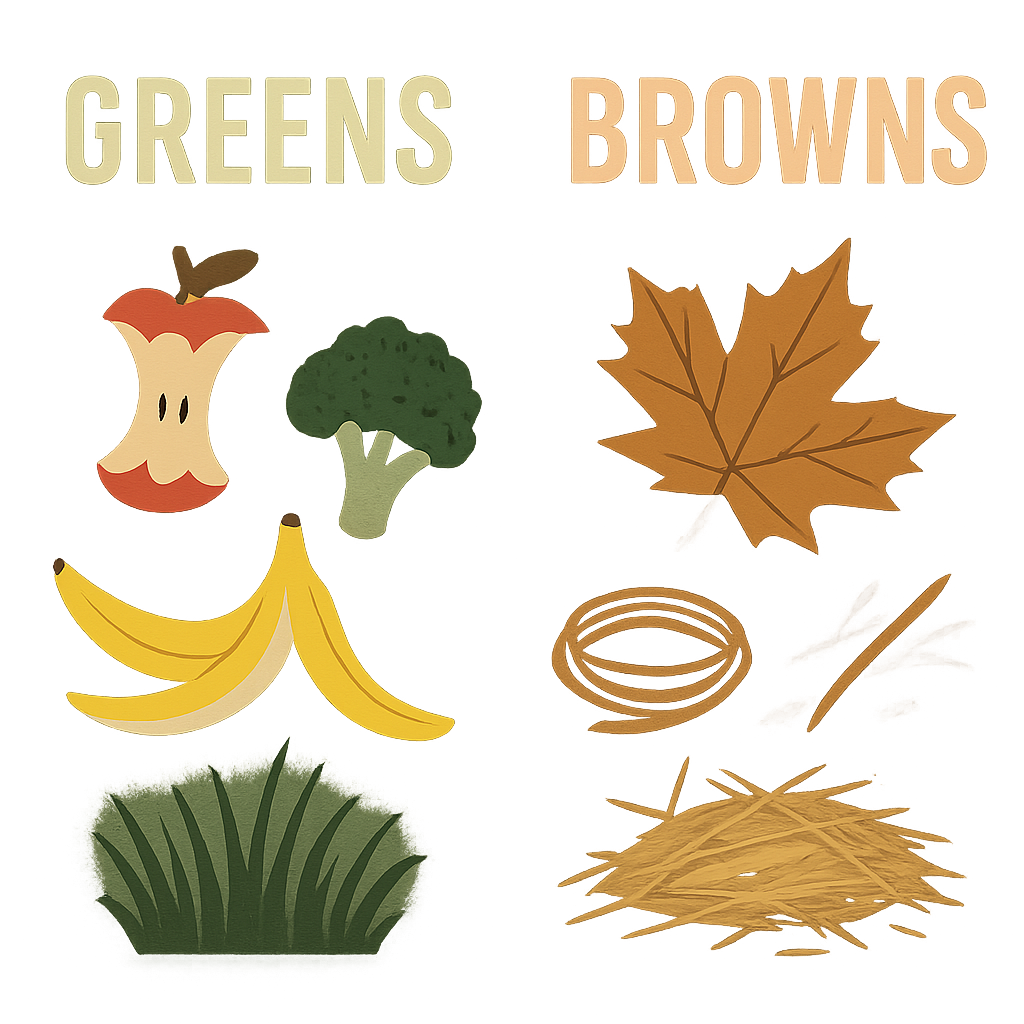
Making successful compost isn’t just about tossing trash into a pile; it’s more like slow-cooking a hearty stew. While throwing all your kitchen scraps into a single bin sounds easy, a healthy pile needs a specific balance of wet and dry ingredients to avoid becoming a messy science project. Categorizing these ingredients comes down to two simple groups: “Greens” and “Browns.”
Think of this process as building a campfire, where you need both quick-burning starter fuel and sturdy logs to keep things cooking steadily. To feed the helpful microscopic bugs doing the heavy lifting, you need a steady mix of wet, nitrogen-rich Greens and dry, carbon-rich Browns. Visual color doesn’t always dictate the category; your morning coffee grounds are actually Greens because of their rich moisture content.
- Greens (Wet/Fuel): Fruit and vegetable scraps, coffee grounds, and fresh grass clippings.
- Browns (Dry/Structure): Ripped plain cardboard, paper egg cartons, used paper towels, and dried autumn leaves.
The secret to a bin that breaks down quickly without smelling bad is mastering the carbon to nitrogen ratio. A practical rule of thumb is three parts brown to one part green (3:1). Your wet greens provide the necessary heat and moisture, while your bulky, dry browns provide vital structure and airflow so the pile doesn’t turn into a slimy mess.
By routinely tossing in three handfuls of dry Browns for every single handful of Greens, you balance the materials perfectly. This simple habit keeps your pile breaking down quickly while smelling like a fresh forest floor.
Choosing Your Composting Style: Stationary Bins vs. Tumblers vs. Indoor Kits
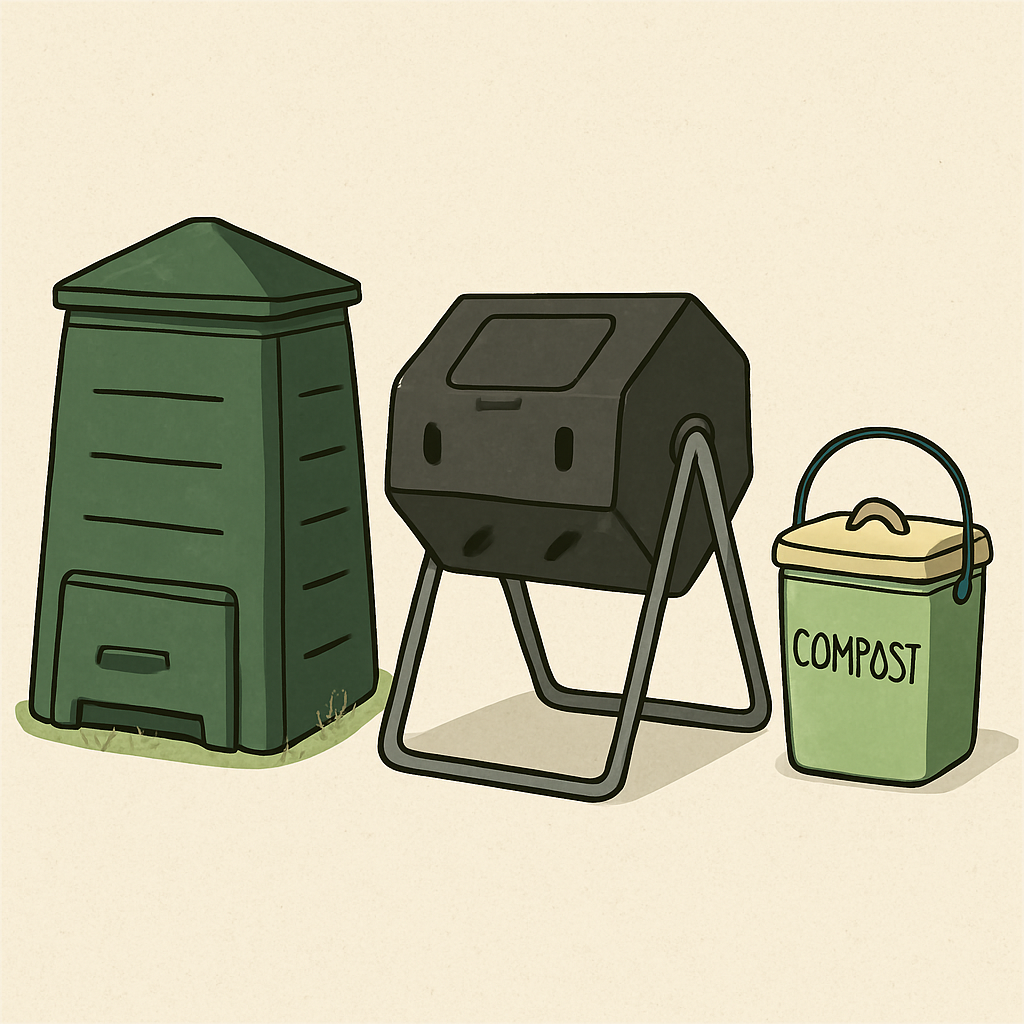
Finding the perfect home for your greens and browns means matching your available space to the right compost methods. Start right where the action happens: your kitchen countertop scrap collection bins. These handy containers act as a temporary holding zone while you cook, saving you from making constant outdoor trips while keeping food smells securely trapped under a tight lid.
Once that indoor container fills up, you must choose its final destination. When weighing a tumbler vs stationary compost bins, your decision largely depends on your patience and yard size. Stationary bins sit directly on the soil, offering a fantastic “set and forget” option where nature slowly breaks down large piles over a few months.
Faster results come from tumbling bins, which sit off the ground on legs and feature a handle for easy spinning. Turning the barrel pushes fresh air inside the mix, creating usable dirt in just weeks. If you live in an apartment without a yard, you can still participate by vermicomposting with red wiggler worms. These specialized indoor kits fit neatly under a sink, silently turning your daily food scraps into rich fertilizer completely odor-free.
Regardless of your chosen setup, success relies on maintaining that crucial wet-to-dry balance. The real magic happens when you load those initial ingredients properly.
Setting Up Your First Bin: The Layering Secret for Odor-Free Success
Starting a new compost bin often comes with a common fear: what if it stinks? Foul odors are completely preventable when you build your pile correctly from day one. Think of your bin like assembling a layered lasagna where the hidden, secret ingredient is fresh air. The microscopic bugs doing the heavy lifting need oxygen to breathe just like we do.
Creating that breathable environment starts at the very bottom. When setting up a backyard compost bin, follow this simple four-step recipe to guarantee success:
- Base: Lay down four to six inches of loosely stacked twigs to let air flow underneath.
- Bedding: Add a thick layer of browns, like shredded cardboard or dry leaves.
- Food: Toss in your greens, such as coffee grounds and vegetable peels.
- The Cap: Always finish with a thick layer of browns or potting soil to bury the food, which effectively blocks odors and prevents fruit flies.
Water is the next vital component to check once your layers are built. Managing moisture levels in compost doesn’t require any fancy meters; simply use the “sponge test.” Grab a handful of the mixture and squeeze it. If water streams out, your pile is too wet and needs more dry browns. If it crumbles like dust, sprinkle in water until it feels exactly like a wrung-out damp sponge.
With your kitchen scraps safely tucked away to decompose into rich soil, your only job is to keep those microscopic workers happy and let nature take its course.
Maintenance Made Simple: When to Turn, Water, and Walk Away
Once your layers are set, the actual composting process requires little effort beyond an occasional stir. Think of your pile like a campfire; it needs air to keep burning through aerobic decomposition. To keep the bugs working fast, grab a shovel and turn the mixture every one to two weeks. This simple fluffing action feeds oxygen to the center, preventing soggy spots and ensuring your food scraps break down evenly rather than rotting into a smelly mess.
You might notice steam rising when you stir, which is a fantastic sign of success rather than a cause for panic. The intense microbial activity in the decomposition process naturally generates heat, essentially cooking the materials down. This highlights the main difference between hot and cold composting: hot piles are actively turned to create dirt in weeks, while cold piles are left alone to passively break down over a year. Both work, but active turning yields much faster results.
When the weather cools, that internal warmth becomes crucial. You can focus on accelerating decomposition in winter months by adding extra greens like coffee grounds and insulating the bin with dry leaves. Keeping the pile balanced is simple once you establish a routine, but certain household items will quickly ruin the harmony if introduced.
The ‘No-No’ List: What Scraps to Keep OUT to Avoid Pests and Smells
Even when you are just starting out, learning what food scraps are not compostable is crucial. The best way to compost successfully is by avoiding materials that attract scavenging pests or introduce dangerous pathogens into your soil:
- Meat and bones
- Dairy products
- Oily foods
- Pet waste
- Treated wood
You might notice takeout containers labeled “compostable,” but don’t toss them in your pile just yet. These materials require the massive, sustained heat of commercial facilities to melt down. The difference between industrial and home composting is significant; your backyard setup simply cannot get hot enough to break down these commercial bioplastics, leaving you fishing out intact takeout boxes months later.
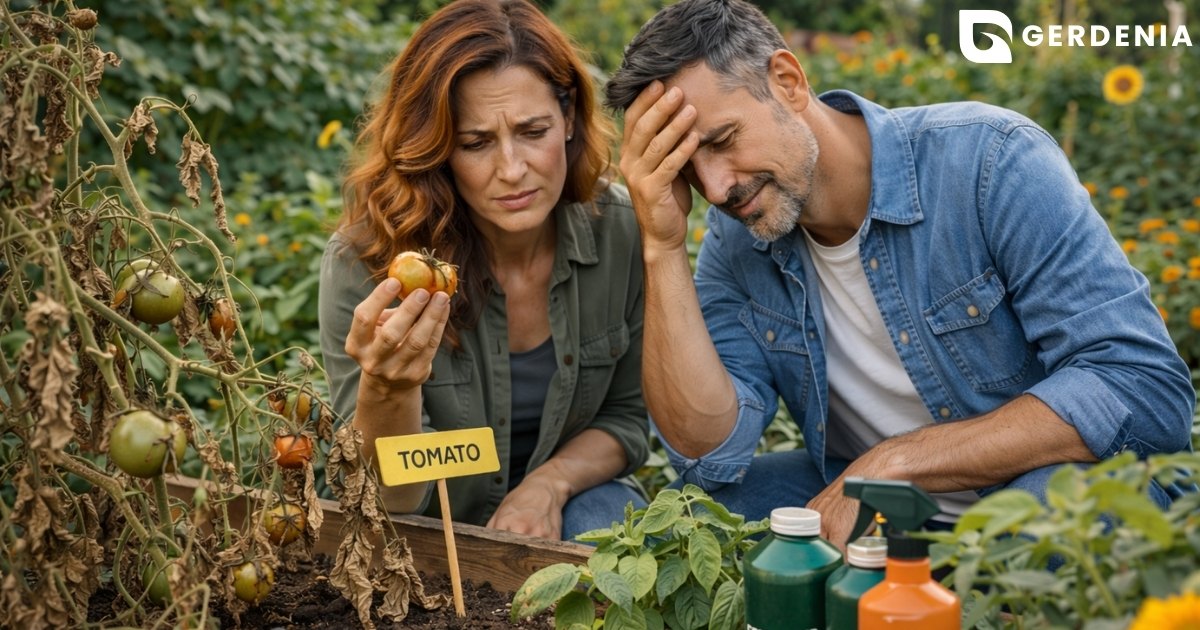
Beyond the kitchen, yard waste needs careful sorting to protect your future garden. Throwing fungus-covered tomato leaves into your bin risks spreading those diseases to next year’s soil, as backyard piles rarely reach temperatures high enough to destroy plant pathogens. Even when following the rules perfectly, moisture and air levels can occasionally drift out of balance.
Smelly Pile Fixes: Troubleshooting Your Compost Like a Pro
Have you ever lifted the lid of your bin and been greeted by a foul, rotten egg smell? This is the most common reason beginners give up on their new habit, but troubleshooting smelly compost piles is actually quite simple. When your ratio of wet greens to dry browns gets out of balance, the materials become too soggy and dense.
That soggy density blocks oxygen from reaching the center of your bin, creating what scientists call anaerobic (no air) conditions. Healthy compost relies on microscopic helpers breaking down your scraps cleanly, which requires plenty of oxygen. When your pile has air, it smells earthy; without air, the smelly microbes take over.
Fixing these frustrating issues usually just requires a quick adjustment to your ingredients:
- If it smells like garbage: Stir in a thick layer of dry browns (like shredded shipping boxes or dry leaves) to soak up moisture and create air pockets. This can fix a stinky pile in 24 hours.
- If fruit flies are swarming: Stop them from accessing food by burying your fresh kitchen scraps at least 6 inches deep under older, dry compost.
- If the pile is “stuck”: Revive a pile that isn’t breaking down by adding fresh greens (like damp coffee grounds) and turning it with a pitchfork to jumpstart the heat.
Once you correct the airflow and moisture, your bin will quickly return to smelling like a fresh forest floor, allowing the scraps to fully transform into crumbly dirt.
Harvesting Your ‘Black Gold’: How to Sift and Use Your Finished Compost
After months of patience, how do you know your pile is finally ready? Mature compost no longer resembles the original food waste; instead, it looks like dark, crumbly chocolate cake and carries a deeply earthy forest smell. Reaching this milestone proves those household scraps have successfully transformed into plant-ready nutrients.
To get that perfectly fine texture, sifting your finished compost is a practical game-changer. You do not need expensive garden center equipment to do this—simply staple a piece of hardware cloth over an old wooden frame to create a five-minute DIY sifter. Gently push your earthy compost through the wire mesh, and toss any stubborn, uncomposted chunks like avocado pits back into your active bin to keep breaking down.
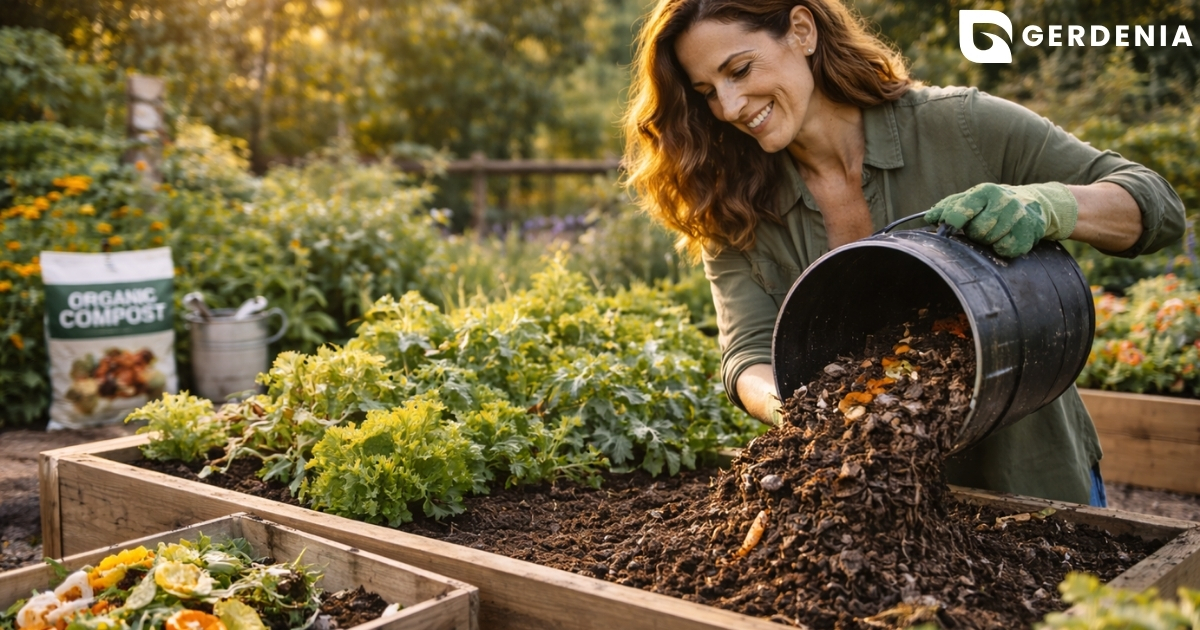
The sifted “black gold” is now ready to nourish your plants through a simple technique called top-dressing. Sprinkle a thin layer of this rich dirt directly over your garden beds to act as a natural mulch, which beautifully locks in root moisture and saves water during hot days. You now have everything you need to begin this rewarding cycle.
Your 3-Step Action Plan to Start Composting This Weekend
You no longer have to look at your daily kitchen scraps as garbage destined for a plastic bag. With these basic strategies, you now have the power to view every banana peel and cardboard box as a valuable ingredient. Remember that managing a compost pile is just like mastering a slow-cooked recipe. You cannot permanently ruin it; if your pile gets too wet or dry, you simply adjust the balance with more greens or browns.
The secret to success is committing to a small-scale start so the habit actually sticks. You can take your first real step right now by finding a simple lidded container to sit on your kitchen counter. Next, gather a small stash of dry brown materials, like torn shipping boxes or dead leaves, so they are ready when you need them. Finally, save tomorrow morning’s coffee grounds to officially kick off your new setup.
Each time you drop scraps into that bin, you build confidence in your new sustainable routine. You are no longer just throwing things away—you are actively creating rich, dark earth to help your garden thrive.