Look inside your pantry right now, and you likely already have the ultimate ingredients for sourdough starter success. According to baking historians, humans have been using just simple flour and water to bake bread for over 5,000 years, long before commercial yeast packets ever existed. You honestly do not need a pricey sourdough starter kit or lab-grade sourdough supplies to create bakery-worthy loaves at home.
Think of this process less like mixing a precise chemical recipe and more like adopting a low-maintenance houseplant. A starter is simply a living mixture where naturally occurring wild yeast—invisible guests already resting on your flour and floating in your kitchen—find a welcoming home. By providing basic flour as food and tap water to create the right environment, you are actively coaxing these tiny organisms to wake up and thrive.
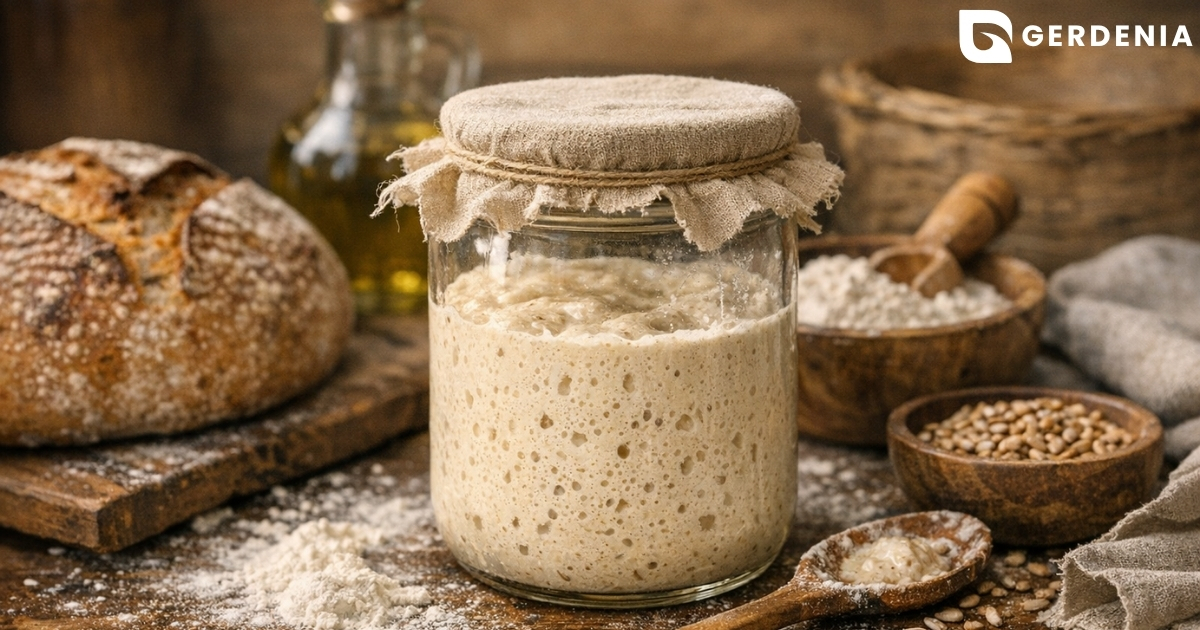
Watching those first few bubbles appear is the everyday magic of fermentation at work. As your natural yeast eats its fuel, it releases gases that puff up the mixture, looking very much like bubbly pancake batter on a hot griddle. Forget the intimidating science, because building this living engine relies entirely on patience and the simplest grocery staples imaginable.
Why Unbleached Flour is the Essential Fuel for Your Starter

While flour acts as the daily meal for your starter, grabbing whatever is in the pantry isn’t always best. An unbleached versus bleached flour comparison reveals a massive difference for your invisible guests. Bleaching agents are chemicals added to whiten commercial baking dust quickly, but they act like pool chlorine. They create a harsh environment, making it incredibly difficult for wild yeast to thrive and multiply.
Beyond avoiding chemicals, flour strength dictates how active your mixture looks. This is where bread flour protein content comes into play. Think of protein like chewing gum: the more you have, the bigger the bubble you can blow without it popping. Higher protein flours create a stretchy web, safely trapping the gas your yeast produces rather than letting it escape.
You don’t need expensive artisanal bags to succeed. Selecting the best flour choices for sourdough saves money while keeping your starter vigorous:
- Unbleached All-Purpose: A reliable, cost-effective choice balancing good fuel with moderate bubble-trapping strength.
- Bread Flour: A high-protein upgrade giving your starter a thicker texture to trap maximum gas.
- Bleached Flour: The option to avoid entirely, as chemical treatments fight natural fermentation.
Sticking to basic, unbleached grocery flour guarantees consistent growth without overthinking the process. Once your yeast is happily snacking on this everyday fuel, you might wonder if there is a way to make them even more active. That leads us perfectly into the whole grain advantage: why rye and wheat accelerate fermentation.
The Whole Grain Advantage: Why Rye and Wheat Accelerate Fermentation
If standard unbleached flour is a reliable daily meal for your starter, whole grains are a powerful multivitamin. Grains in their natural state contain the bran (the outer shell) and germ (the nutrient core). Leaving these parts intact preserves a massive population of the wild yeast and good bacteria we want to cultivate. One of the greatest organic whole wheat flour benefits is providing a clean, nutrient-dense environment where these invisible guests can feast and multiply rapidly.
When troubleshooting a sluggish starter culture that refuses to bubble, swapping in these nutrient-heavy options can completely wake it up. Consider these three natural boosters and their unique microbial advantages:
- Dark Rye: The ultimate superfood. Using rye flour to boost fermentation can slash your waiting time by up to 24 hours because it provides abundant natural sugars.
- Organic Whole Wheat: Introduces rich microbial diversity, ensuring a healthy balance of good bacteria that creates a complex, traditional sour flavor profile.
- Spelt: An ancient wheat relative that ferments quickly, providing easily accessible energy to keep your yeast highly active.
You don’t have to use these whole grains every single day; keeping a small bag nearby simply acts as a foolproof emergency rescue kit. Yet, even the most premium grain won’t save your bubbling mixture if your liquid base is secretly fighting against it. Is your tap water killing your yeast? The truth about chlorine might surprise you.
Is Your Tap Water Killing Your Yeast? The Truth About Chlorine

Wondering, can you use tap water for starter? The short answer is yes, but there is a hidden catch. City treatment plants add chemicals to drinking water to eliminate bacteria. Since we are actually trying to grow good bacteria, the chlorine impact on wild yeast can be severe, preventing them from multiplying and accidentally stalling a brand-new culture.
Fortunately, neutralizing this threat doesn’t require buying expensive bottled brands. You can easily fix it through a free, natural process called off-gassing. Just leave an open pitcher of tap water on your counter overnight so the chlorine evaporates into the air. While standard home pitchers work wonderfully, when comparing filtered water versus distilled water, always avoid distilled. The distillation process strips away natural mineral content, which your starter relies on as essential daily vitamins.
Beyond chemical makeup, your water’s temperature acts as a natural alarm clock for the jar. Ice-cold liquid creates a sluggish environment, whereas slightly lukewarm water gently wakes up your sleepy yeast and encourages rapid bubbling. Once you have provided a clean, comfortable environment for your culture to thrive, the final hurdle is knowing exactly how much liquid to pour. This precise balance leads us directly into mastering hydration ratios: why equal weights prevent common mistakes.
Mastering Hydration Ratios: Why Equal Weights Prevent Common Mistakes
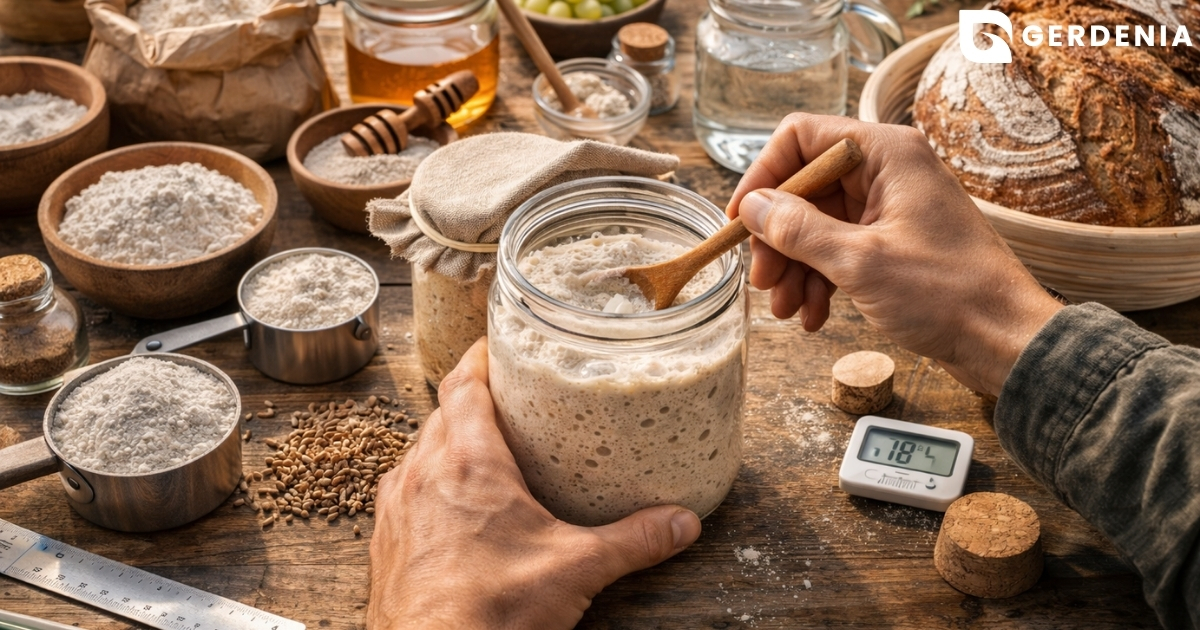
Scooping flour with a measuring cup is the quickest way to accidentally starve or drown your new culture. Because flour compresses easily, one cup might hold wildly different amounts on any given day, creating a frustrating guessing game. This is why a simple digital kitchen scale is the single most valuable piece of equipment in your sourdough kit. By measuring your ingredients in grams rather than volume, you guarantee perfectly consistent meals for your yeast. This balance of equal parts water and flour by weight is what bakers call “100% hydration.”
To put this into practice, maintaining a sourdough mother culture relies on a foolproof, daily rhythm. With sourdough starter hydration ratios explained as a simple 1:1 formula, your feeding routine becomes effortless:
- Place a clean jar on your scale and press “tare” to zero it out.
- Add exactly 50 grams of your leftover starter.
- Pour in 50 grams of lukewarm water and stir until milky.
- Mix in 50 grams of flour until no dry spots remain.
When mixed correctly using this equal-weight method, your fresh batter will look and feel exactly like thick pancake mix. It should be stiff enough to hold its shape for a second, yet wet enough to easily slide off a spoon. Nailing this consistency provides the ultimate cozy home for your culture.
The Invisible Guests: How Wild Yeast and Bacteria Build Flavor

Now that you have mixed the perfect home for your culture, it is time to meet the microscopic chefs moving in. Contrasting wild yeast with commercial yeast reveals a game of patience and depth. These natural yeasts already live in your kitchen air and cling to your flour. Adding water wakes them up, prompting them to eat starches and release carbon dioxide gas, which creates those satisfying, airy bubbles.
Yeast doesn’t work alone in this jar, however. The secret behind that signature tangy flavor comes from lactic acid bacteria in sourdough, which share a mutually beneficial partnership with the yeast. Like great roommates, the yeast provides the lifting power while the bacteria produce protective acids. These acids give the dough its complex sourness and keep harmful molds away. When your jar smells like sharp yogurt or mild vinegar, it isn’t spoiling—it is thriving.
Over hours of resting, the microorganisms in sourdough fermentation do something else incredible: they gently break down tough gluten proteins. This natural predigestion process is why many people find long-fermented bread much easier on their stomachs than quick supermarket loaves. By harnessing the life already present in your pantry, you unlock better flavor and nutrition. Grab your sourdough starter shopping list and prepare for day one.
Your Sourdough Starter Shopping List and Day One Action Plan
You no longer need to view baking as a complex science experiment. Recognizing how wild yeast thrives lets you skip the expensive sourdough kit and gather the perfect ingredients for sourdough starter right from your local grocery store. Here is your ‘Ultimate Beginner’ Shopping List:
- Unbleached all-purpose or whole wheat flour
- Filtered or dechlorinated water
- A simple glass jar
You already have everything you need to bring these basic sourdough supplies to life. Humans have baked this way for thousands of years without absolute precision or stress. Give your new living culture a realistic 7 to 10 days to mature and start bubbling with activity. Start your journey right now: go into your kitchen and mix 50g of flour with 50g of water in your jar. That single, simple action is your first step toward baking incredible homemade bread.