Imagine picking a warm, sun-ripened tomato from your own yard for dinner. Beyond tasting incredible, planting a garden using chemical-free methods protects your family’s health while shrinking grocery bills. According to recent retail data, growing your own produce rather than buying premium store-bought organics saves households hundreds of dollars each summer.
Environmental studies show that organic gardening does far more than just feed us. By skipping harsh synthetic sprays, you naturally keep local waterways clean, build nutrient-rich soil, and provide a safe haven for vital pollinators like bees. Your backyard gardening space quickly transforms into a thriving, self-sustaining ecosystem.
How do you begin without feeling overwhelmed? Just as a good cook stocks up on quality ingredients, successful beginners simply fill the dirt with natural compost before adding seeds.
Finding the Sweet Spot: How Sunlight and Location Dictate Your Garden’s Success

When choosing the right garden location, sunlight acts as your oven. Use the sun-tracking method—checking your yard morning, noon, and evening—to find the 6-8 hour light window required by the vegetable “6-hour rule.” Since you know South, watch those south-facing areas. You might discover “microclimates”—small, sheltered pockets near warm walls that let you cheat your region’s “hardiness zone” (the map determining which plants survive your local winters).
Positioning your bed near a hose drastically minimizes manual labor. You must also ensure water drains properly. Try the “finger test” by pressing into the dirt a day after heavy rain; if it feels like a soaked sponge rather than a damp cloth, that spot lacks natural drainage.
Securing a location with optimal sunlight and drainage prevents early frustration and sets the foundation for healthy plant growth.
Feeding the Earth: How to Prepare Nutrient-Rich Soil for Healthy Vegetables
Think of dirt as your garden’s pantry. Preparing soil for vegetables starts with a DIY “Squeeze Test.” Grab a handful of moist earth and squeeze it. If it crumbles instantly, it’s sandy. If it stays in a tight, sticky ball, you have heavy clay.
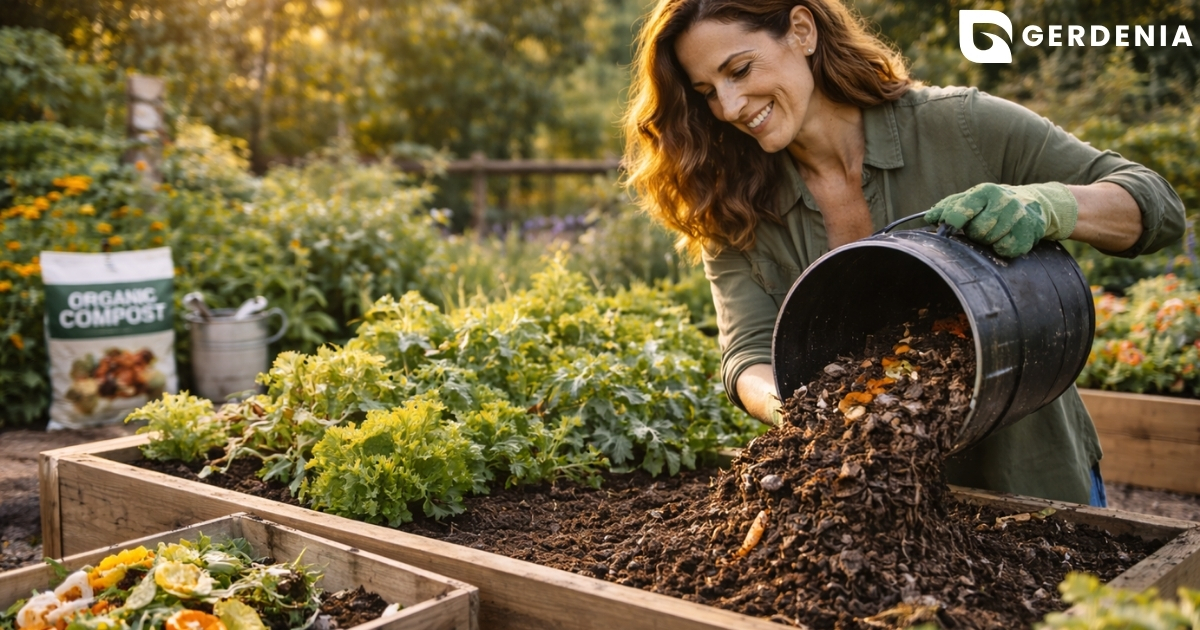
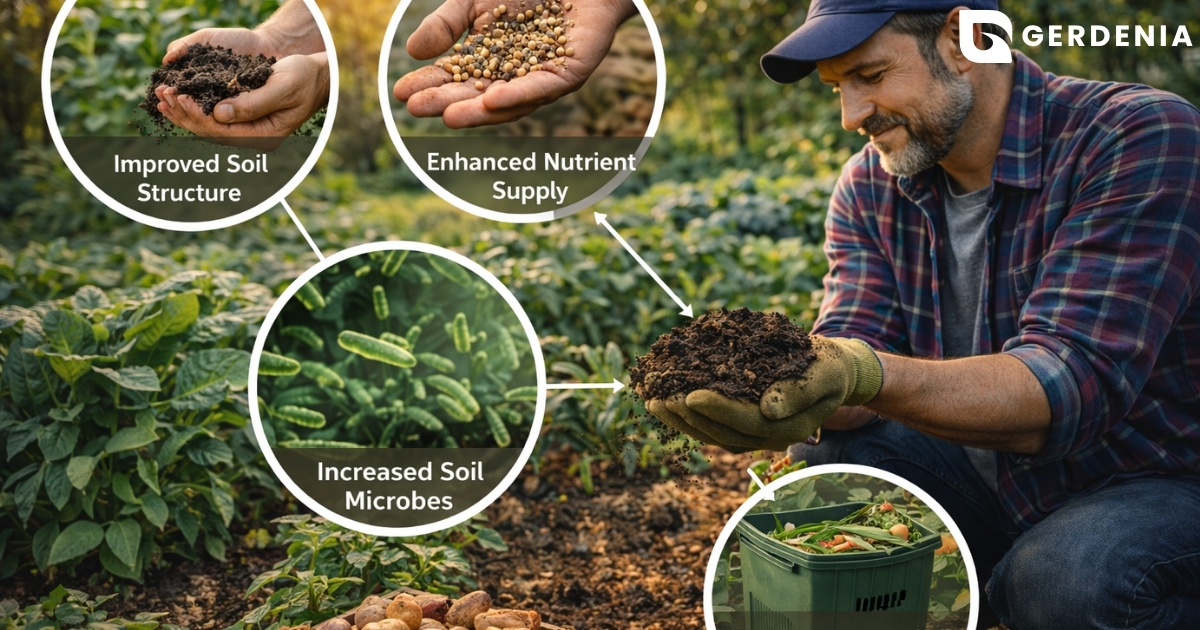
Fixing extreme textures requires mixing in organic matter, like aged compost. This acts as a natural equalizer, holding moisture for sand while improving clay soil drainage so tender roots never drown.
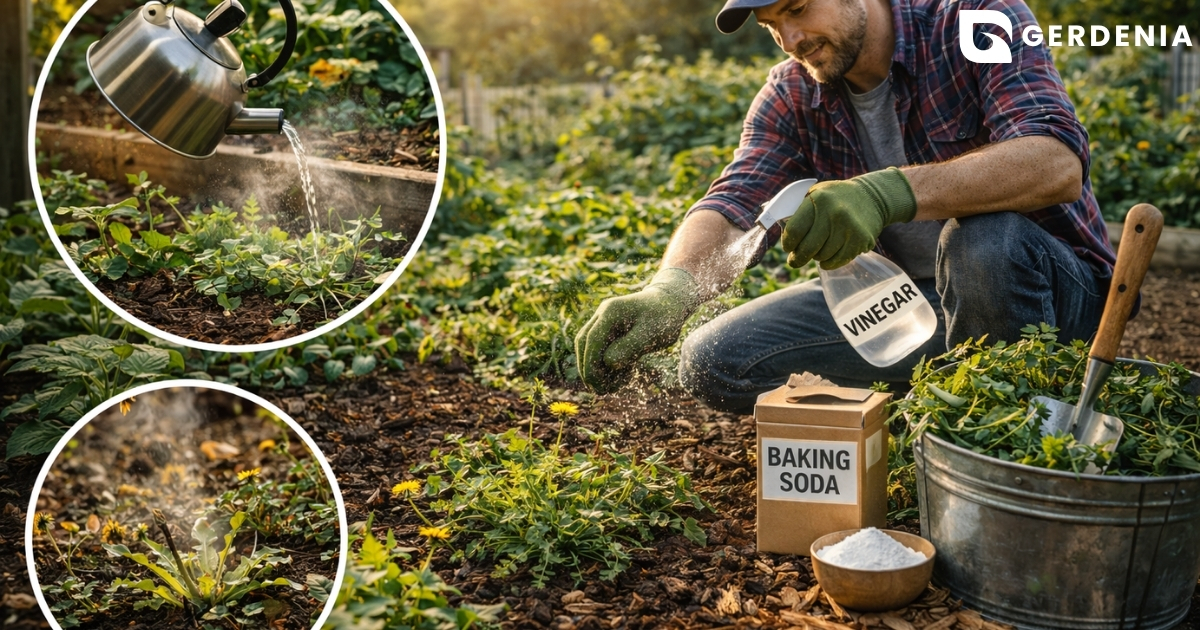
Beyond texture, soil has a pH level that dictates how well plants “eat.” Think of it like a recipe’s spice level; if it’s too extreme, the roots physically cannot absorb their nutrients. Try testing soil pH at home alongside your squeeze check using these everyday supplies:
- Baking soda and white vinegar (to check for fizzy alkaline or acidic reactions)
- A clean glass jar
- A simple hand trowel
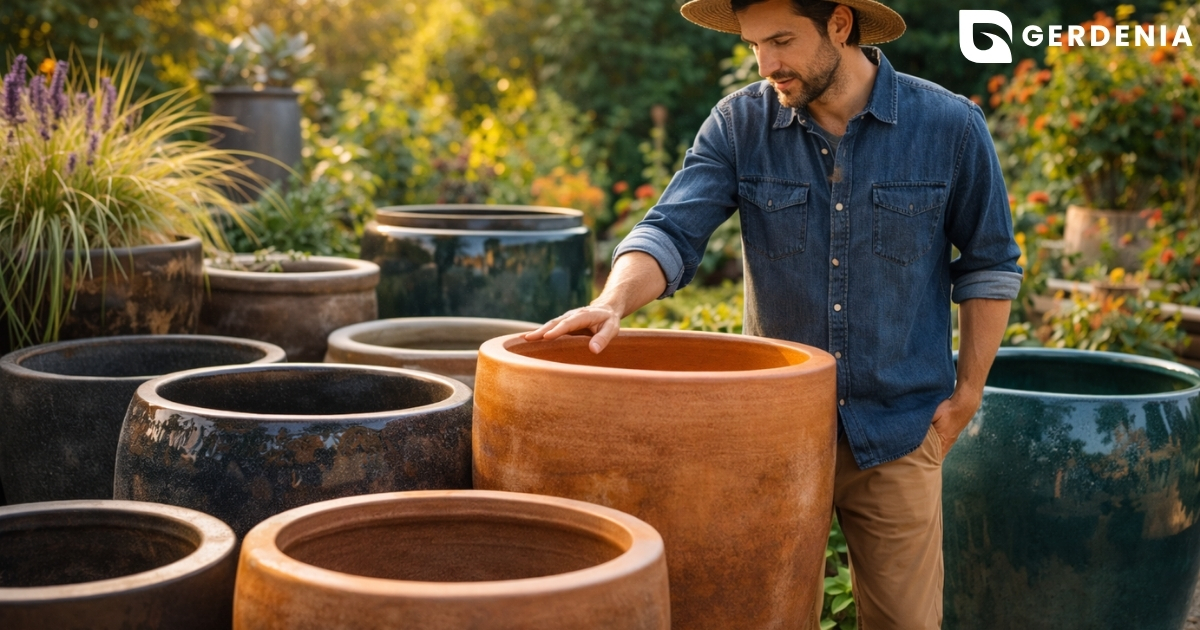
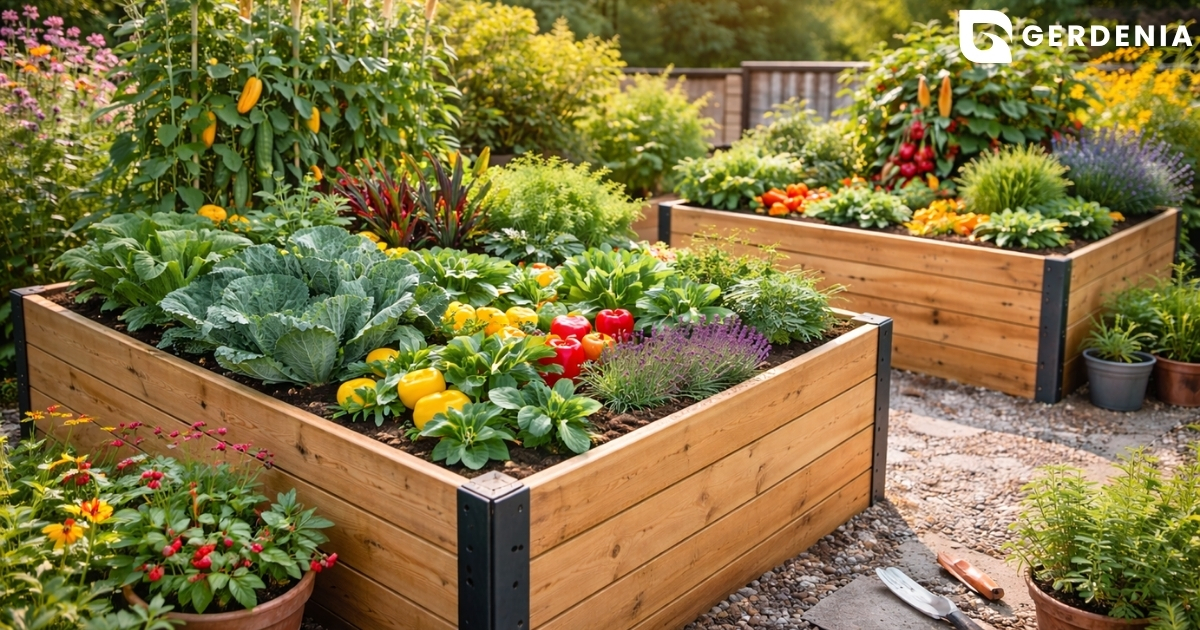
If the native dirt in your yard refuses to cooperate despite soil amendments, consider building upward with raised beds.
Raised Beds vs. In-Ground Gardening: Picking the Right Foundation for Your Goals

Choosing a layout usually means deciding between a raised bed vs in-ground gardening. Traditional yard plots are much cheaper upfront, but walking between your rows easily causes soil compaction over time. This presses the dirt together so tightly that delicate roots physically cannot breathe. To fix this, you must regularly practice aeration—which is essentially poking deep holes in the earth—to keep your pantry of dirt fluffy and accessible.
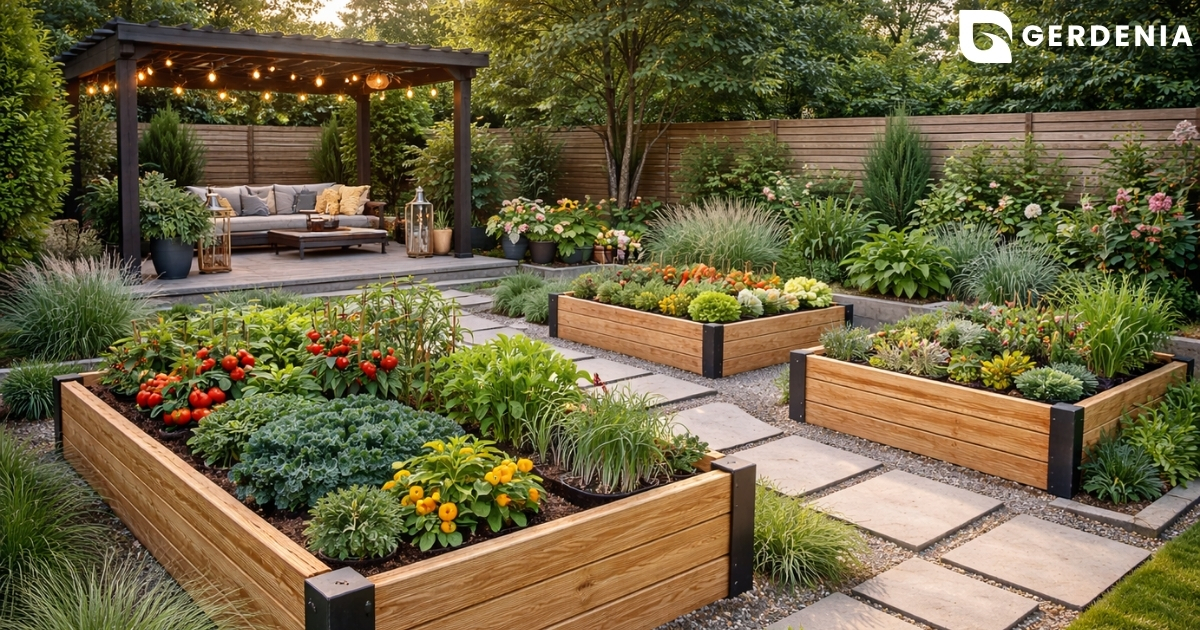
Elevated structures offer a fantastic alternative to save an aching back. Though filling wooden boxes costs more initially, common vegetable garden advice recommends them. They completely prevent heavy foot traffic from crushing your roots and warm up much faster under the early spring sun.
Regardless of your choice, frame your growing space with the best low-maintenance perennial plants, like hardy coneflowers, to effortlessly attract helpful bees. With borders designed and pathways planned, the next step is selecting the right plants.
Seeds or Starters? Navigating the Best Way to Begin Your Organic Journey
Before buying anything, check the USDA hardiness zones map to find your area’s final spring frost date. This crucial timeline dictates exactly when to start seeds indoors safely, ensuring delicate shoots aren’t killed by a late freeze.
Flipping over a seed packet reveals your recipe for success: planting depth, spacing, and days until harvest. These simple instructions help you decide between direct sowing vs transplanting. Direct sowing means putting seeds straight into your prepared beds, while transplanting involves moving grown seedlings into the earth.
Some vegetables hate being moved, while others require a head start inside. Try these reliable favorites for your first season:
- Direct Sow (Seeds): Radishes, beans, and peas thrive when planted right in the garden.
- Transplants (Starters): Tomatoes, peppers, and eggplants prefer being purchased as established young plants.
When planting plants outside, they need a gradual introduction to sun and wind—a process called “hardening off.” Moving starters outdoors for brief daily periods prevents shock. Once plants are safely rooted outdoors, establishing a consistent maintenance routine ensures long-term vitality.
The Low-Effort Maintenance Plan: Watering, Mulching, and Natural Pest Control

Keeping your garden alive shouldn’t feel like a second job. A basic drip irrigation system installation—laying a porous hose directly at the plant’s base—delivers drinks straight to the roots. This targeted method easily saves up to 50% more water than traditional overhead sprinklers.
Next, you must trap that moisture inside using a protective blanket. The mulching benefits for weed suppression are incredible; spreading a thick layer of straw blocks sunlight, which suppresses 90% of weed growth naturally while keeping the soil cool.
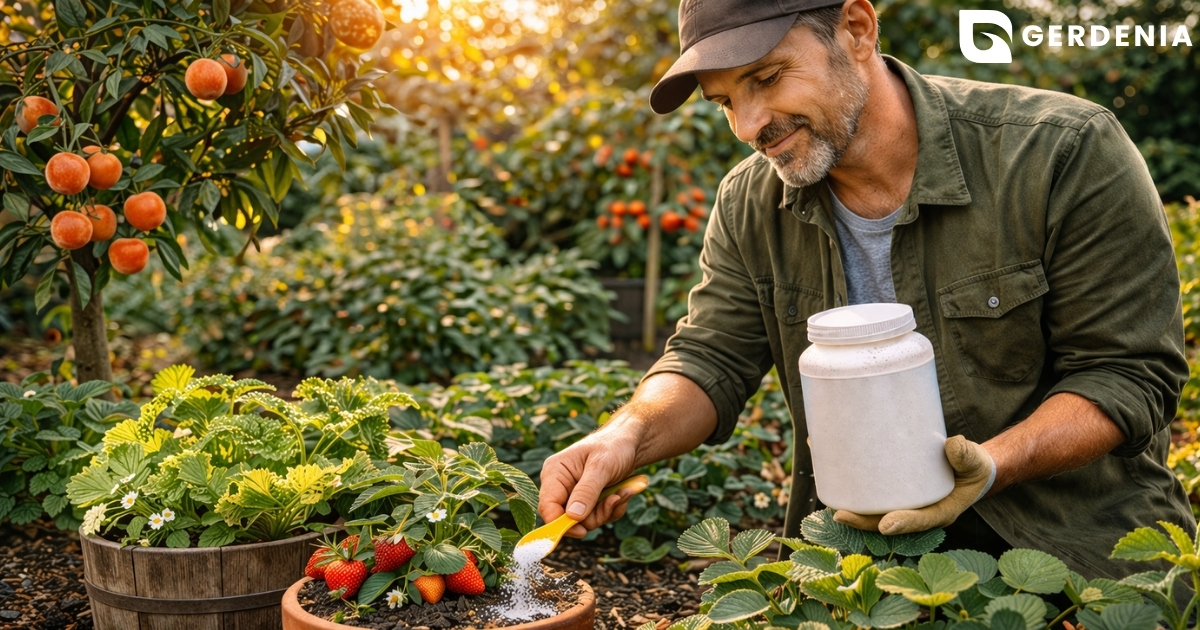
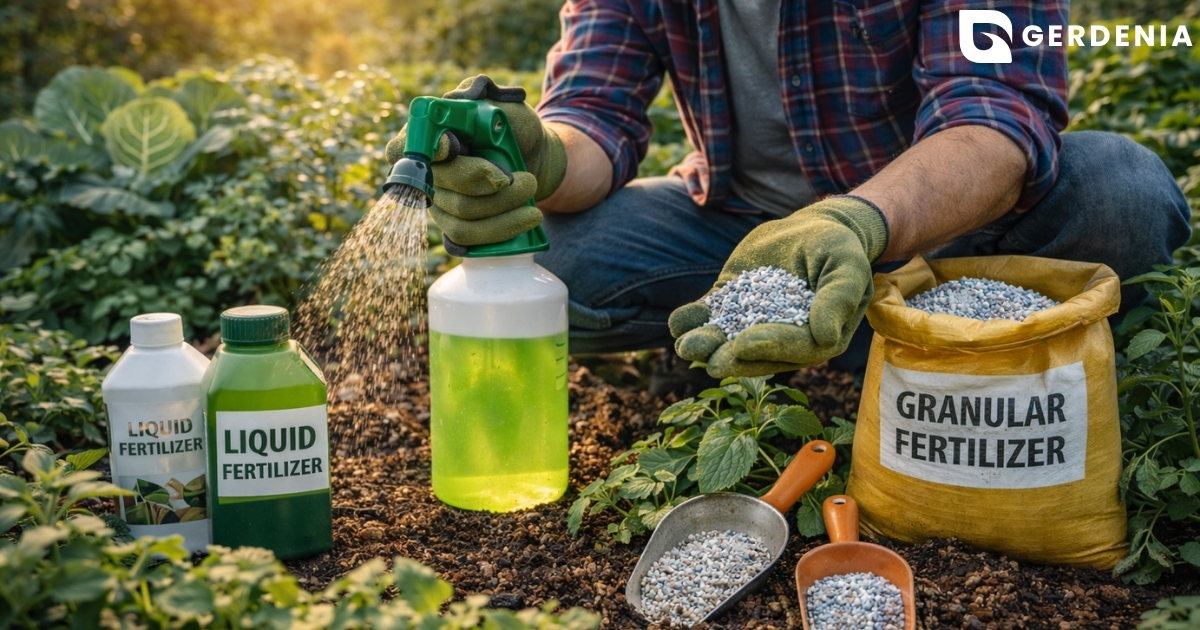
Hungry plants also need a gentle boost to thrive. Applying an organic fertilizer for beginners acts like a hearty, slow-cooked meal rather than a quick sugar rush, feeding the soil gradually without burning delicate plant roots.
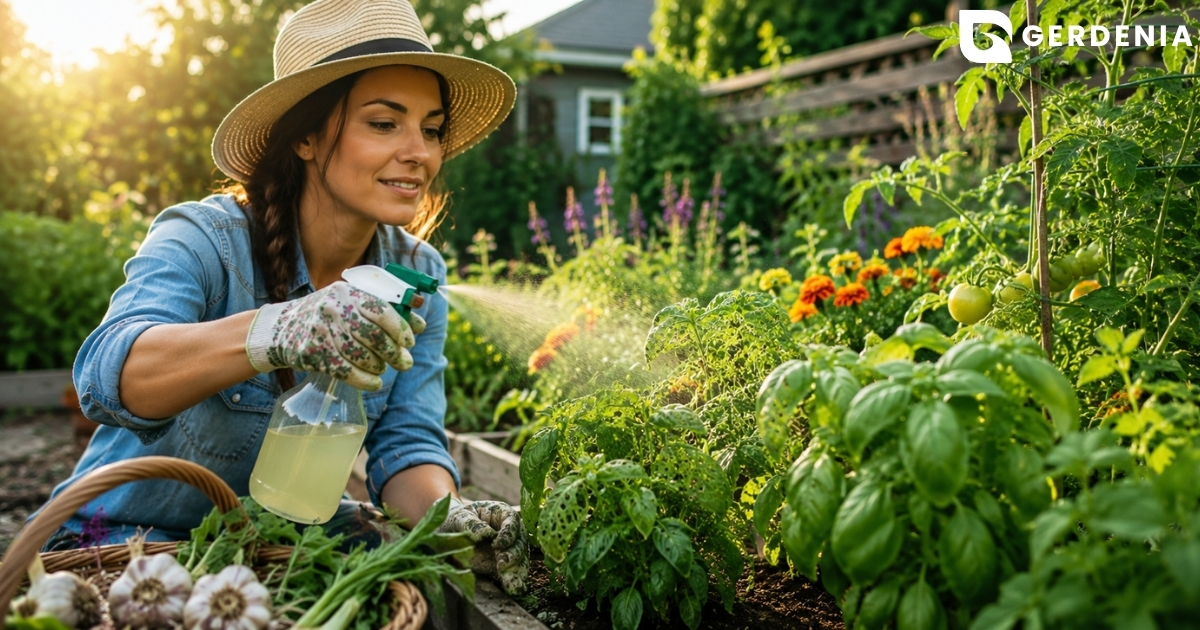
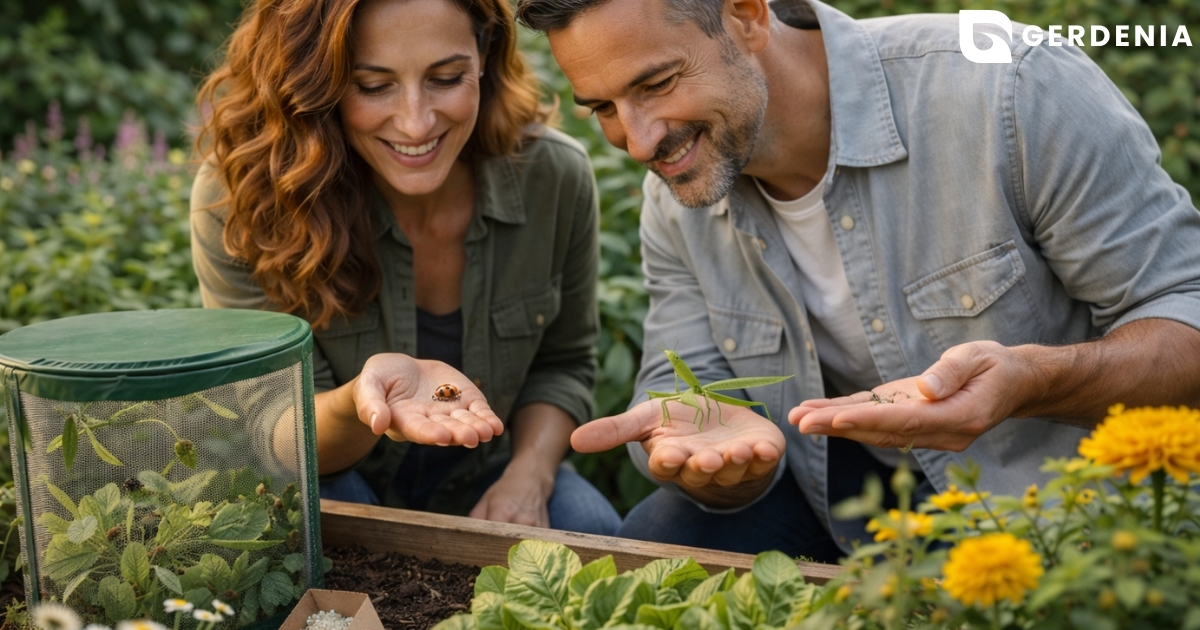
Finally, ditch the harsh chemicals by using natural pest control methods. The easiest trick is pairing friendly crops together to build natural defenses. Try this mini companion planting chart for vegetables:
- Marigolds & Tomatoes: The flowers’ strong scent naturally repels root-damaging bugs.
- Basil & Peppers: Basil safely masks the pepper’s scent from hungry aphids.
Establishing these low-effort defenses protects your crops naturally, ensuring a healthy path to harvest.
Harvesting the Rewards: Your Practical Roadmap to a Thriving Home Garden
Transforming an empty space into a productive garden requires patience and practical care. Spend week one prepping your soil, and week two confidently planting a garden.
If overwhelmed, simply start by tending a single pot. During weeks three and four, steady watering leads to your ultimate goal: the first sprout. Watch closely, as healthy stems stand crisp and green, while drooping, yellow leaves signal a stressed plant needing a drink or a break.
Mastering how to grow garden plants isn’t about achieving a massive yield immediately. Expect a modest, yet thrilling first harvest. You are cultivating a living pantry that will continue to reward you season after season.