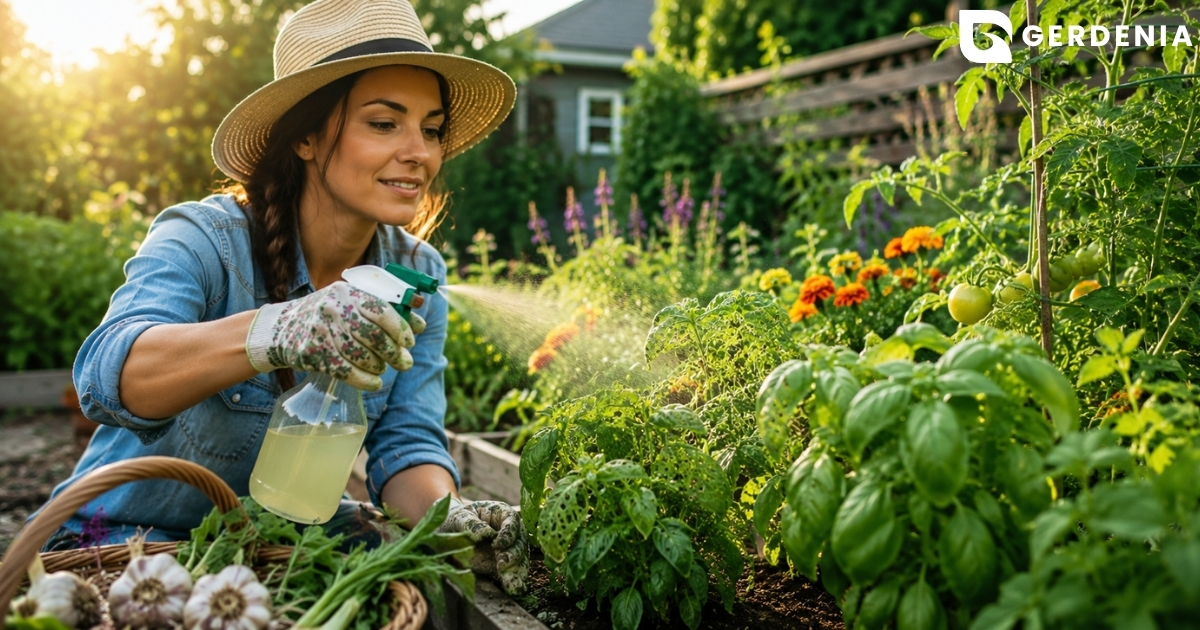
Imagine walking into your backyard and clipping a handful of sun-warmed basil for tonight’s pasta. It feels like magic, but reaching that rewarding first harvest doesn’t require a mystical green thumb or acres of farmland. According to generations of successful backyard growers, creating a vibrant outdoor space is simply a matter of knowing a few basic rules. You might be searching for a dependable beginner’s gardening guide because your last store-bought mint died after three days, leaving you convinced you just aren’t cut out for this.

Most people think a flourishing yard is entirely about luck, but in reality, gardening is a highly learnable skill. Overcoming the dreaded “black thumb” fear happens the moment you realize that plants actually want to thrive if you give them the right home. In practice, this means focusing on three simple non-negotiables: location (sun), timing, and dirt (soil). Once you stop treating your backyard like a guessing game and start using a systematic approach, everything changes.
Planning your new space starts by understanding exactly what will survive in your specific climate. This is where your plant hardiness zone comes in—a simple geographic map that tells you which plants will flourish in your local weather so you don’t waste money on things destined to freeze or roast. Instead of impulsively buying whatever looks pretty at the hardware store, you will learn to select resilient entry-level plants like tomatoes and hardy marigolds that actually match your environment.
Getting started should feel exciting, not overwhelming. By applying practical gardening principles, you will trade beginner confusion for a clear, actionable roadmap to success. Whether you are dealing with a few pots on a balcony or a small backyard patch, the upcoming steps will help you build a solid foundation. Here are the ten essentials for bringing your beautiful new outdoor space to life.
Why the USDA Hardiness Zone Map is Your Planting North Star
Ever wonder why a beautiful outdoor plant turns brown and dies after the first winter snowfall? While you already know plants are sensitive to cold, surviving winter comes down to understanding perennials, which come back year after year, versus annuals, which only live for one single season. This is where the USDA hardiness zone map becomes your best friend. It categorizes your area based on its coldest winter temperatures, ensuring you never waste money on a perennial shrub that cannot handle your local chill.
Finding your custom planting window takes less than five minutes online. Follow these three steps to get your timing right:
- Search your zip code in an online hardiness zone tool to find your exact climate number.
- Look up your local “frost dates,” which mark the average spring day when freezing temperatures finally stop, making it safe to put warm-weather crops outside.
- Plug those dates into a seasonal planting calendar for vegetables so you know exactly when to plant your seeds.
Sticking to this schedule guarantees your delicate seedlings won’t freeze on their first night out in the dirt. However, while mastering your local temperatures keeps your garden alive, getting those plants to actually produce food requires an entirely different energy source. Daylight is the true engine behind your harvest.
Why Sunlight is Non-Negotiable for Fruit Production
Think of sunlight as your garden’s grocery store. Through photosynthesis, plants turn sunshine into the energy needed to grow juicy vegetables and bright flowers. But light doesn’t hit your yard evenly. As the day progresses, your house and trees cast shifting shadows, creating little pockets of unique lighting called microclimates. Before planting, spend a Saturday watching these shadows stretch across your yard to map out exactly how much light each area receives.
Once you track this light, you can efficiently choose between full sun and partial shade plants. “Full sun” means a spot gets six or more hours of direct light daily, while “partial shade” means three to six hours. Match your crops to your light using this quick guide:
- Full Sun (6+ hours): Heat-loving crops like tomatoes, peppers, and basil.
- Partial Shade (3-6 hours): Leafy greens like lettuce and root veggies like carrots.
- Full Shade (Under 3 hours): Decorative plants like ferns and hostas.
Matching vegetables to their preferred microclimate prevents sad, drooping leaves. If you place a sun-craving pepper in the shade, it simply cannot produce enough food to make fruit, no matter how much you water it. With sunny spots carefully mapped out, the next step is building the foundation below ground.
Why Soil is Like a Battery—And How to Recharge It
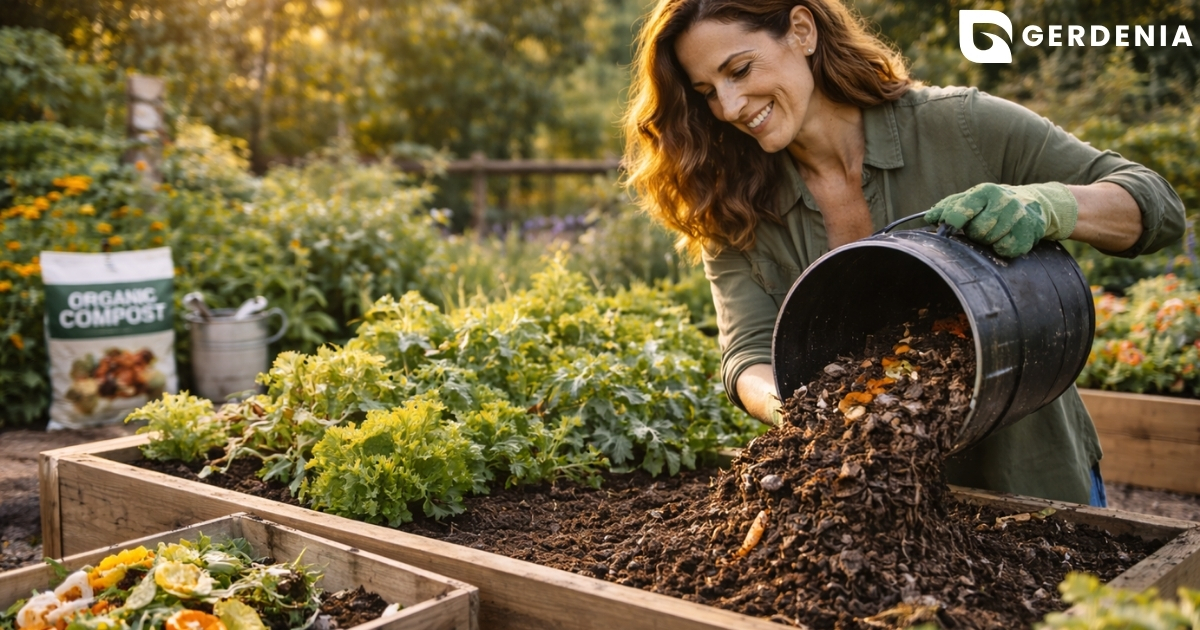
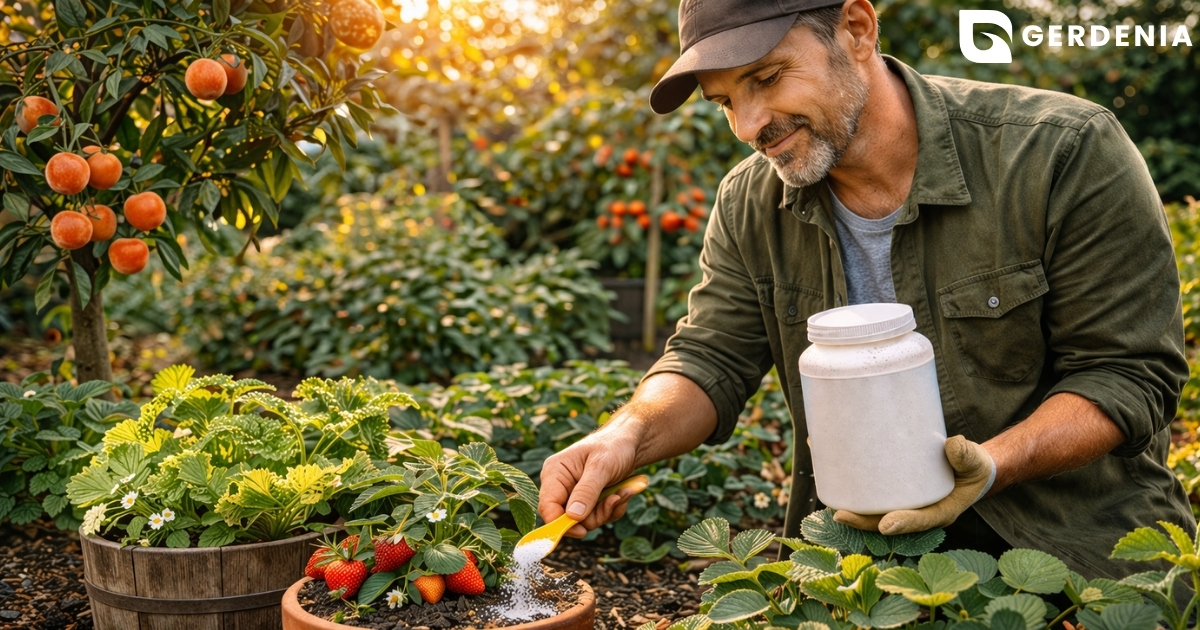
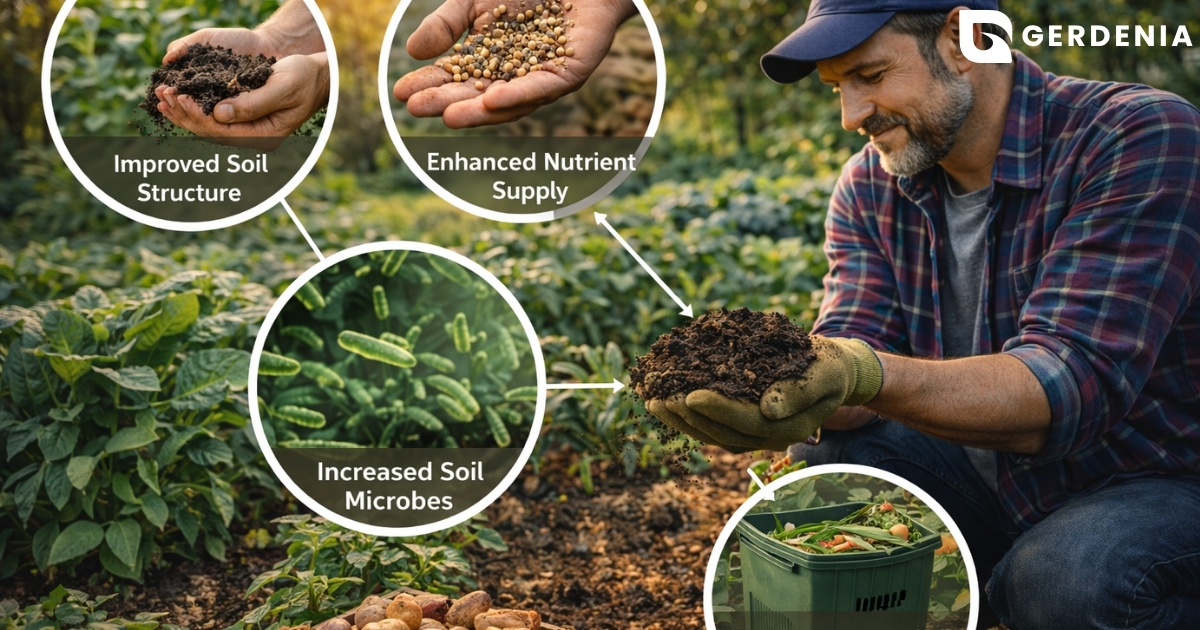
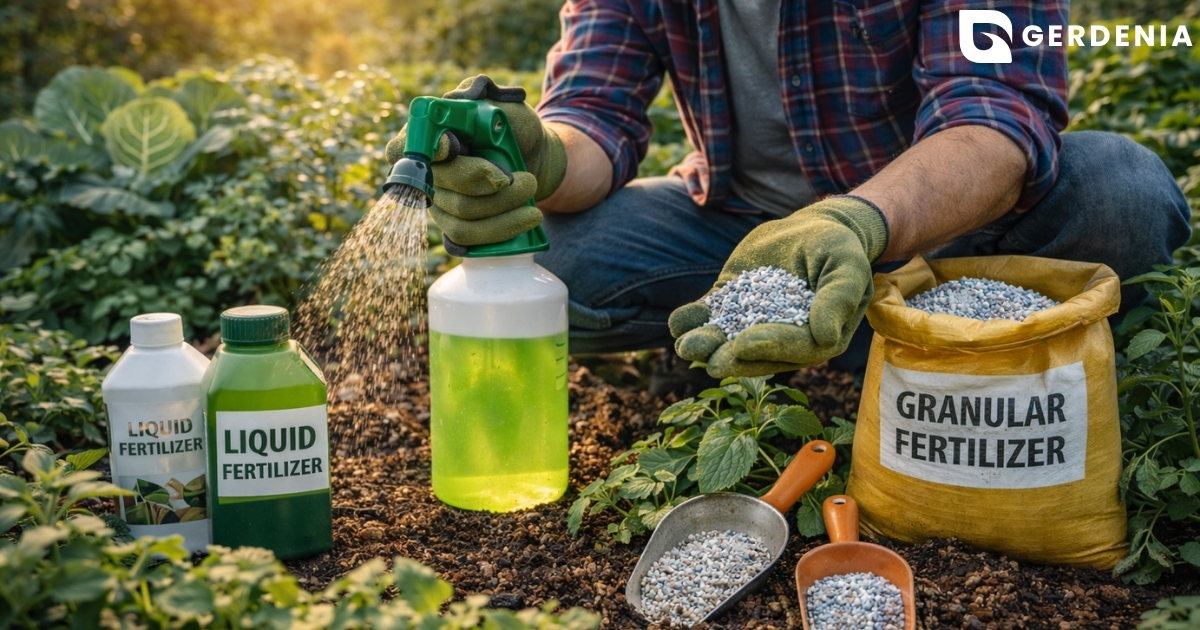
Think of your garden dirt as a rechargeable battery. Every time a plant grows, it drains power from the earth, meaning you need to replenish it by conditioning the soil with compost to build capacity, and feeding it with organic fertilizer to add a quick charge. Healthy soil also needs to breathe through a process called aeration, so aim for a loose, crumbly texture that feels like a wrung-out sponge rather than a dense brick of clay.

Even with a fully charged, well-aerated battery, plants cannot absorb nutrients if the soil’s acidity is completely off. Knowing how to test soil pH at home saves you from buying expensive kits, and you can do it right in your kitchen:
- Scoop two small soil samples from your garden into separate cups.
- Add a splash of distilled water to both cups to make them muddy.
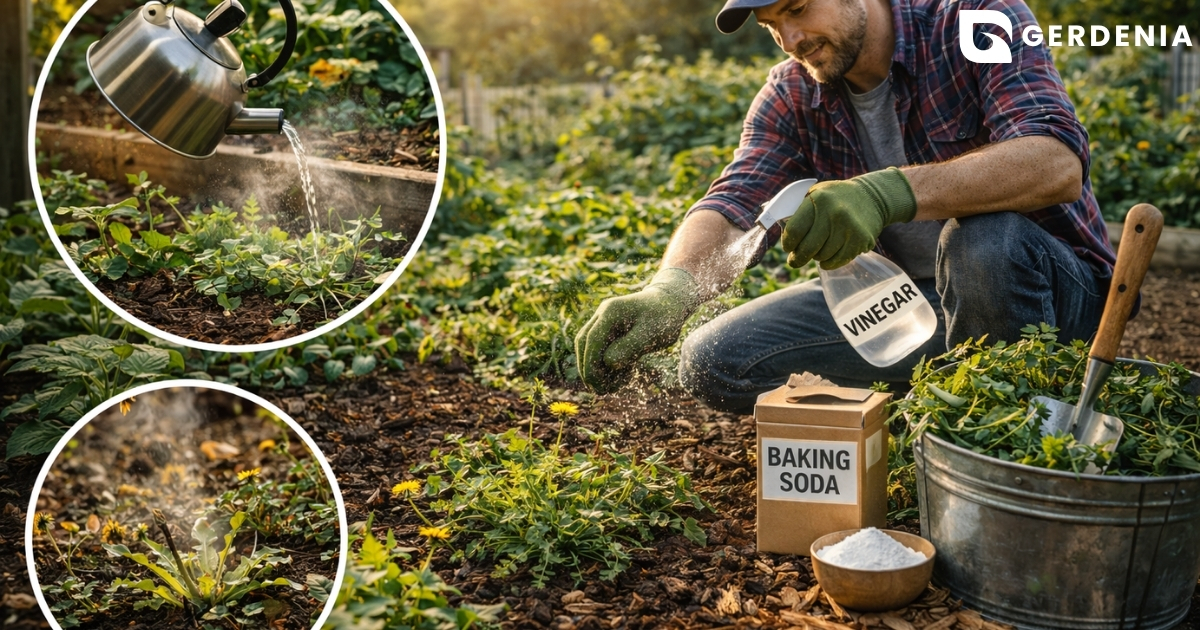
- Pour half a cup of vinegar into the first sample; if it fizzes, your soil is alkaline.
- Mix half a cup of baking soda into the second sample; if it bubbles, your soil is acidic.
- If neither reacts much, you have a balanced, neutral pH, which most vegetables love!
If you discover your yard is full of dense, highly acidic dirt, you can spend a few seasons mixing in rich compost to fix it, or you can skip the hassle by building upward.
The Strategic Choice: Raised Beds vs. In-Ground Gardening
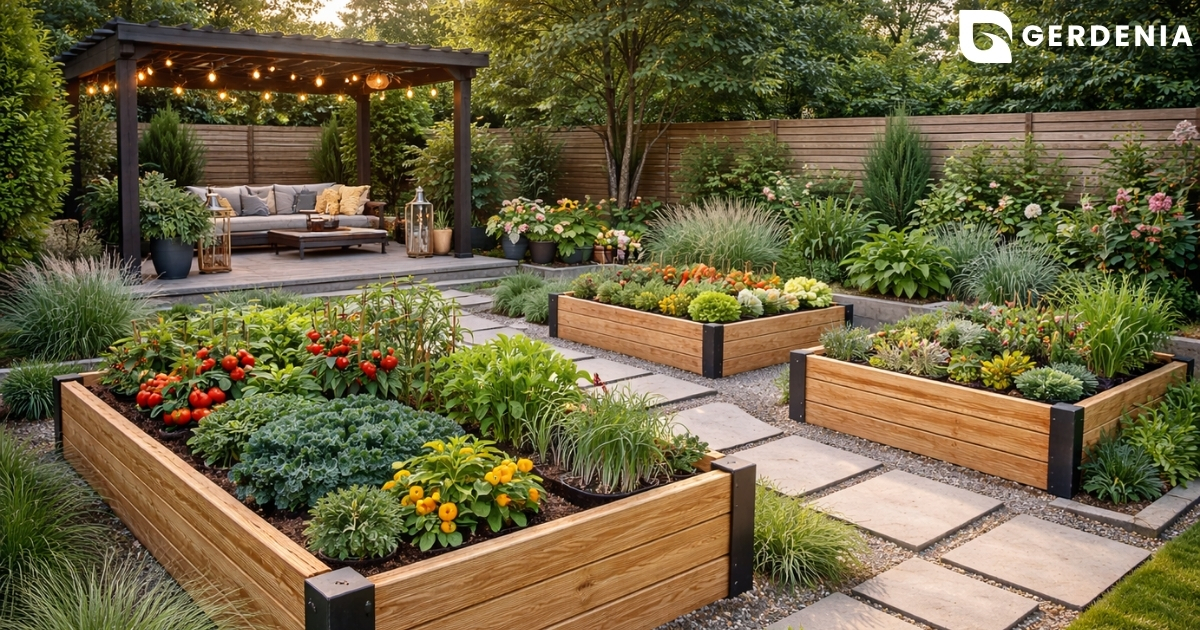
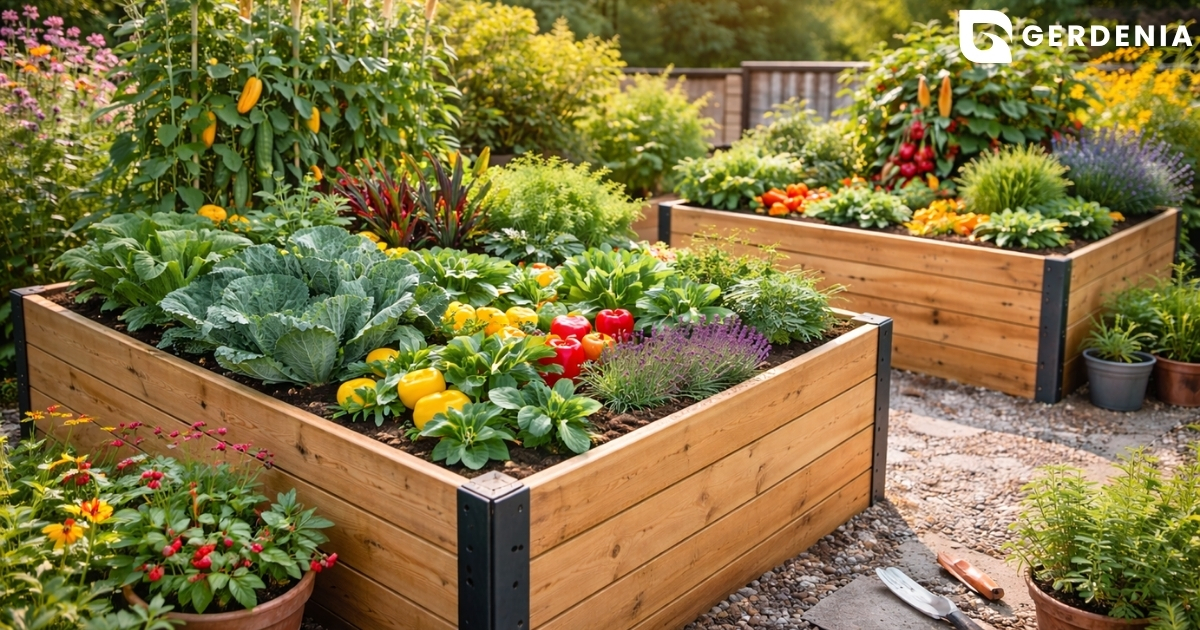
Deciding between raised beds and in-ground gardening comes down to your budget and your back. Digging straight into your yard costs almost nothing, but it requires more bending and puts you at the mercy of your native dirt. Building wooden beds brings the harvest closer to your waist and lets you fill them with perfect, loose topsoil from day one. Whichever path you choose, a smart beginner’s layout must include dedicated walking paths between your plants.
Stepping directly on your planting area creates soil compaction, which physically squeezes crucial air pockets out of the dirt. Plant roots need to breathe oxygen just as much as they need a drink. When earth gets packed down by heavy footprints, water gets trapped beneath the surface. This creates poor drainage, leaving your tomatoes and basil sitting in a muddy puddle that eventually drowns them in root rot. Healthy soil holds onto moisture but lets the excess flow freely away.
Protecting delicate root systems is as simple as making sure your planting zones are no wider than four feet across, allowing you to reach the center without stepping inside the bed.
How to Avoid ‘Legginess’ When Starting Seeds Indoors
Starting your own vegetables from a seed packet is a fantastic way to save money, skipping expensive nursery starts entirely. However, if you plant those tiny seeds too early on your windowsill, they will stretch frantically toward the glass to find more sunshine, developing pale, fragile stems. This desperate reaching is called “legginess,” and it happens when plants are starved for adequate light or trapped inside for too many weeks. To prevent weak stems, calculate exactly when to start seeds indoors by counting backward from your area’s final spring frost date.
Matching your sowing schedule to each plant’s natural growing speed is a vital practice. Here is a simple indoor starting timeline to follow before your final frost arrives:
- Peppers: Plant 8 to 10 weeks early.
- Tomatoes: Plant 6 to 8 weeks early.
- Kale: Plant 4 to 6 weeks early.
Even perfectly timed seedlings will panic if abruptly moved from a cozy living room into harsh backyard winds. Avoid this fatal transplant shock through a gentle, 7-day transition called hardening off. Take your trays outside for just an hour of dappled shade on the first day, gradually increasing wind and sun exposure over a week until they are tough enough to live in your beds full-time.
Mastering the ‘Finger Test’ for Perfect Watering
Most beginners think a daily, light sprinkle from the garden hose is the best way to keep vegetables happy. In reality, shallow watering just wets the surface and leaves crucial lower roots completely dry. Instead of guessing, use the simple “Finger Test” to know exactly when your plants are actually thirsty. Push your index finger into the dirt right up to the second knuckle; if it feels completely dry at that depth, it is time to give them a thorough soak.

Training your plants to survive hot afternoons comes down to encouraging roots to grow deep for drought resistance. When you provide a heavy, slow soak rather than a quick splash, roots are forced to dive downward to find moisture. This deep-watering approach works best when you actively improve soil drainage and aeration, ensuring the dirt acts like that damp sponge rather than a suffocating mud puddle.
Standing outside with a watering can every morning is relaxing at first, but quickly becomes a time-consuming chore as plants grow. You can save 50% more water than a traditional hose by setting up a simple network of tubes that slowly leak moisture directly at the base of each plant. Automating this process with a basic drip irrigation system frees up your schedule entirely.
Why Mulch is the ‘Blanket’ Your Garden Needs
Even the best watering routine falls short if the sun bakes moisture right out of the earth. Think of mulch as a protective blanket for your dirt. Proper mulching techniques act like a lid on a cup, locking dampness exactly where roots need it. This steady hydration is crucial for crops like tomatoes, since rapid swings between dry and wet soil cause their skins to split.
Covering bare dirt also stops weeds from stealing vital nutrients. Weed seeds require sunlight to sprout, so a two-inch layer of organic mulch completely starves them of light, reducing weeding time by ninety percent. For vegetable patches, stick to materials that naturally break down to feed the soil, like clean straw or shredded leaves.
Using Companion Planting for Natural Pest Control
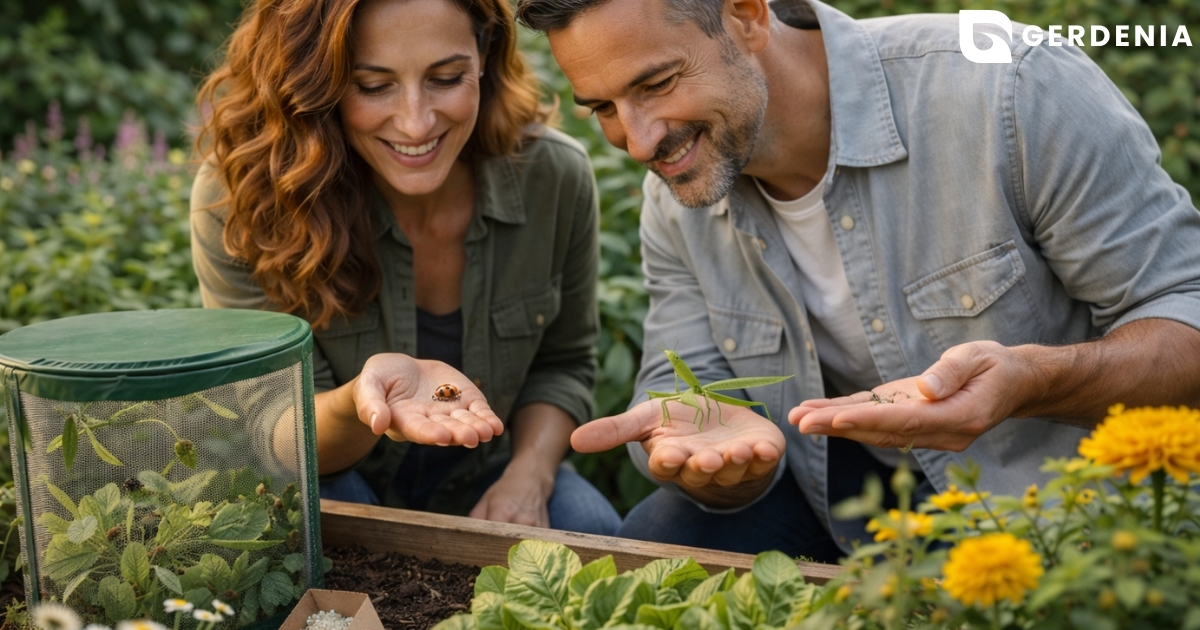
Seeing a chewed-up leaf can feel heartbreaking after you have worked so hard on your soil. Instead of buying harsh chemical sprays, utilize companion planting for natural pest control. This technique involves grouping specific plants together so they naturally protect each other. Strong-smelling herbs and brightly colored flowers act as your garden’s bodyguards, safely masking the delicious scent of your vegetables from hungry invaders.
Creating these strategic partnerships helps attract beneficial insects like ladybugs, which happily eat the pests destroying your crops. Recruit these garden defenders by setting up classic plant combinations:
- Tomatoes and Marigolds: Bold flowers repel worms that ruin ripening tomatoes.
- Cabbage and Mint: Mint disguises the leafy cabbage scent from destructive moths.
- Basil and Peppers: Basil deters tiny sap-sucking aphids while improving the pepper’s flavor.
- Carrots and Onions: The sharp onion smell chases away root-damaging carrot flies.
If a determined swarm of bugs slips through your fragrant defenses, cold-pressed neem oil serves as a fantastic, safe organic remedy. It stops bad bugs from feeding without harming your pets or the helpful bees buzzing around your yard.
The Essential Tool Kit for Beginner Success
Staring down the garden center aisle can feel overwhelming when every shiny gadget promises a perfect yard. When learning how to garden successfully, you do not need a shed full of expensive equipment. Investing in a few high-quality pieces saves money long-term and prevents painful hand blisters.
Focus your budget directly on these essential tools:
- Hand Trowel: For scooping soil and digging small planting holes.
- Hand Pruners: Crucial for cleanly snipping off dead leaves or overgrown stems so plants redirect energy into fresh growth.
- Garden Hoe: To effortlessly slice through stubborn weeds without bending over.
- Watering Can: For gentle, controlled plant hydration.
- Gloves: To safely protect your skin against thorns and rough dirt.
Taking care of this small collection guarantees better results. Think of your pruners like kitchen knives; a dull blade crushes delicate stems instead of cutting them cleanly, creating jagged plant wounds where destructive diseases hide. Simply wiping your blades clean after use keeps your vegetables healthy.
Your Seasonal Action Plan for a Flourishing Harvest
What once looked like an intimidating, empty patch of dirt is now an organized blueprint for success. You know how to choose the right sunny spot, pick resilient plants, and keep your soil’s energy battery fully charged. You are no longer crossing your fingers and hoping for the best; you are making informed choices that guarantee healthier growth.
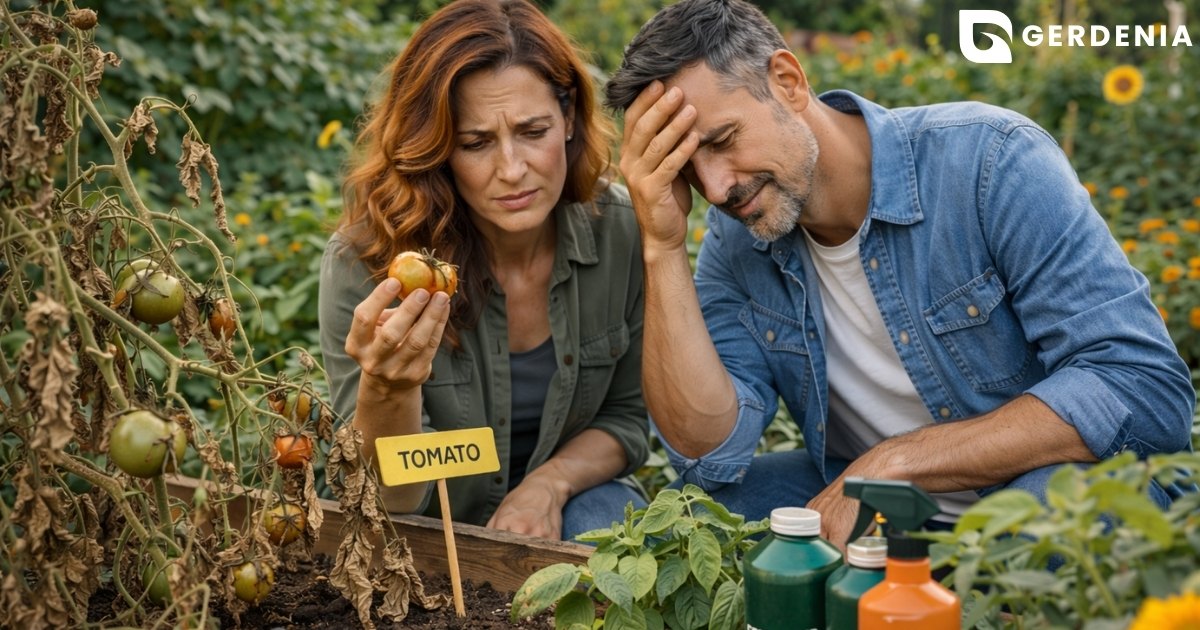
Every backyard encounters a little trouble, but you are now equipped to handle “Sad Plant” syndrome without panicking. When you notice drooping stems or yellowing leaves, use the trusty finger test to see if you have overwatered. If the moisture is perfect, those yellow leaves simply mean it is time to recharge the soil with a little fertilizer.
To keep this momentum going, lock in a long-term routine so your yard works with you all year. Find a seasonal planting calendar tailored to your local climate to map out exactly what goes into the dirt and when. Following a simple 12-month rhythm removes the guesswork from seasonal transitions, ensuring you always have new seeds sprouting as older plants finish their cycle.
Gardening is a highly satisfying, daily collaboration with nature. The true reward arrives the moment you step out your back door to harvest a perfectly ripe tomato for tonight’s dinner. You possess the foundational skills to experience the joy of a home-grown meal season after season. Every time you water those roots and watch a new leaf unfurl, you will realize your green thumb was there all along.